
A Special Picture Frame
It isn’t often that I get asked to make something really meaningful to me. Most projects are functional, a gate, a table, a cabinet. They serve a purpose.
Picture frames aren’t that way, they are meant to be meaningful. In my blog, 6 Easy Steps for Building Picture Frames I describe how to make frames and how I like to keep them simple because a frame is meant to display a meaningful picture, document, or piece of art. The frame shouldn’t detract from what it holds.
But that doesn’t mean the frame itself can’t hold meaning.
My wonderful boss, Cynthia Klustner, retired after 13 years of service to First Tech Federal Credit Union. In that time she contributed greatly to the success of the credit union and mentored many employees, including me. I have worked with Cynthia for over four years and reported to her for two, and in that time she showed me what true passion in your career means. I’ve never met anyone as dedicated to a cause as Cynthia is to her work and the credit union’s mission.
For her retirement I wanted to do something special. In collaboration with the entire team we came up with an idea for us all to sign a mat and frame it with a picture of Cynthia’s team. Then I would take that and frame it with the end result being a meaningful retirement gift for Cynthia to remember and celebrate her working days as we carry her legacy forward.
Wood Selection
I started this project by assessing what I had in stock and what was pretty enough for this purpose. I narrowed it down between two options, black walnut and sapele. The walnut I had was pretty, but I felt it’s grain was a little too wild for a frame so I opted for the straight grain of the sapele.
A little about sapele. Sapele is an African hardwood very similar to mahogany. Like mahogany, the wood is very durable to insects and rot, with a similar coloring. One of it’s unique and identifying properties is sapele’s interlocking grain. What this means is the grain, which generally stretches from the bottom to the top of the tree, rotate as they grow, which causes a ribboning effect when finished. This results in end grain poking out throughout the face grain resulting in light catching the wood causing it to change color depending on the angle of your view.
This grain structure also poses a challenge when working as interlocking grain tends to tear out easier which means smaller passes and extra care is needed to avoid blemishes.

Drawing a profile on your work piece helps you understand the dimensions.
Designing the Profile
I started by drawing out a profile I liked. The number one rule I follow when making picture frames is to make the frame so it highlights the contents, so on the left side of the frame I created two relief cuts at different depths to cast shadow lines on the frame thereby drawing the eye in. Then that left a bulky exterior of the frame which I wanted to class up with an elegant, gentle cove. I planned the cove based on my capabilities, using a raised panel bit to draw the line. Then of course I marked out my rabbet which would hold the glass, picture, and backer, making it 3/8” x 3/8”, an appropriate size for such a large frame.
Profile Milling
Once I had my profile picked, I planned out my order of operations. This is an important step to save yourself a bind in the future. You don’t want to accidentally remove material you need later to support the workpiece for a future cut. I started with the glass rabbet, using a flat top grind table saw blade. I set up a sacrificial fence so I could bury a small portion of the blade to cut all the way to the edge of the work piece, then slowly moved the fence away from the blade to get to my final width. Initially I was going to set the saw to take a 3/8 deep by 3/8 wide cut, then flip the board on it’s side and make a second pass, but I did not want to trap the remaining offcut between the blade and fence, potentially causing kickback.
Next, I considered heading right to the router table to use my massive raised panel bit, but I figured it would be better to stay at the table saw for now so I had more surface area running on the saw’s top. If I created the cove first I would have lost a lot of support on my workpiece and could end up tipping away from the blade which would have caused a gouge or even potential kickback if the workpiece entered the side of the sawblade too quickly and caught.
So I created the two shadow line rabbets with the same method as the previous rabbet at the table saw. I felt okay trimming away a portion of the profile on the table saw first because I knew I’d have two stable, fairly large reference surfaces for both the fence and the table of the router table.
The last step was to use the router table. This bit really should be used in a router table. It’s a heavy, large piece of metal and I’d hate to lose control of it in a handheld router.
I started small, slowly raising the bit up to create a deeper cut with each pass until I reached my finishing mark. It’s essential with such a large bit to take shallow passes, otherwise you risk tear out, chatter, or even kicking of the workpiece. Slow and steady, small passes, and good dust collection are essential for this operation.
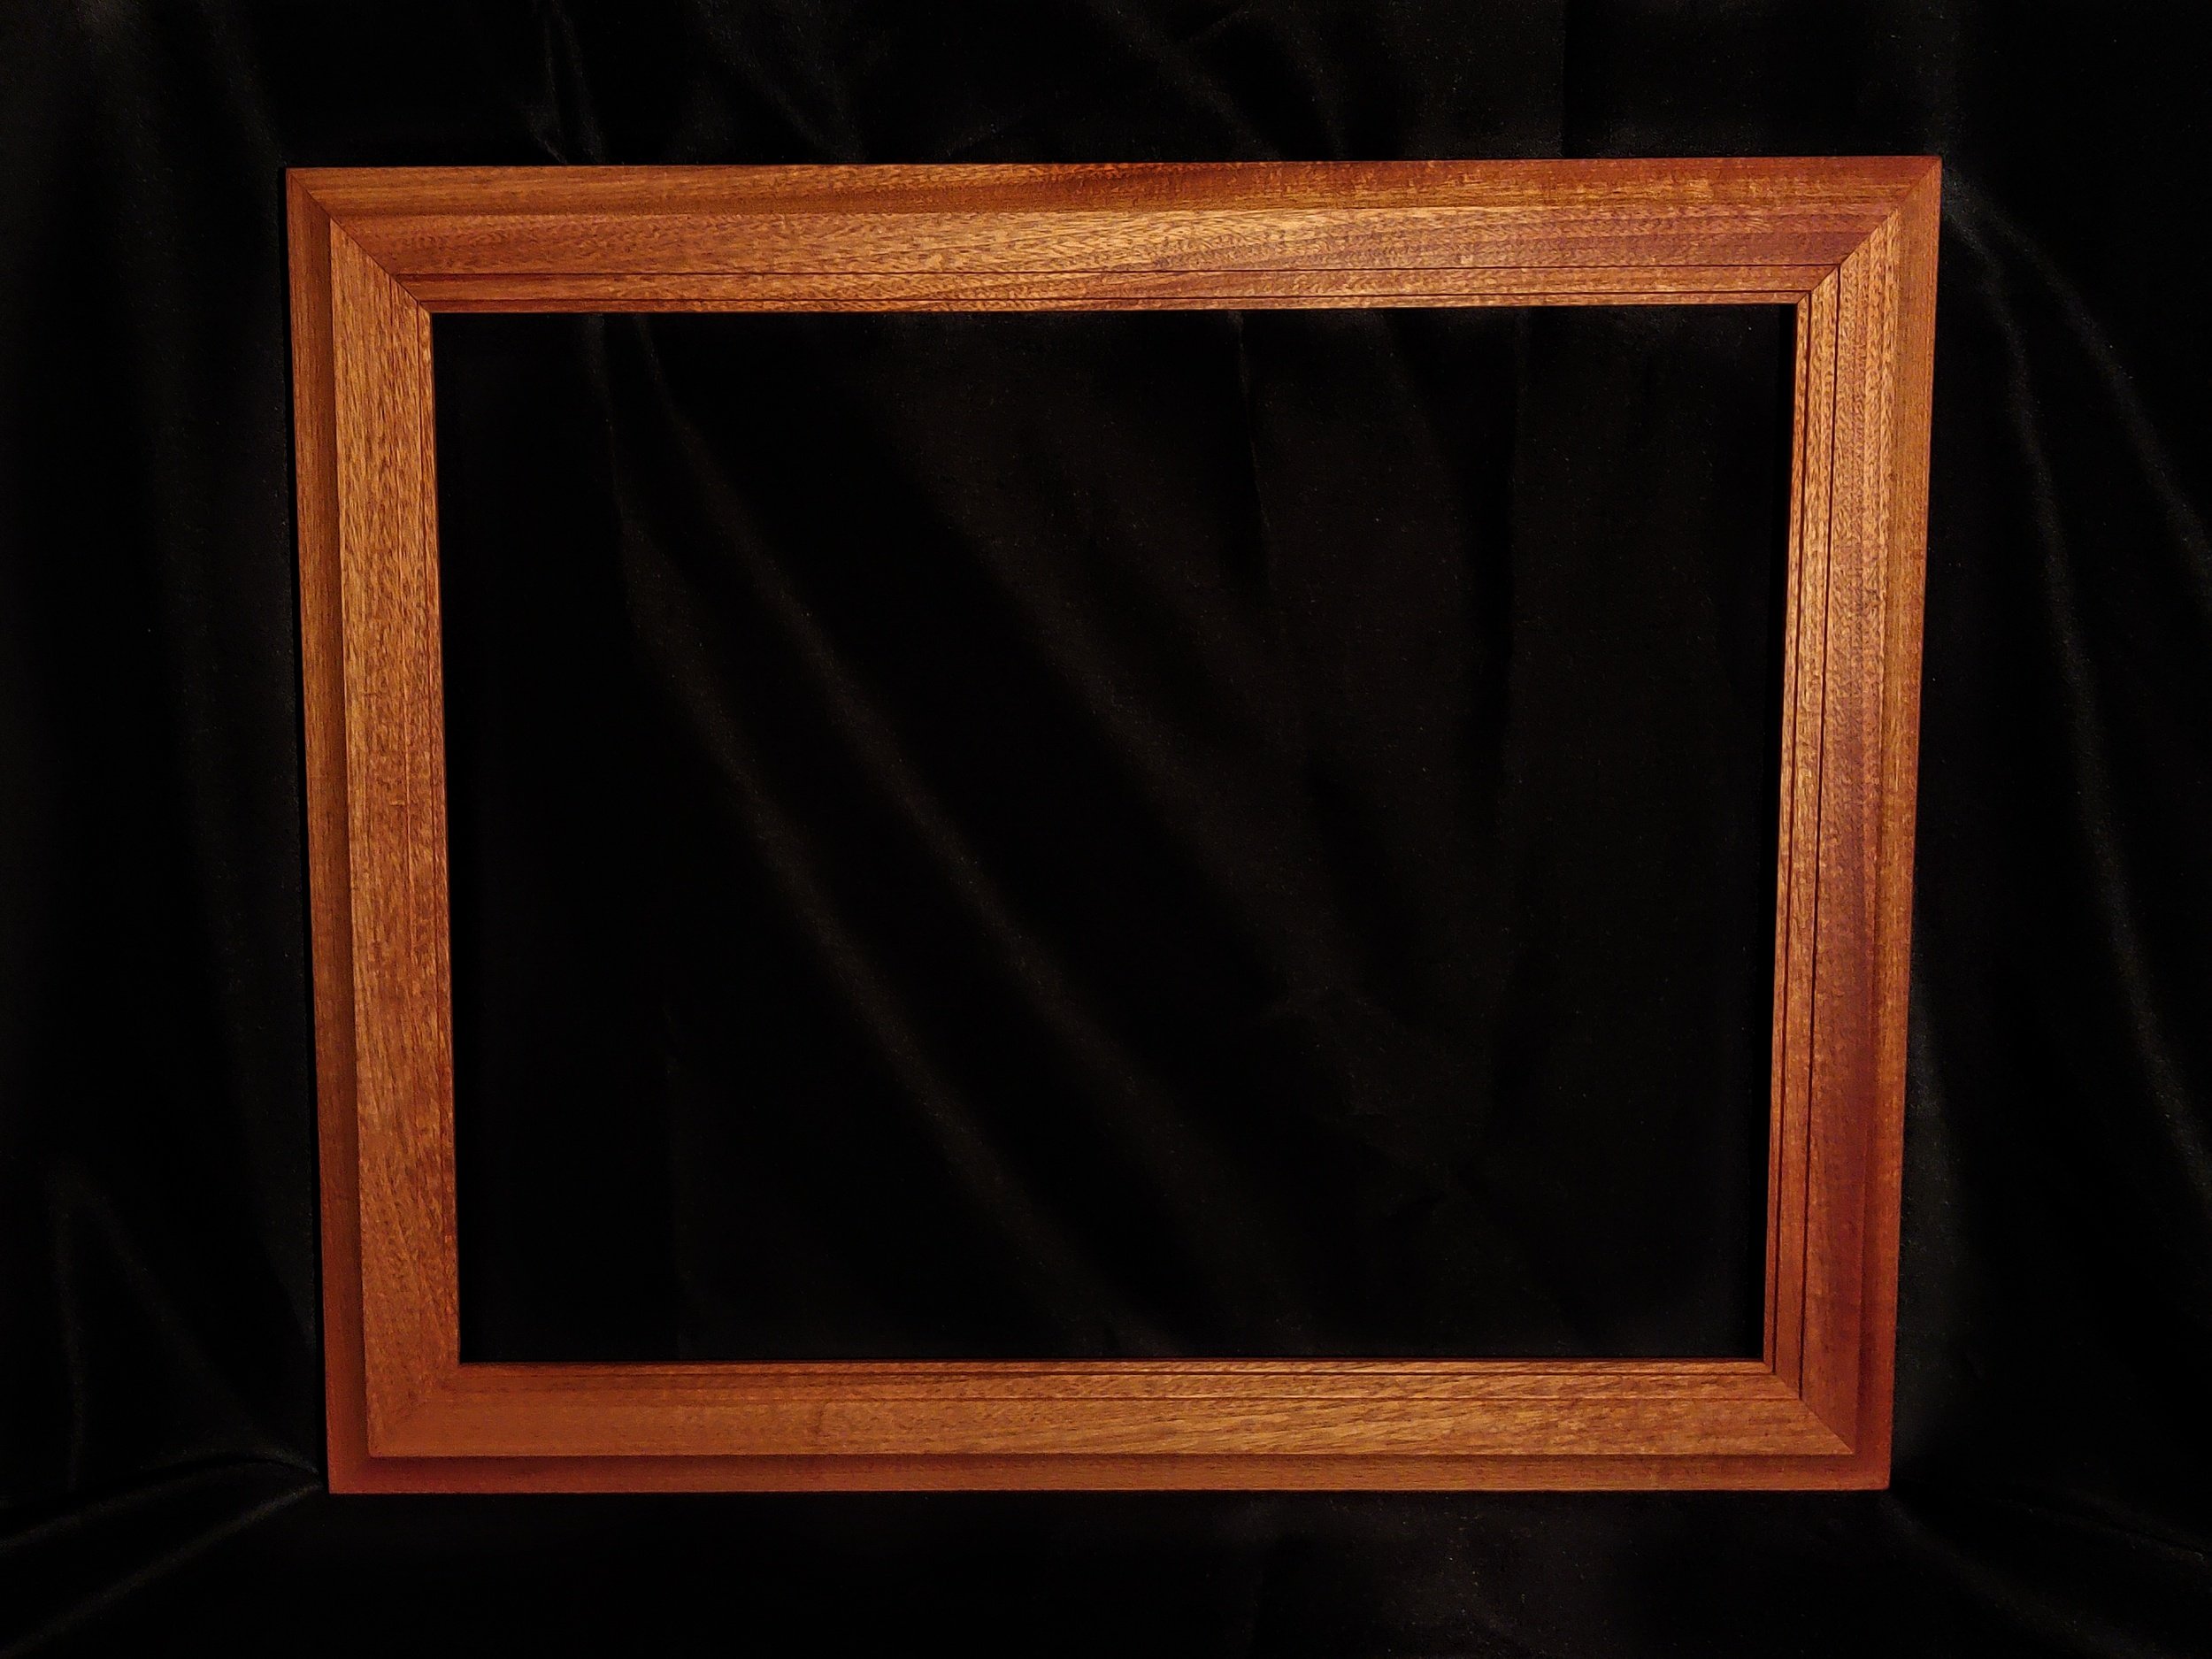
Finished frame, this shows off how the wood catches light, changing in color from light brown to red.
Assembly and Finish
Once my sticks were turned into millwork I was ready for the easy part. The fast version is I cut them to size on the miter saw, pre-sand the interior parts (link to my millwork profile sanding guide), glue, sand, and apply finish. For more on the entire process, follow my 6 step guide.
A note on the finish, I knew I needed to use an oil finish, as opposed to water based, to bring the grain out. So I opted for boiled linseed oil with a paste wax top coat for dust resistance. Frames aren’t touched often, so this finish will be adequate.
Finally, after the frame was assembled and finished, I was able to see the whole project come together. I had worked with the team to have people throughout the company write messages on a mat along with a department picture. To secure the backing, I use glazing points firmly pressed into the back rabbet of the frame with a screw driver. I’ve tried using brad nails, which work, but are harder to remove given their headless design and do require a hammer to install. Glazing points only require a screwdriver to install and remove, making it easy for me and for a non-woodworker to take them out and replace a picture if needed.
To Cynthia, I hope you enjoy and every time you see it you have fond memories of your time with First Tech.

If you made it this far you must be very interested in this picture frame. I think you might enjoy my video on how I made it. And if you were so engaged that you read the article and watched the video, I’d appreciate a comment to hear what captured your attention so I can make more content like that, I am always looking for ways to improve.