
Friday the 13th! Update
Friday the 13th, the second spookiest day in October kicks off with drama. I realized last week forgot to publish my Friday Update!
Life has been busy, but those things are all excuses, ways for me to shirk from my responsibility to write and publish these articles for my dedicated following to read, actually, I’m not sure if anyone reads this. If you do, drop me a comment down below. It doesn’t need to say much, just let me know you are here. That would mean a lot to me.
I do have a lot of woodworking on my plate which have been keeping me up at night. I think I’ve solved the major problems, but before we get into that, here’s what I have going on.
Entry Table
Coffee Table
Sofa Table
Cutting Board Restoration
Entry Table

This project is kicking my butt. I figured out the legs and moved on to the aprons which I knew would be challenging, but didn’t realize I would be part of the challenge.
The first problem was cutting the curve to match the legs. I want the apron to nestle right in, but need to leave material under the curve which will be the tenon. I figured the best way to do this would be to route out the curve and excess material using a template to guide the router.
Easy enough, I traced the curve onto a piece of scrap plywood, cut it out with the band saw and sanded it smooth. But I sanded a little bit too much so I repeated the process with more care and made a second template.
But the material I used was too thin and my router bit needed to plunge too deeply to use the bearing meaning I couldn’t use the template, but I figured I could use it if I used some spacers.
The problem was I needed to use both sides of the template, so I put spacers on the top and bottom. Then I was having trouble aligning it, so I put a fence on the end to line up with my workpiece.
But none of that worked because the router base needed to ride along the flat surface of the template. The blocking made the surface not flat and the fences were in the way.

With no spot to rest the router this template was useless.
So I scrapped that template and made a new one out of a longer, thicker piece of scrap.
Finally, ready to work, when I realized my next error. The router base was too small. If I wanted to try to route to the edge my router would tip.
So I needed to make a new router baseplate. Luckily I had some plexiglass I specifically saved for this purpose. So I drilled some holes, made a handle, and got the new base on the router.
Now I’m making it all sound easy, but this was a frustrating, multiple day journey all so I could finish a 45 minute routing activity.
But finally, I had the aprons routed and ready to fit.
The fitting process was fairly simple. Insert the tenon and measure the exposed portion of the tenon. Trim that measurement off the end and presto chango the tenon fits, but it’s too tall.

So I did the same exact thing to trim the bottom of the tenon off to have the apron slide all the way down into the joint.
Completed apron with trimmed dovetail on the bottom, which I’m using to transfer the line to cut to.
With that, I used the same principle to trim the sliding dovetails to length, accounting for the blind, un-dovetailed portion of the table top and I could put the table partially together. But before I started anything else I brought the table inside to let it sit out of the way and in a place where it hopefully will not warp while I shift focus and work on a two tables for a client.
Coffee and Sofa Table
Technically two projects, but they get one heading because I haven’t started work on them other than going to pick up the lumber. I purchased all 8/4 material for these tables at a very reasonable price from Milwaukie Hardwoods.
I love going to Milwaukie Hardwoods, it’s a little treasure trove of nice, wide boards and my go to for locally sourced lumber.
As I get older locally sourcing is increasingly important. These boards are a couple hundred pounds all together. If I went to a lumber dealer chances are these boards were shipped hundreds if not thousands of miles to get here. But when you find a local sawyer, cutting, milling, and drying local trees that means the carbon footprint of these boards are likely negative, meaning they contain more than it cost to produce.
So yeah, I’m over here producing a carbon negative footprint out of my small shop without buying offsets. I’d like to see a corporation who could make that claim.
Oh, and the work this week, rough cutting to length and flattening. Nothing special, the first step to all projects, but a laborious one made tougher when working with 2 inch thick, heavy boards.
Cutting Board Restoration
Two weeks ago my friend Steve dropped off a cutting board. This wasn’t any old board, it was one his wife Michelle’s grandpa made for her as a present. Anytime there’s history behind a piece I find it extra special. No longer is this just a board, but a board built with love.
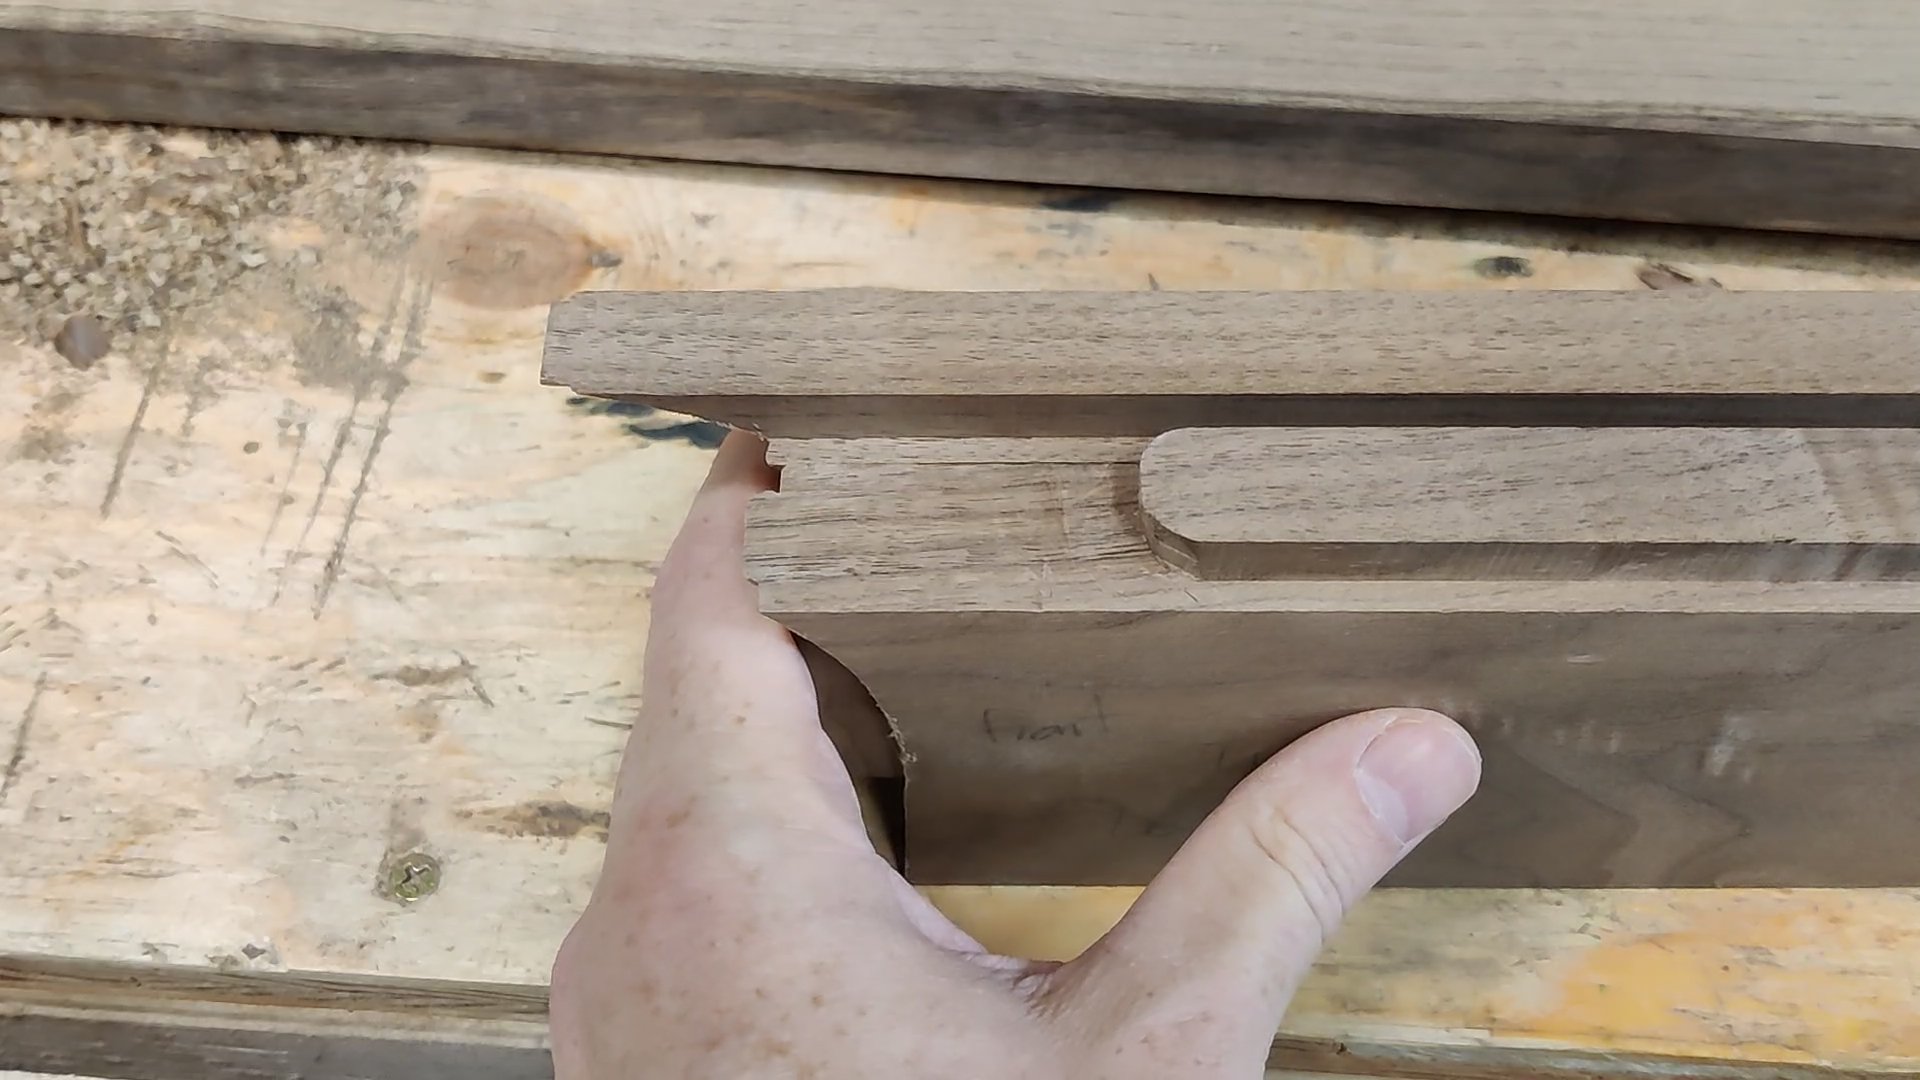
On top of that, it was a well constructed and thought out board. It has a runner going across the board at each end which serve two purposes. The first is they help keep the board flat by adding rigidity and structure. The second is they act as a bench hook. That board can be pushed up against the edge of the counter which holds the board in place when in use.
He secured these two boards with stainless steel screws, which were a bit dirty but have held up over time, very nice for me as I thought they were rusted out and I would need to replace them.
The only real problem with the board was the finish. I believe it was Tung oil which had gone bad over time and was now sticky. To remove it I used a hand plane to slowly scrape away the old finish and erase the knife marks.
Once done I gave it a light sanding and reinstalled the end boards, gave the all the exposed edges a break with a block plane, oiled and top coated with beeswax.
It was a pleasure to work on this board, appreciate the craftsmanship and restore it back to a like new state to serve Steve and Michelle for years to come.