
Table Structure Done: Friday Update
Last week was Thanksgiving, so I postponed posting about my progress to focus on the holiday festivities. The previous week I officially closed the coffee table and sofa table projects by editing and uploading the YouTube videos. Here they are if you’re interested in watching.
Next up is restarting the entry table.
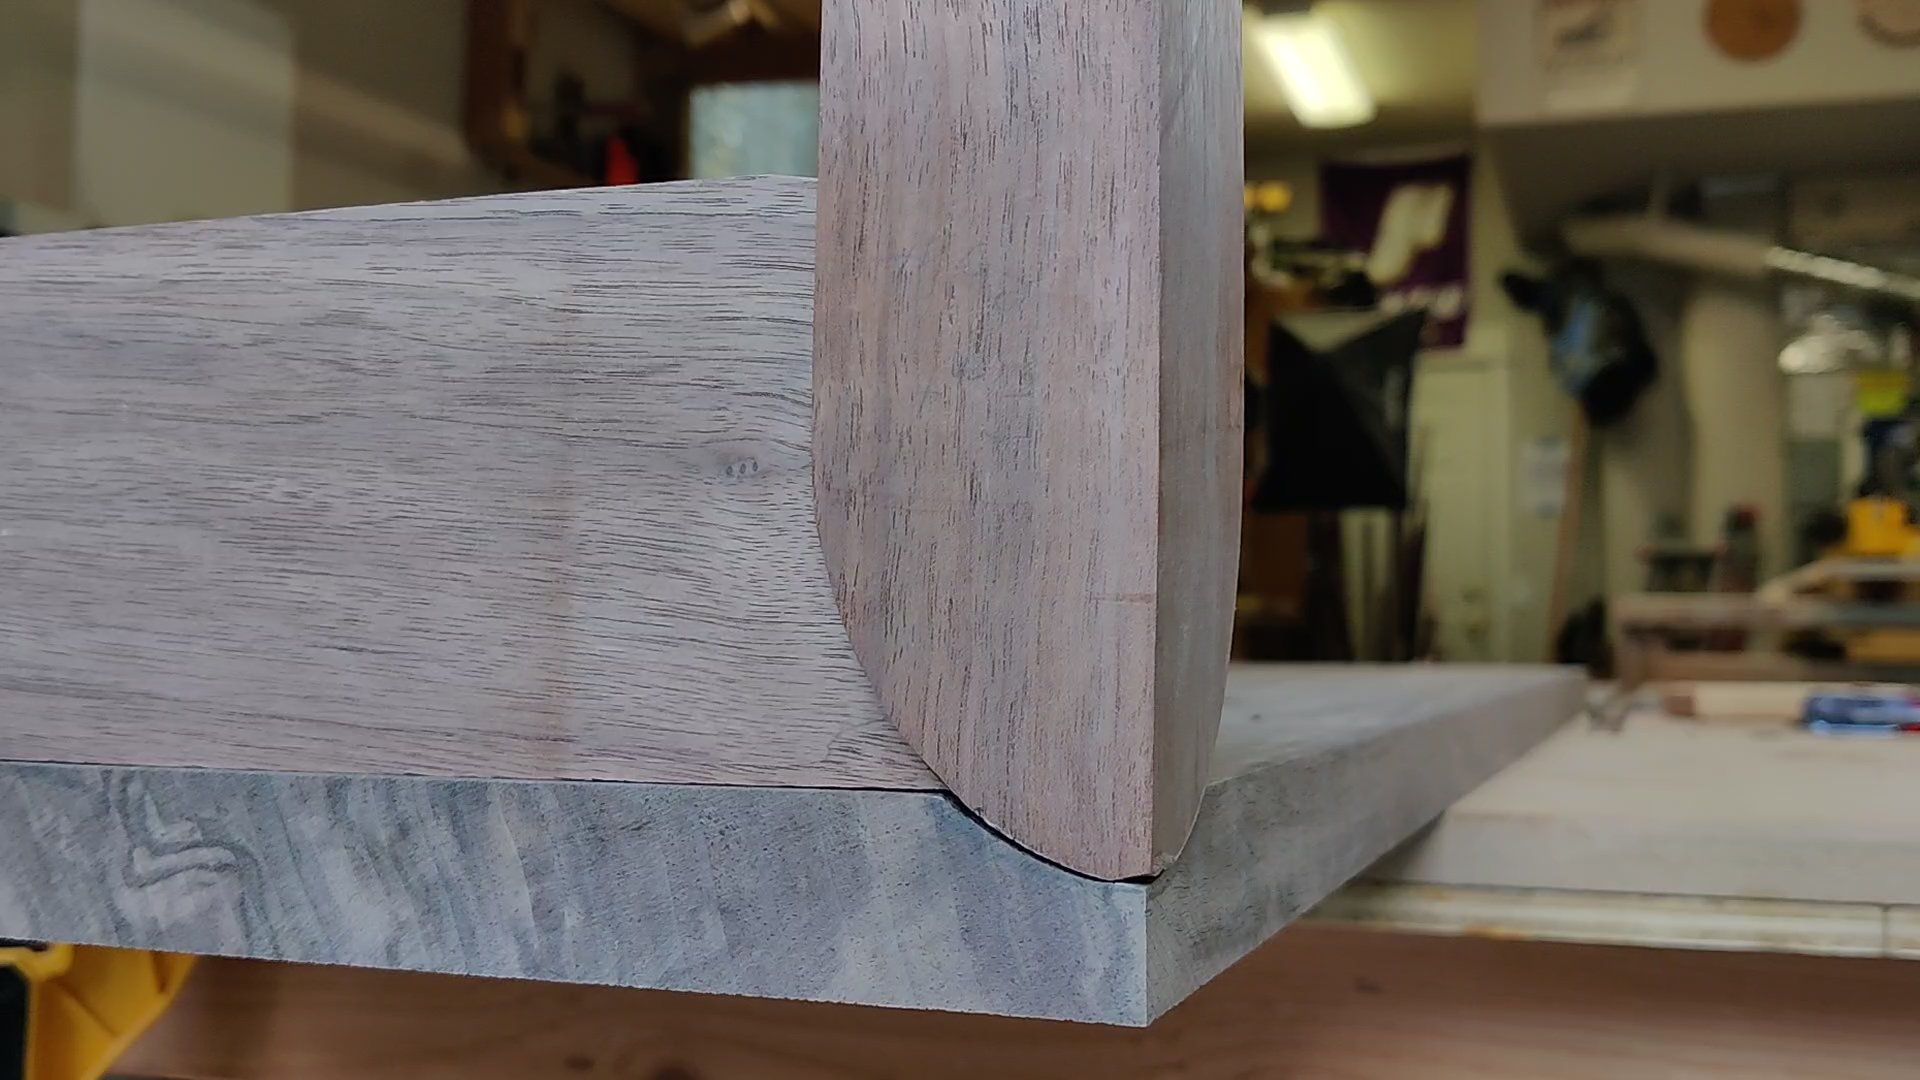
I left the table partially assembled, with the sliding dovetails cut and sides done with the leg mortise and tenons complete. But what I needed to do was embed the legs into the underside of the table by carving out a small pocket for the legs to slide into.
There are many ways to complete ever task, but I opted for the old school using chisels to carve the leg pocket as close to the line of the leg as I could. I did end up with a slight gap, but I’ll go ahead and even that up and it will look natural, especially since the drawer fronts will require a gap across the front to function, making the leg gap look natural.
The next step was the back stretcher, which I could now cut to exact size since the legs can be fully seated in their permanent home.
With that and the addition of two drawer dividers the entire structure of this table is done which means I could move on to the drawers.
This is my first set of wooden drawers and I wanted to do something special. My thought was to carry to curve of the legs into the drawers by using a couple of router bits to create a wing on the top of the drawers. That wing will sit on a rail to slide in and out.
Since this is a first for me, I made some test pieces to trial the process and fine tune my plan before cutting into my work pieces.

Three router bits were used to create this drawer slide. A cove bit to cut the inside curve, a matching radius round over bit to cut the outside curve of the support piece, and a larger radius round over bit to cut the outer most curve.
The trick to cutting these on the final pieces is to remove all the extra material at the table saw with a dado stack, but leaving a little bit left for support when cutting the cove. This ensures the work piece will stay flat as it rides through the router table. I know, a little hard to conceptualize but the video will make it easier to understand.
And that extra nub is trimmed off by hand to complete the sides of the drawers.
Next up, putting these drawers together and mounting them which is the final task before I can move on to the finishing process.