
Cabinet Progress and Door Challenges: Friday Update
With the donation project done I was able to move on to other activities this week, but before I jump in let me round out last week with a few photos and the video on the box build.


Okay, now let’s dive into the cabinet.

Not the prettiest, but it’s all going to be hidden once the top goes on.
Back
I had already assembled the sides and connected them with stretchers. Pre-assembly, I sanded all the inside areas and after assembly I sanded the outside areas to bring everything flush. That left me with a skeleton, ready for the final cabinet pieces to bring the structure together.
I started with the back, which was simple enough. Use the track saw to break down a sheet of 1/4 plywood and slide it into place in the groove I cut in the back legs and bottom stretcher. I cut the top, back stretcher thinner so it would leave me room to slide the panel in from the top. I then secured the back in place with a few screws, no need for glue on this one.
Bottom

Next I turned my attention to the bottom, which was straight forward. I cut some braces to be glued onto the bottom stretchers to support a piece of plywood. Then I carefully cut a piece of plywood the exact size of the opening. Installed the braces far enough down so the plywood would sit flush at the top, then plopped the plywood into place. I did notice a little gap in the front, which was easily fixed by putting a little glue on the front of the shelf and clamping the stretcher in place to close up that 1/64 or so space in the middle.
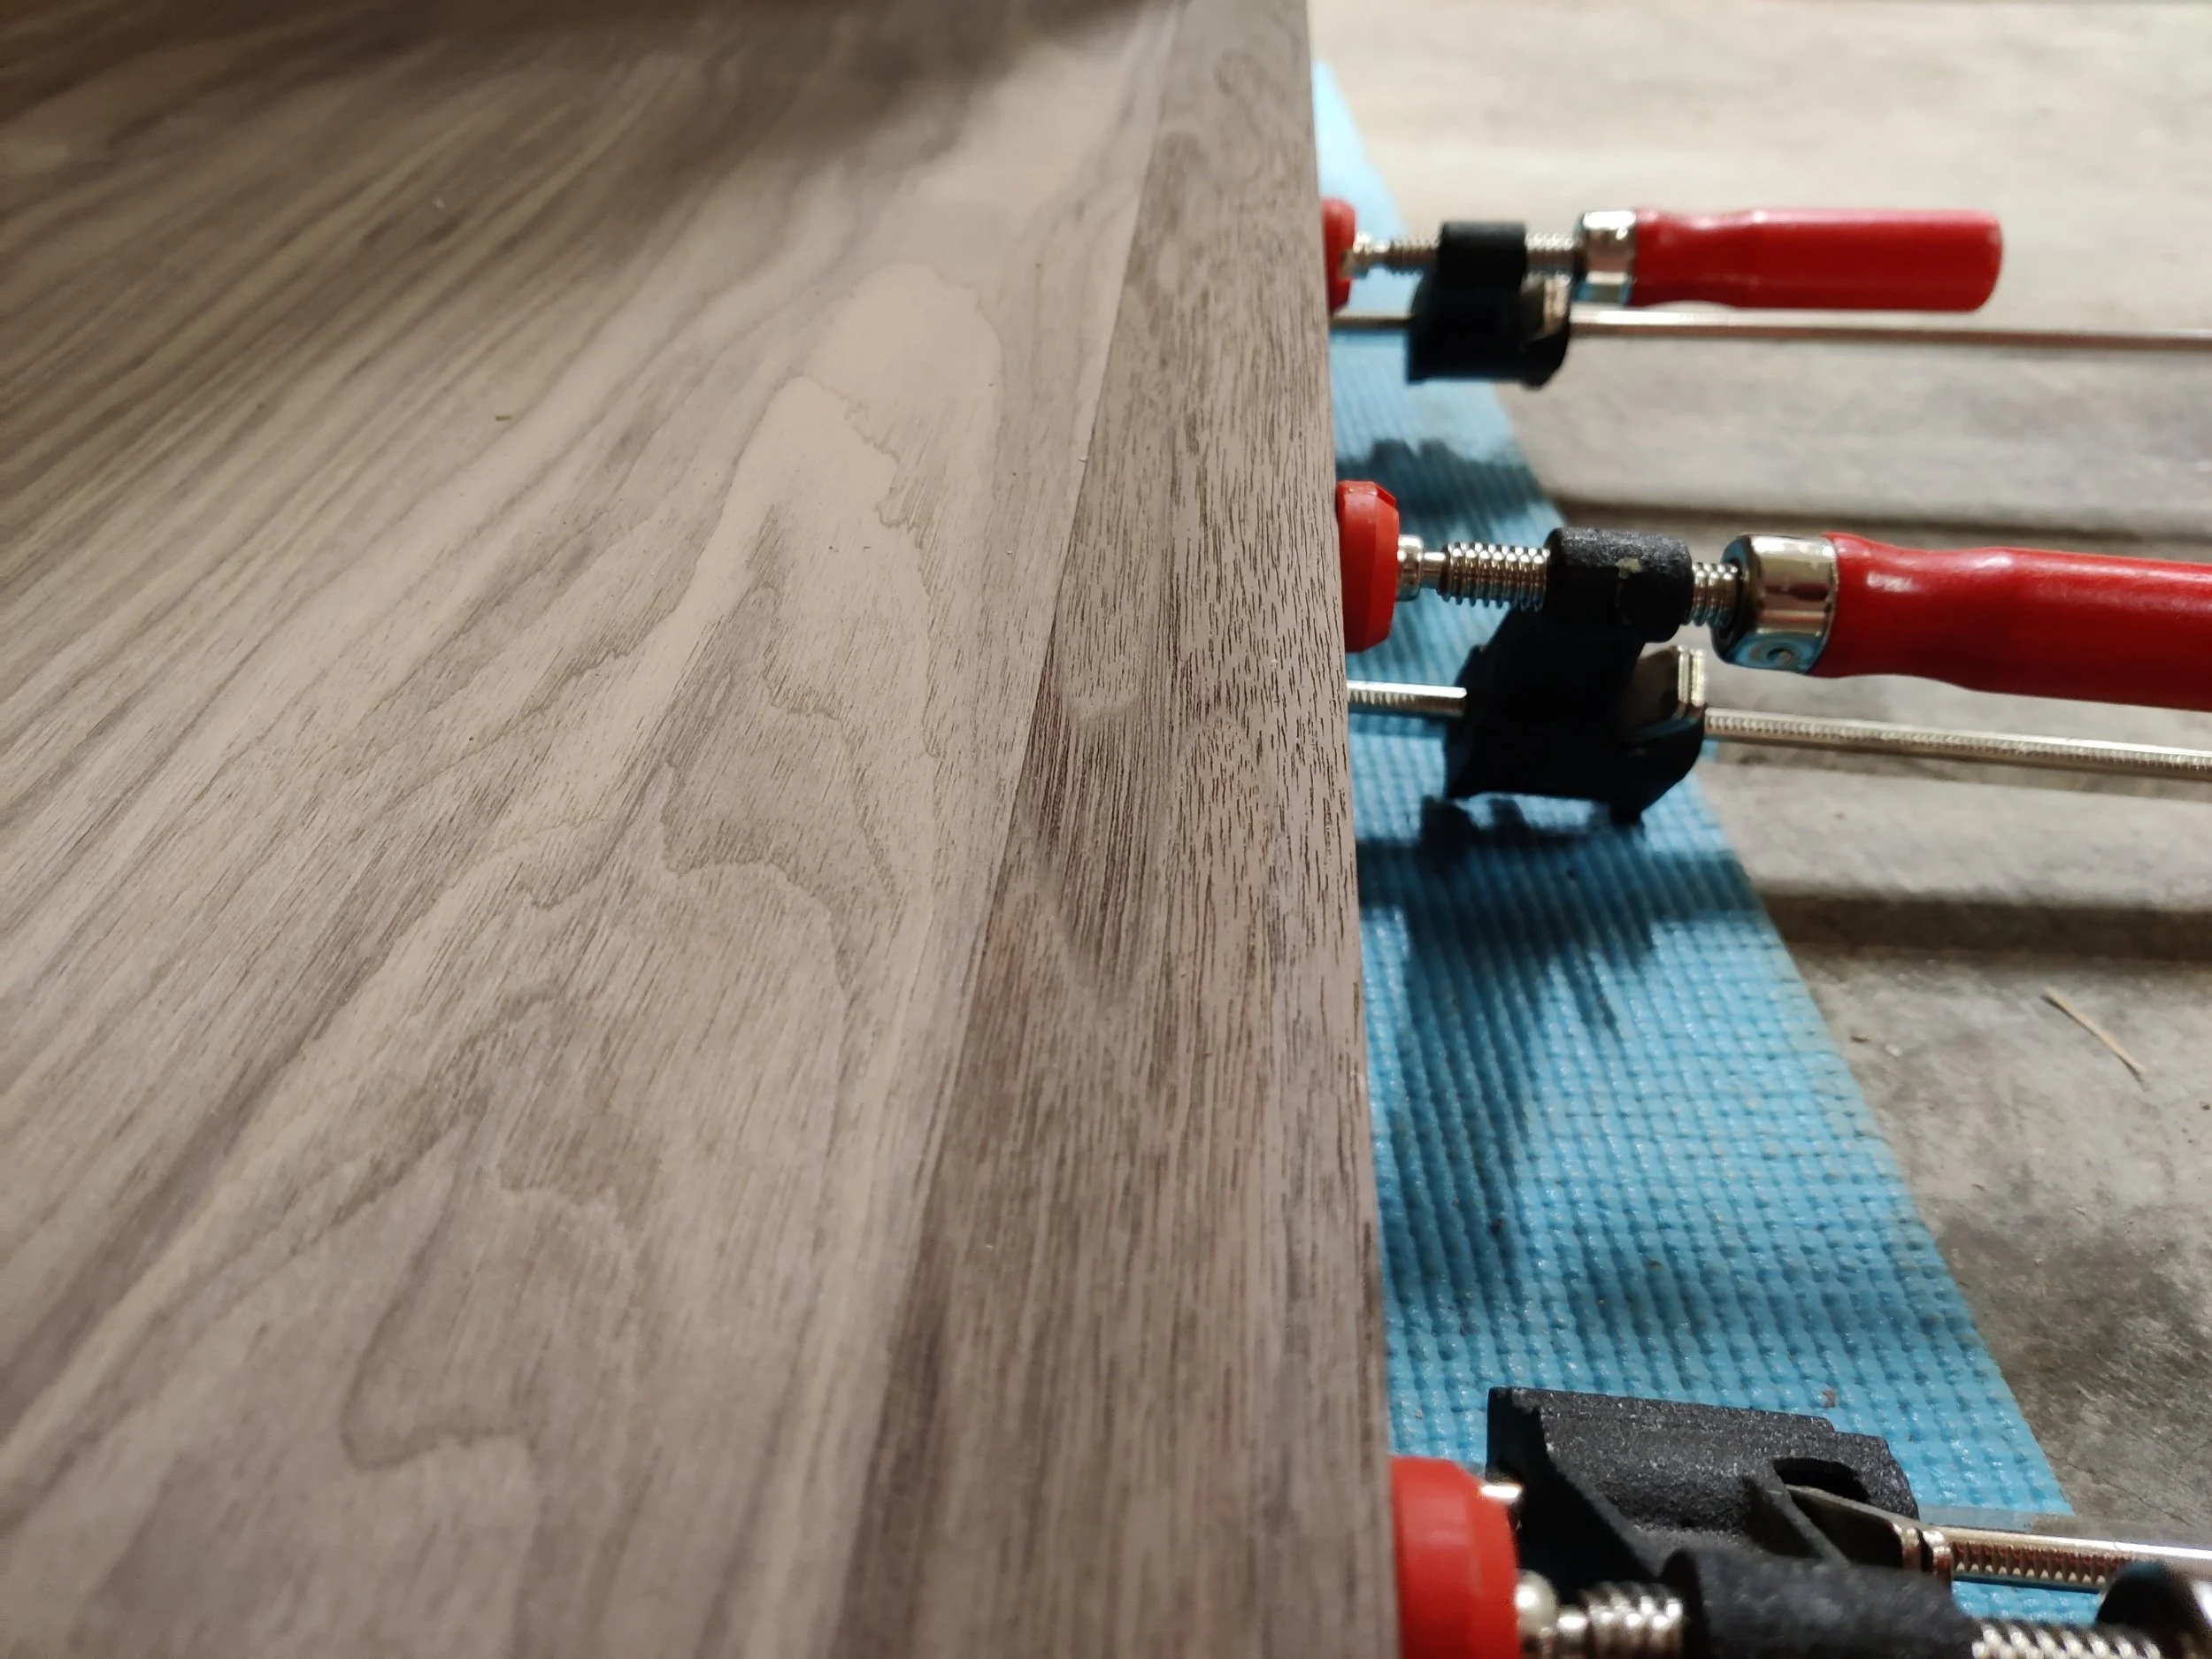
Gap closed with a little clamping pressure and held with glue.
Top
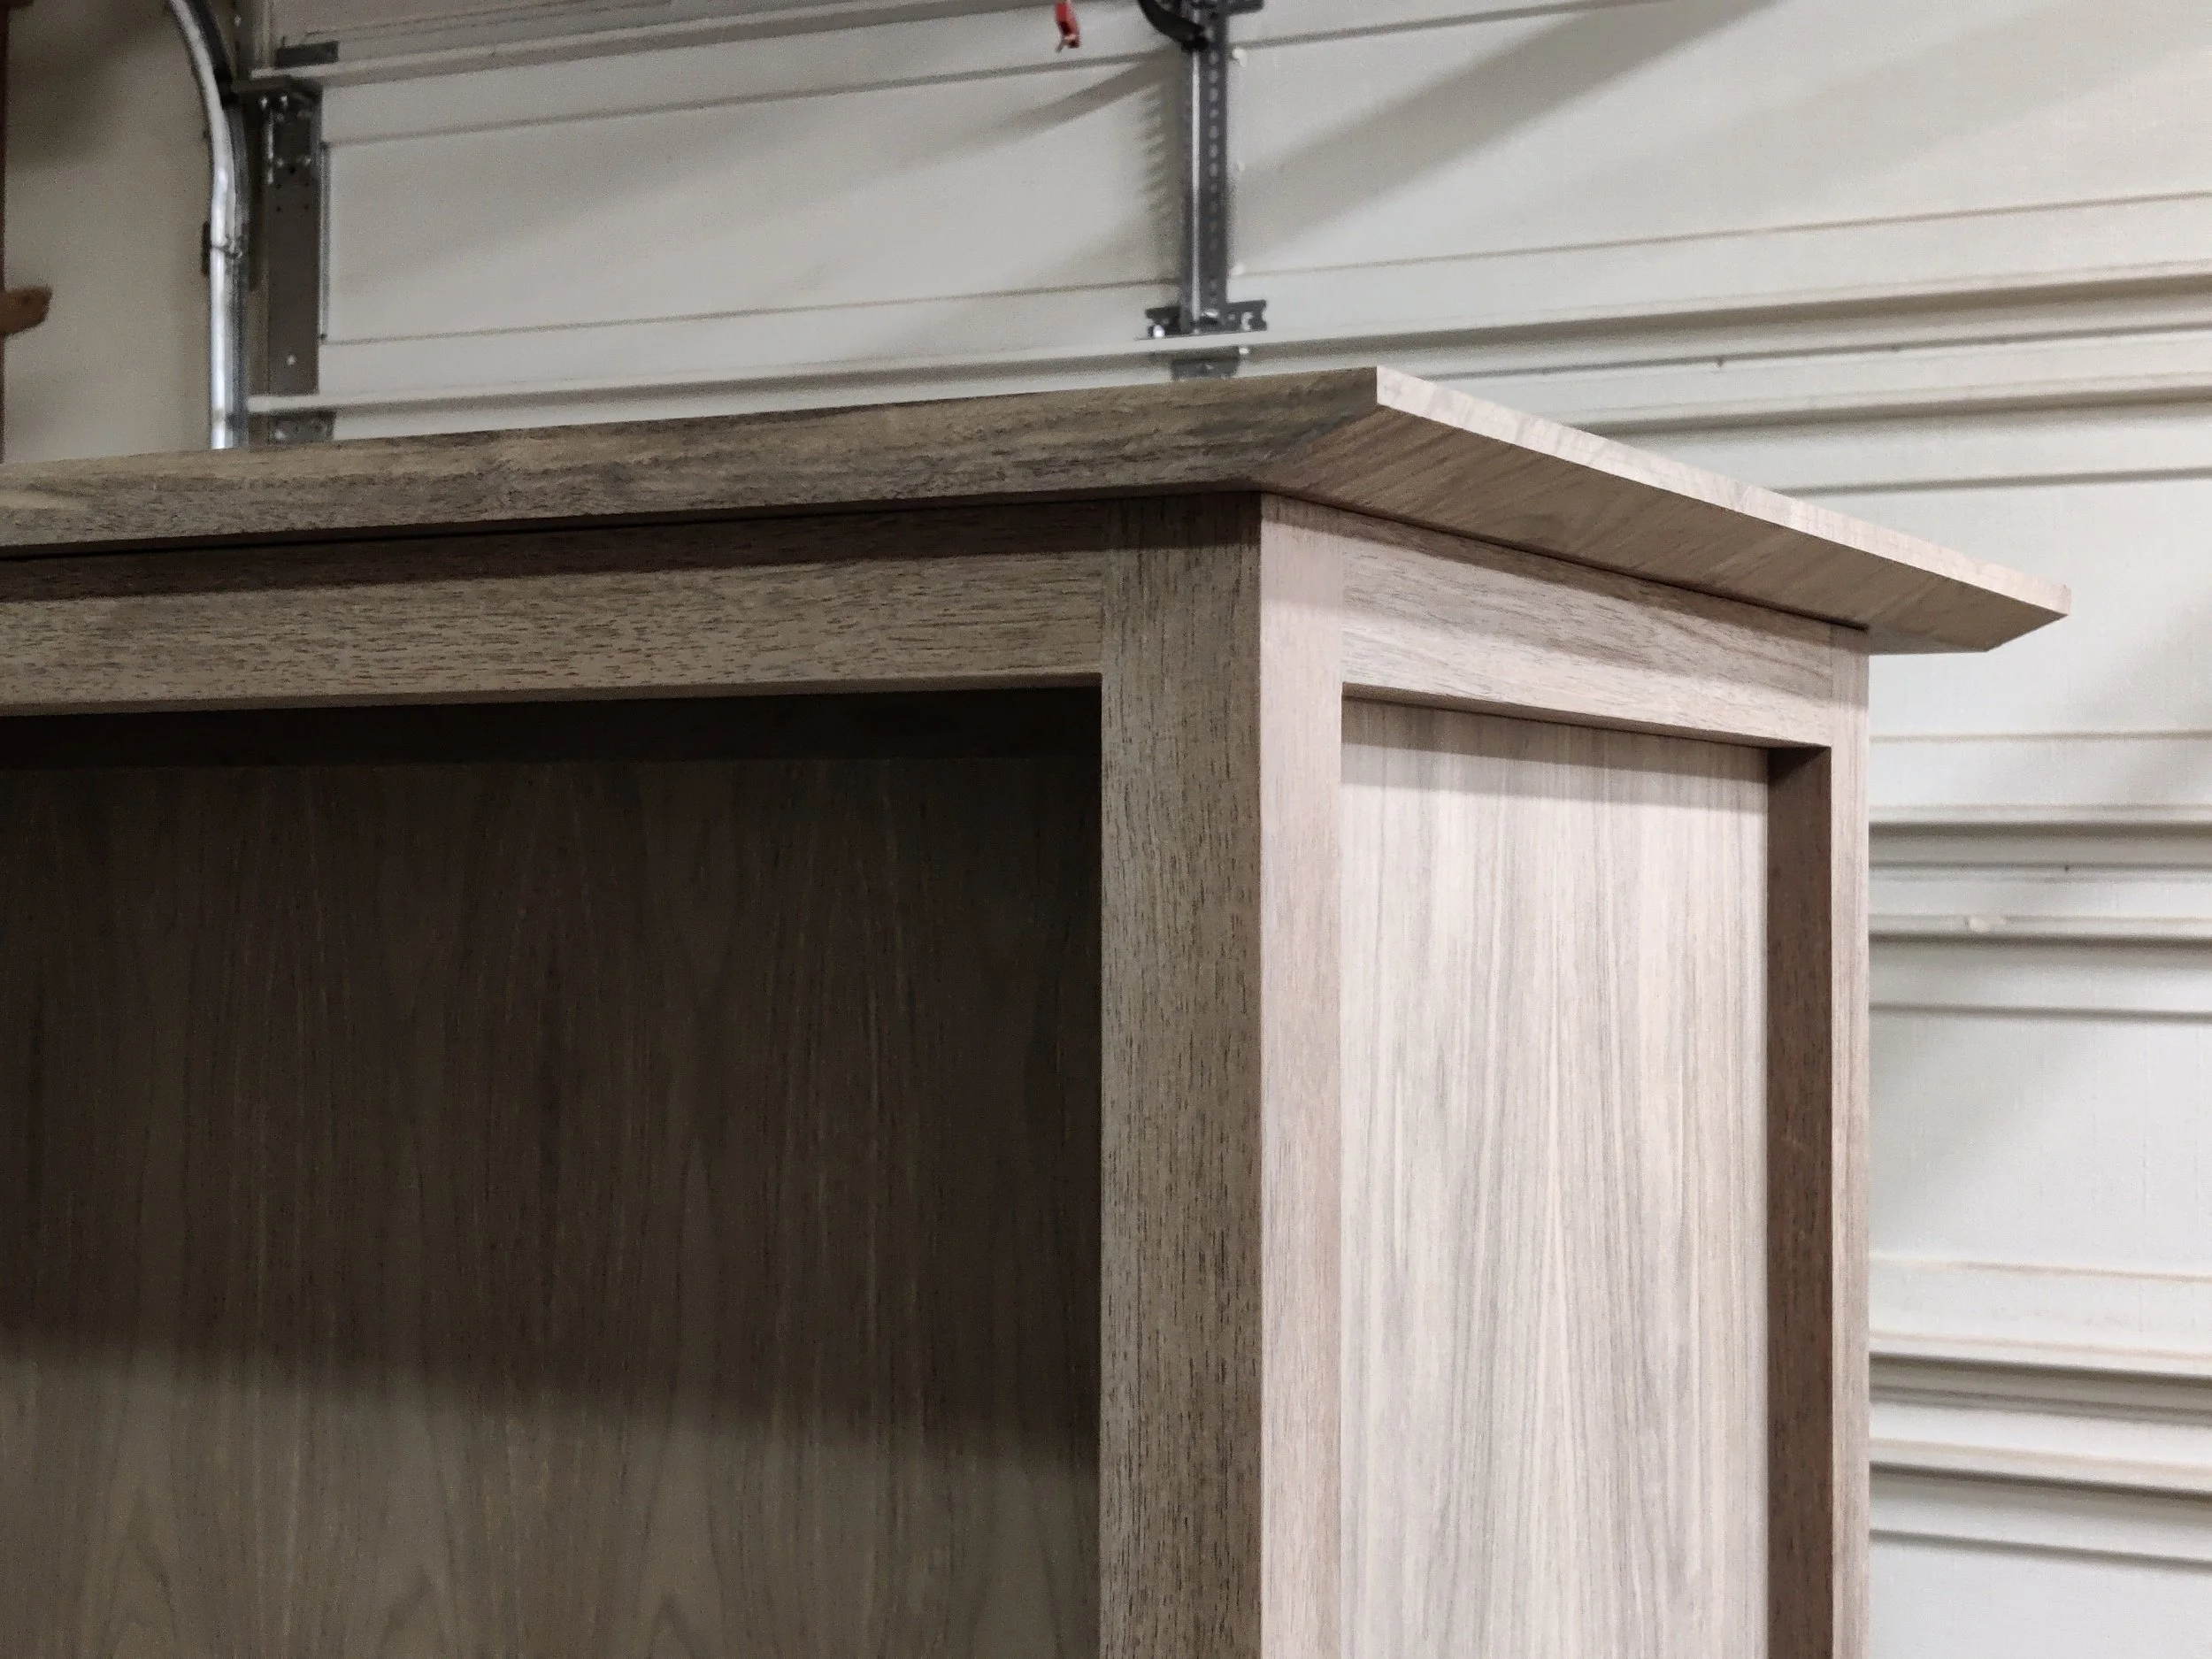
The top was a little more interesting. This piece is solid wood, a panel I glued up a while ago. It was still mostly flat after sitting for a few weeks, so I moved straight to final sizing the length and cutting in the under bevel. The length was easy, put the top on, measure, and cut with the track saw. The hard part was the bevel.
I wanted a long bevel which meant I couldn’t use the table saw as it only tilts to 45 degrees. I couldn’t use a track saw for the same reason. I have seen Chris from Foureyes Furniture take a panel and put it on edge through the table saw to make this cut. That sounded scary, so I went for the old school method. A hand plane.
I made two marks. One on the sides of the board and one on the bottom face. I used those two lines as a guide so I knew when to stop planing. Then I grabbed my rough out plane, a Buck Bros no 4, and got to removing material. Once I was close to my layout lines I switched over to a Stanley no 5. The reason for this is because I wanted to take finer passes with a sharper blade near the end. That way if I had tear out or chatter from the rough work I could fix it now, rather than coming back later and trying to sand that bevel which would be hard to do accurately.
After the top was done I got to do the fun part. Run it by Ashley, my wife, to see if she liked it. She didn’t like the extra flat part I left, creating a sharp angle from the cabinet to the top. She feels the angle of the bevel should start where the cabinet starts, but there are technical challenges with that design, so we decided to hold off on any changes until after the doors are on.
Doors
The fun part. I’m going with simple, shaker style doors. But instead of a wooden panel, I’m going to use glass. I have made similar doors before, but this is my first time using glass in a project. I mentioned in my look ahead that I needed to find a supplier, which I did. So I was confident I could order the glass to specification, but I first needed to know what that specification was which meant I needed to make the doors.
I started with my previously milled lumber which had moved slightly over the weeks and had a bow, but I knew I needed to rip these down to width so I went ahead and started at the table saw. That way if the lumber moved again after ripping I would have the boards in equilibrium while I still had enough material to flatten, or so I thought.
Wood, especially black walnut, tends to have a lot of tension in it. Not always, but sometimes a board, when cut, can twist or bow in dramatic fashion. In my case, as I was ripping, two of the 6 boards moved so much they actually split themselves apart as I was cutting them. I’d say the arc is around 1/4 from tip to tip. Unfortunately, I did not plan for that and I ripped the boards to 2 inches wide, leaving me with zero extra room given the hinges I am using.
I decided, after ripping, to leave the boards overnight to let them continue to move. The next day, Thursday, I came back and jointed everything straight and milled them flat. It’s extremely important to have flat lumber for cabinet doors, otherwise they will not close right. The problem with doing this part time is having the time to get things done before wood moves. Once the doors are glued together the construction will hold everything in place, keeping the doors from twisting or bowing, but when the lumber is sitting and waiting it can move freely.
So I worked late to cut the rabbets for the glass, cut the parts to size, create the tenon’s in the stiles, and assemble the doors. With this task complete I could finally move on to ordering the glass, which I will do today from a local supplier, Legacy Glass NW. They can make me two pieces to spec of tempered glass, essential for doors to prevent breaking.
A Look Ahead
I have a few remaining parts for the cabinet, mainly shelves and wrapping up the top as it is still too big and needs a good sanding.
I am waiting on a few pieces, hinges and glass, so I can install the doors. In the meantime I will do all my final sanding and apply finish to let it cure and air out while I wait for my pending orders.