
A Beginners Guide to Hand Planes: Setup, Sharpen, and Fine Tune
Hand planes are an essential tool in the shop even if your general work is all done by power. This guide will help you if you want to pick up your first hand plane or you have an old, dusty one in the corner of your shop.
A little about hand planes
There are many types of planes built for different purposes such as rabbet planes, molding planes, shoulder planes, plow planes, and more. In this case I’m only talking about bench planes which are generally used to make wood flat.
There are three types of bench planes.
Fore Plane
Jointer Plane
Smoothing Plane
Fore Plane - in between a jointer and a jack (18 inches)
The fore plane has a weird name. I don’t know how it originated, but I read in The Anarchists Tool Chest by Christopher Schwarz that it really just means “Before.”
The fore plane is the first tool to touch your rough stock lumber before other tools. Many wood working tools have weird names like that, the important part of a fore plane is it’s for removing stock quickly and roughly to get a board flat.
Generally a fore plane is a midsized plane and sometimes configured as a scrub plane. A scrub plane has a cambered (curved) blade so the corners don’t dig into the wood. You don’t want a long plane as a fore plane because your goal is to remove wood roughly and quickly concentrating on certain areas to flatten a board. If the plane is too long it will take a long time, if your plane is too small you’ll follow the hills and valleys and not flatten your board.
Typically a number 5 or 6 is a fore plane.
Jointer Plane - the longest planes (22 - 24 inches)
A jointer plane has a long infeed and outfeed with a blade to cut away any parts of the board that are sticking up. The key to the jointer is length. The longer the plane the straighter it cuts. Any plane 6 and up are jointers.
Typically no 7 or no 8 are considered jointer planes.
Smoothing Plane - smaller bench planes (9 - 12 inches)
A smoothing plane is one of the last tools to touch your work piece. The smoothing plane will leave a very nice surface which speeds up the sanding process.
No 3 to no 4 1/2 are all considered smoothing planes.
Bonus Planes
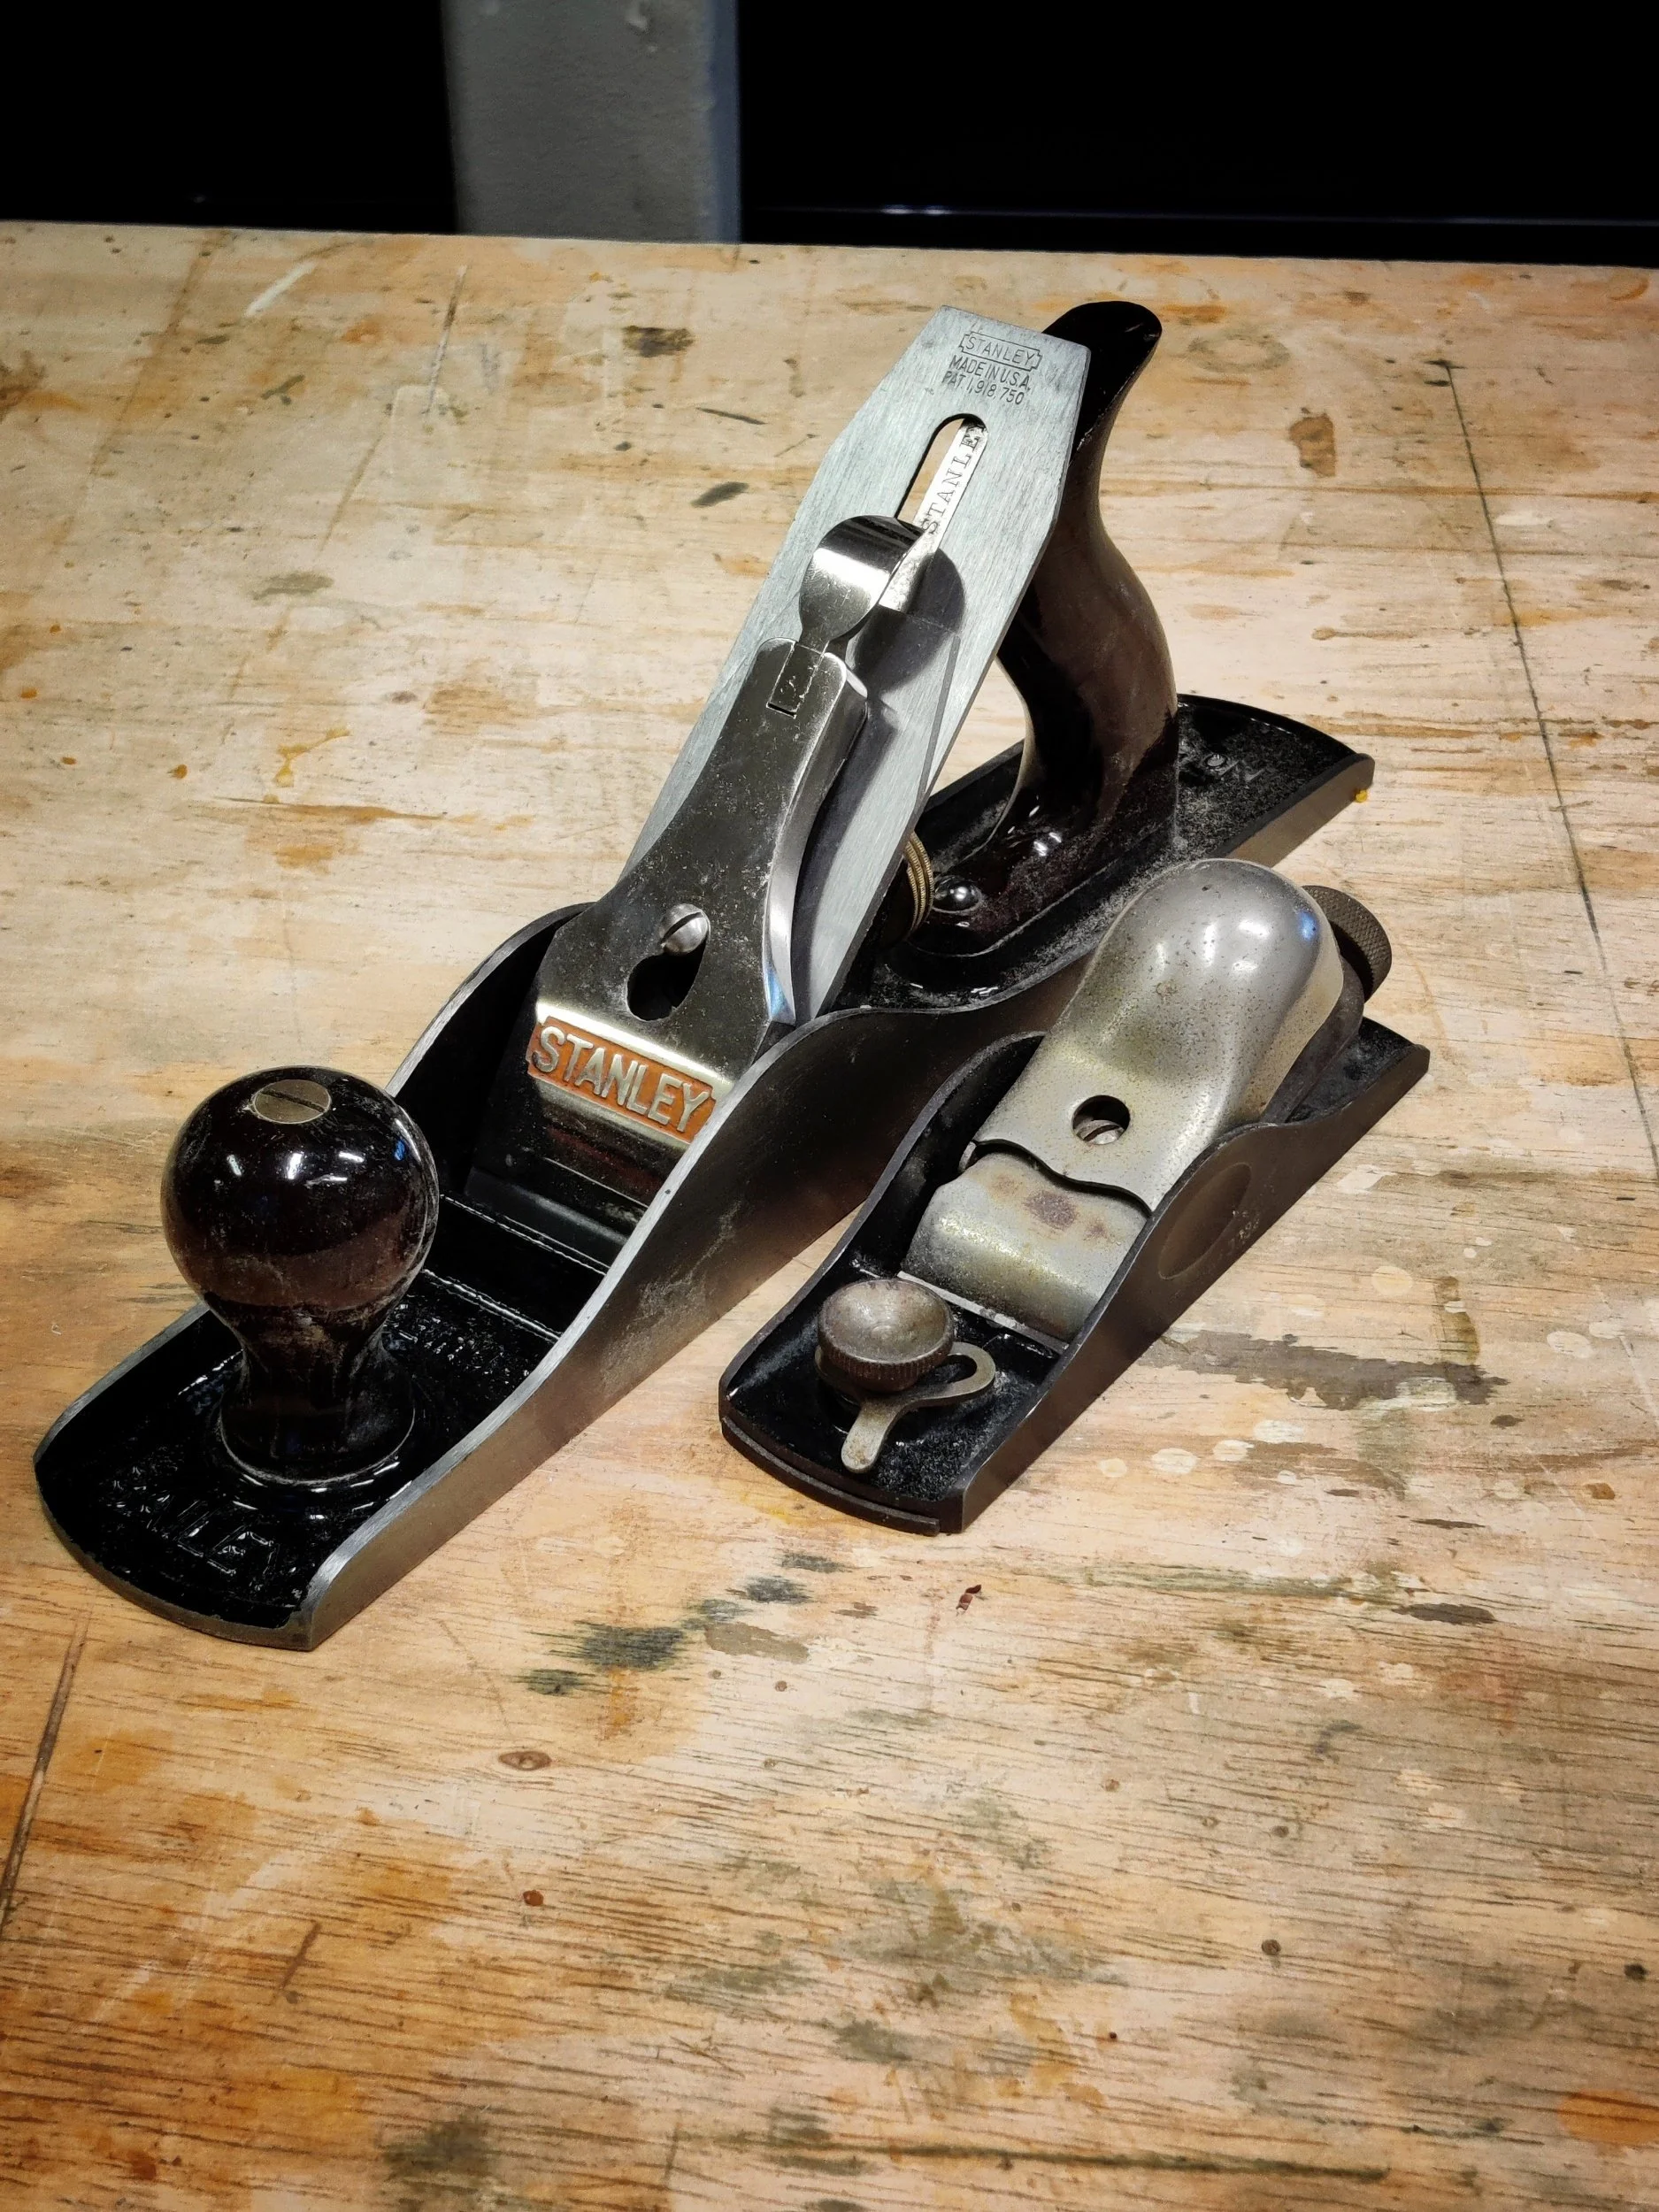
Stanley no 5 jack plane on the left and a wee little block plane on the right.
While these aren’t three of the important bench plane types, they are worth noting.
Jack plane. The number 5. Big enough to be a jointer, small enough to use as a fore, and even fine enough to use as a smoothing plane. Get a couple of irons for it and you have yourself a universal plane that is a jack of all trades. If you only own one plane, this is the one. Go for a vintage Stanley or a new Lie Nielsen.
Block plane. These are little guys, not technically a bench plane but useful nonetheless. These little things can be used to bevel edges, trim dowels, clean up joinery, you name it. Your first plane should be a jack, and your second should be a block.
Plane Anatomy
Bench planes are all very similar regardless of size. There are 7 main components.
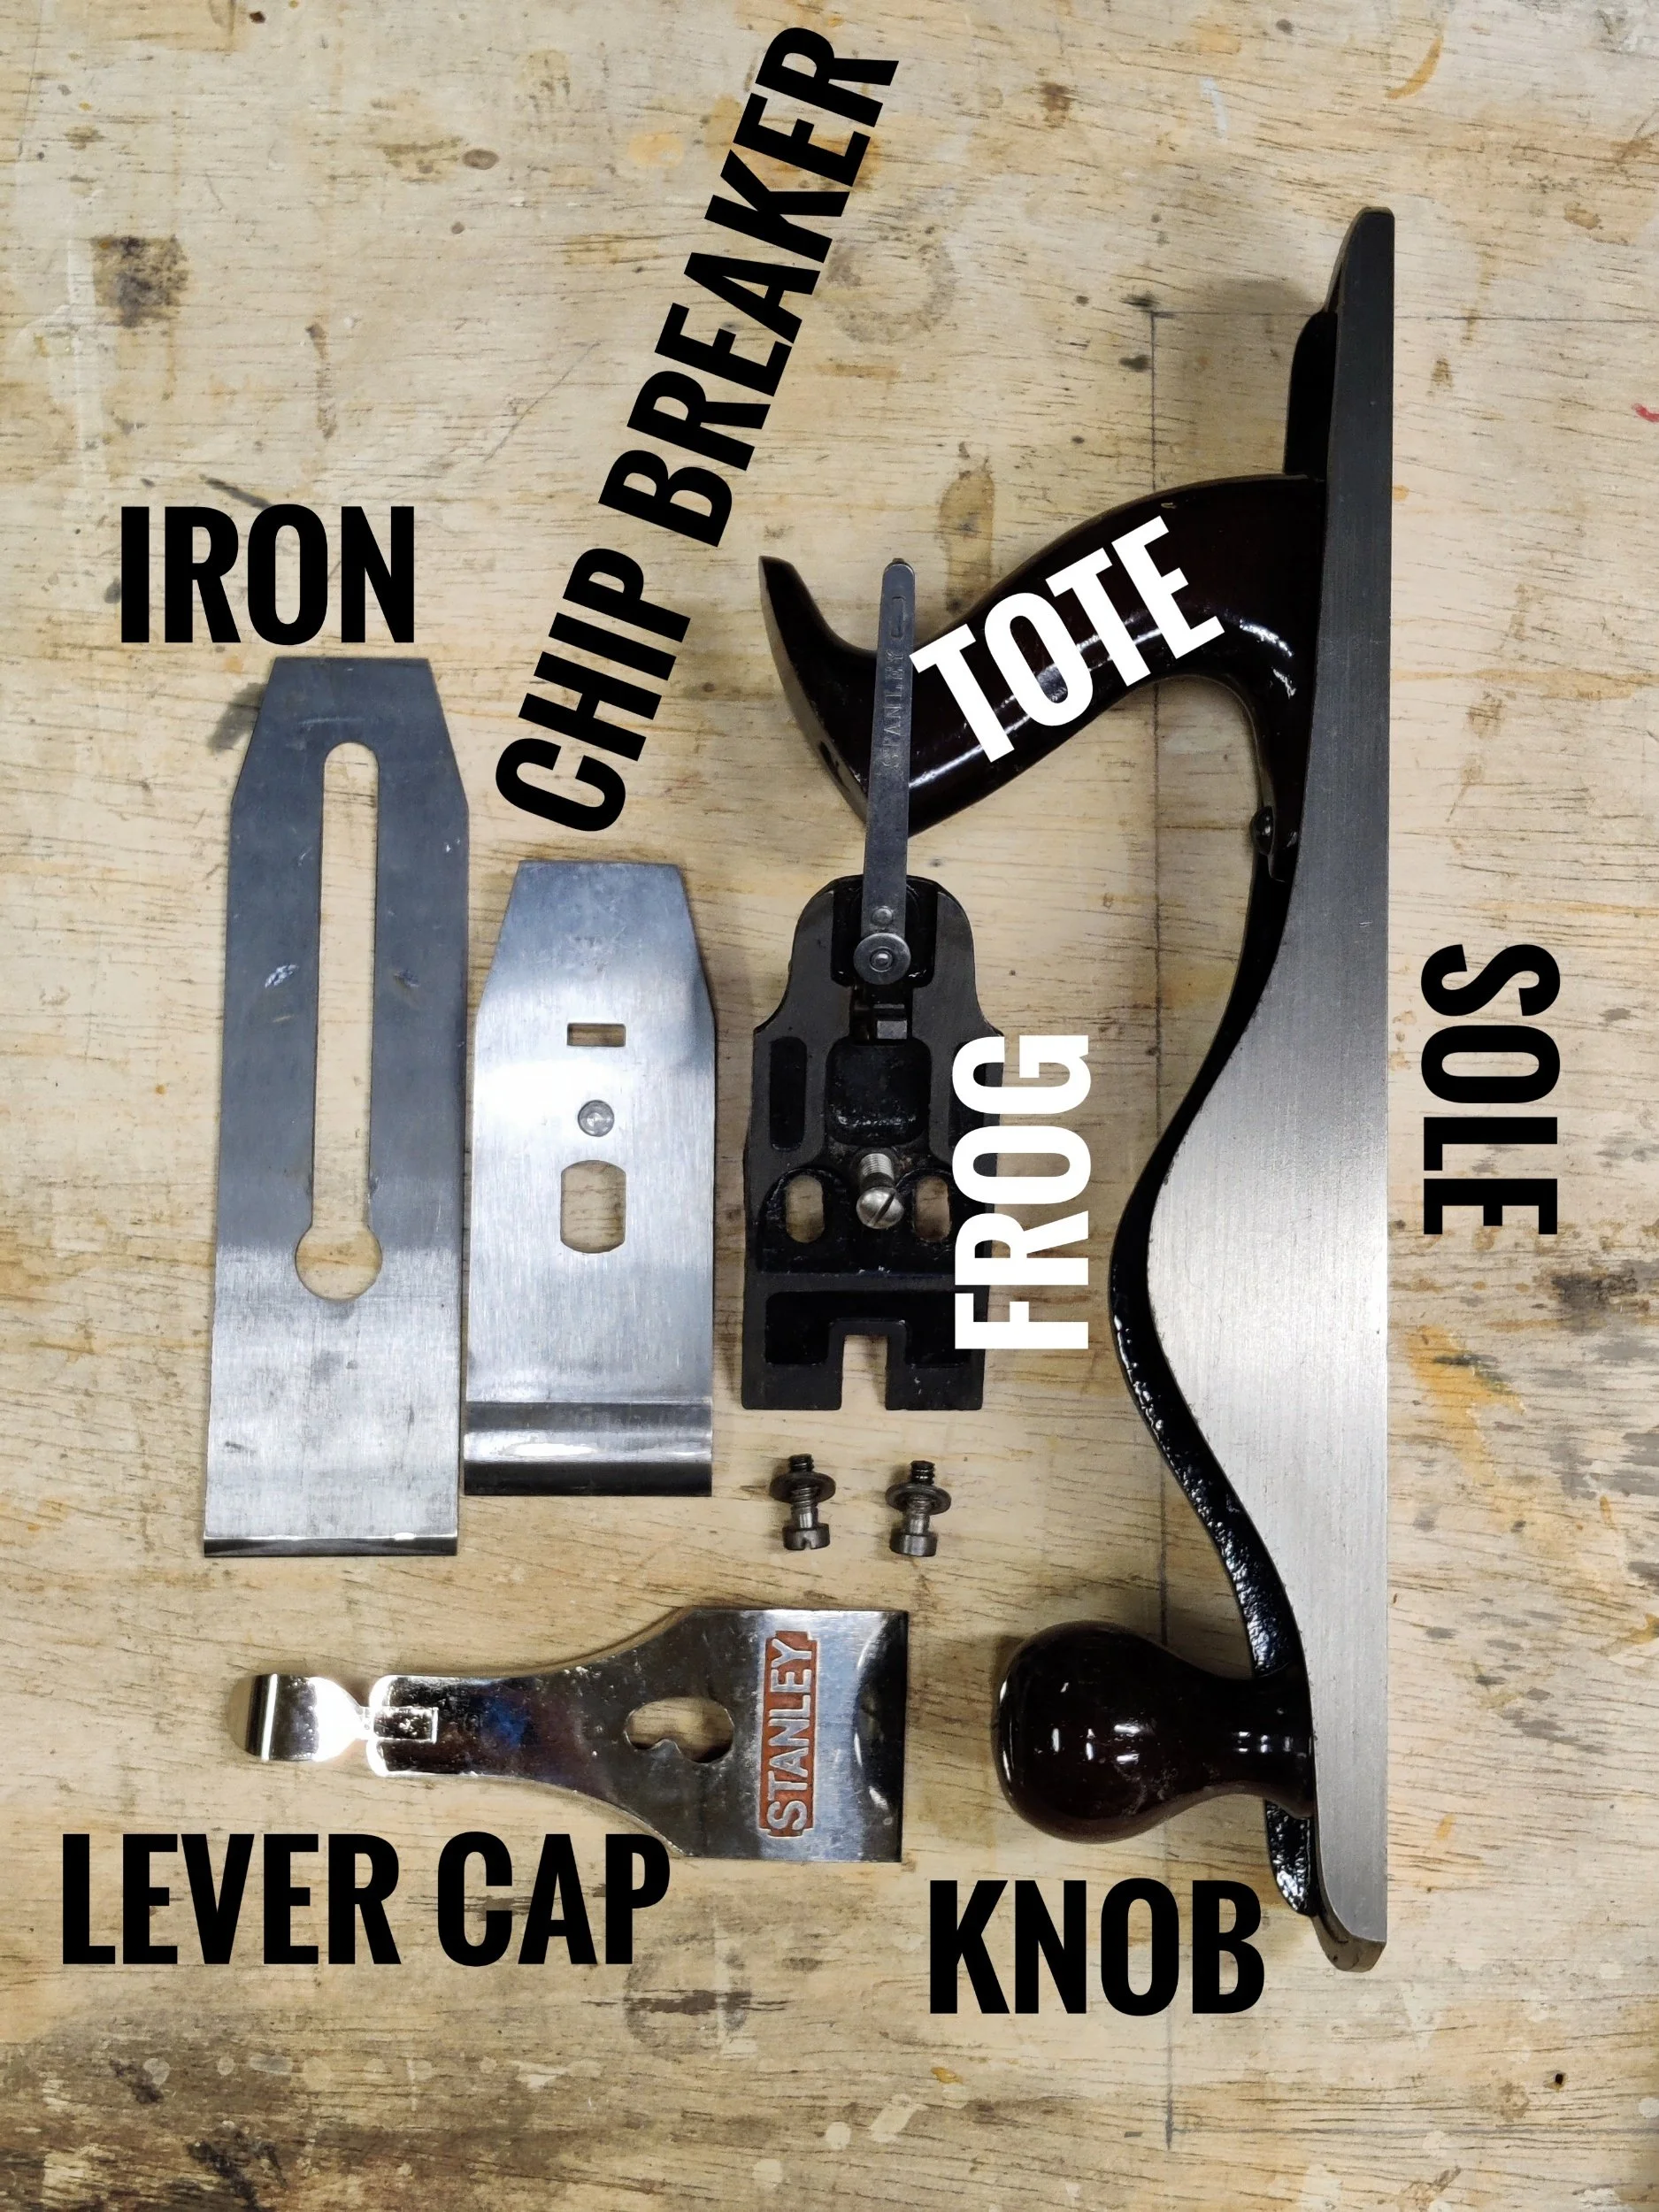
Sole (and Body, they are all attached)
The sole is flat, or should be. It’s the reference surface for your cut. If your sole is less than flat you will have a less than flat cut.
Handles (Tote and Knob)
You hold these.
Throat (or mouth and the adjustment mechanism, not always included)
The throat is the slot the iron goes in to make the cut.
Frog (including the attached depth wheel and lateral lever)
The frog holds the iron and is adjustable front to back.
Iron (also known as the blade)
This is the sharp part. Fun fact, it’s called an iron but it’s made out of steel.
Chip Breaker
The chip breaker holds the iron and transfers pressure near the cutting edge to keep things from shifting. It holds onto the iron via a screw.
Lever Cap
This is the thing on top of the plane stack. It holds your chip breaker and iron down tight, but not too tight.
Some planes will have extra gizmos like throats that open and close or extra adjustments or be stripped down, old school wooden planes with no adjustment mechanisms, but for this article we’ll talk about modern planes and in particular, the Stanley no 5.
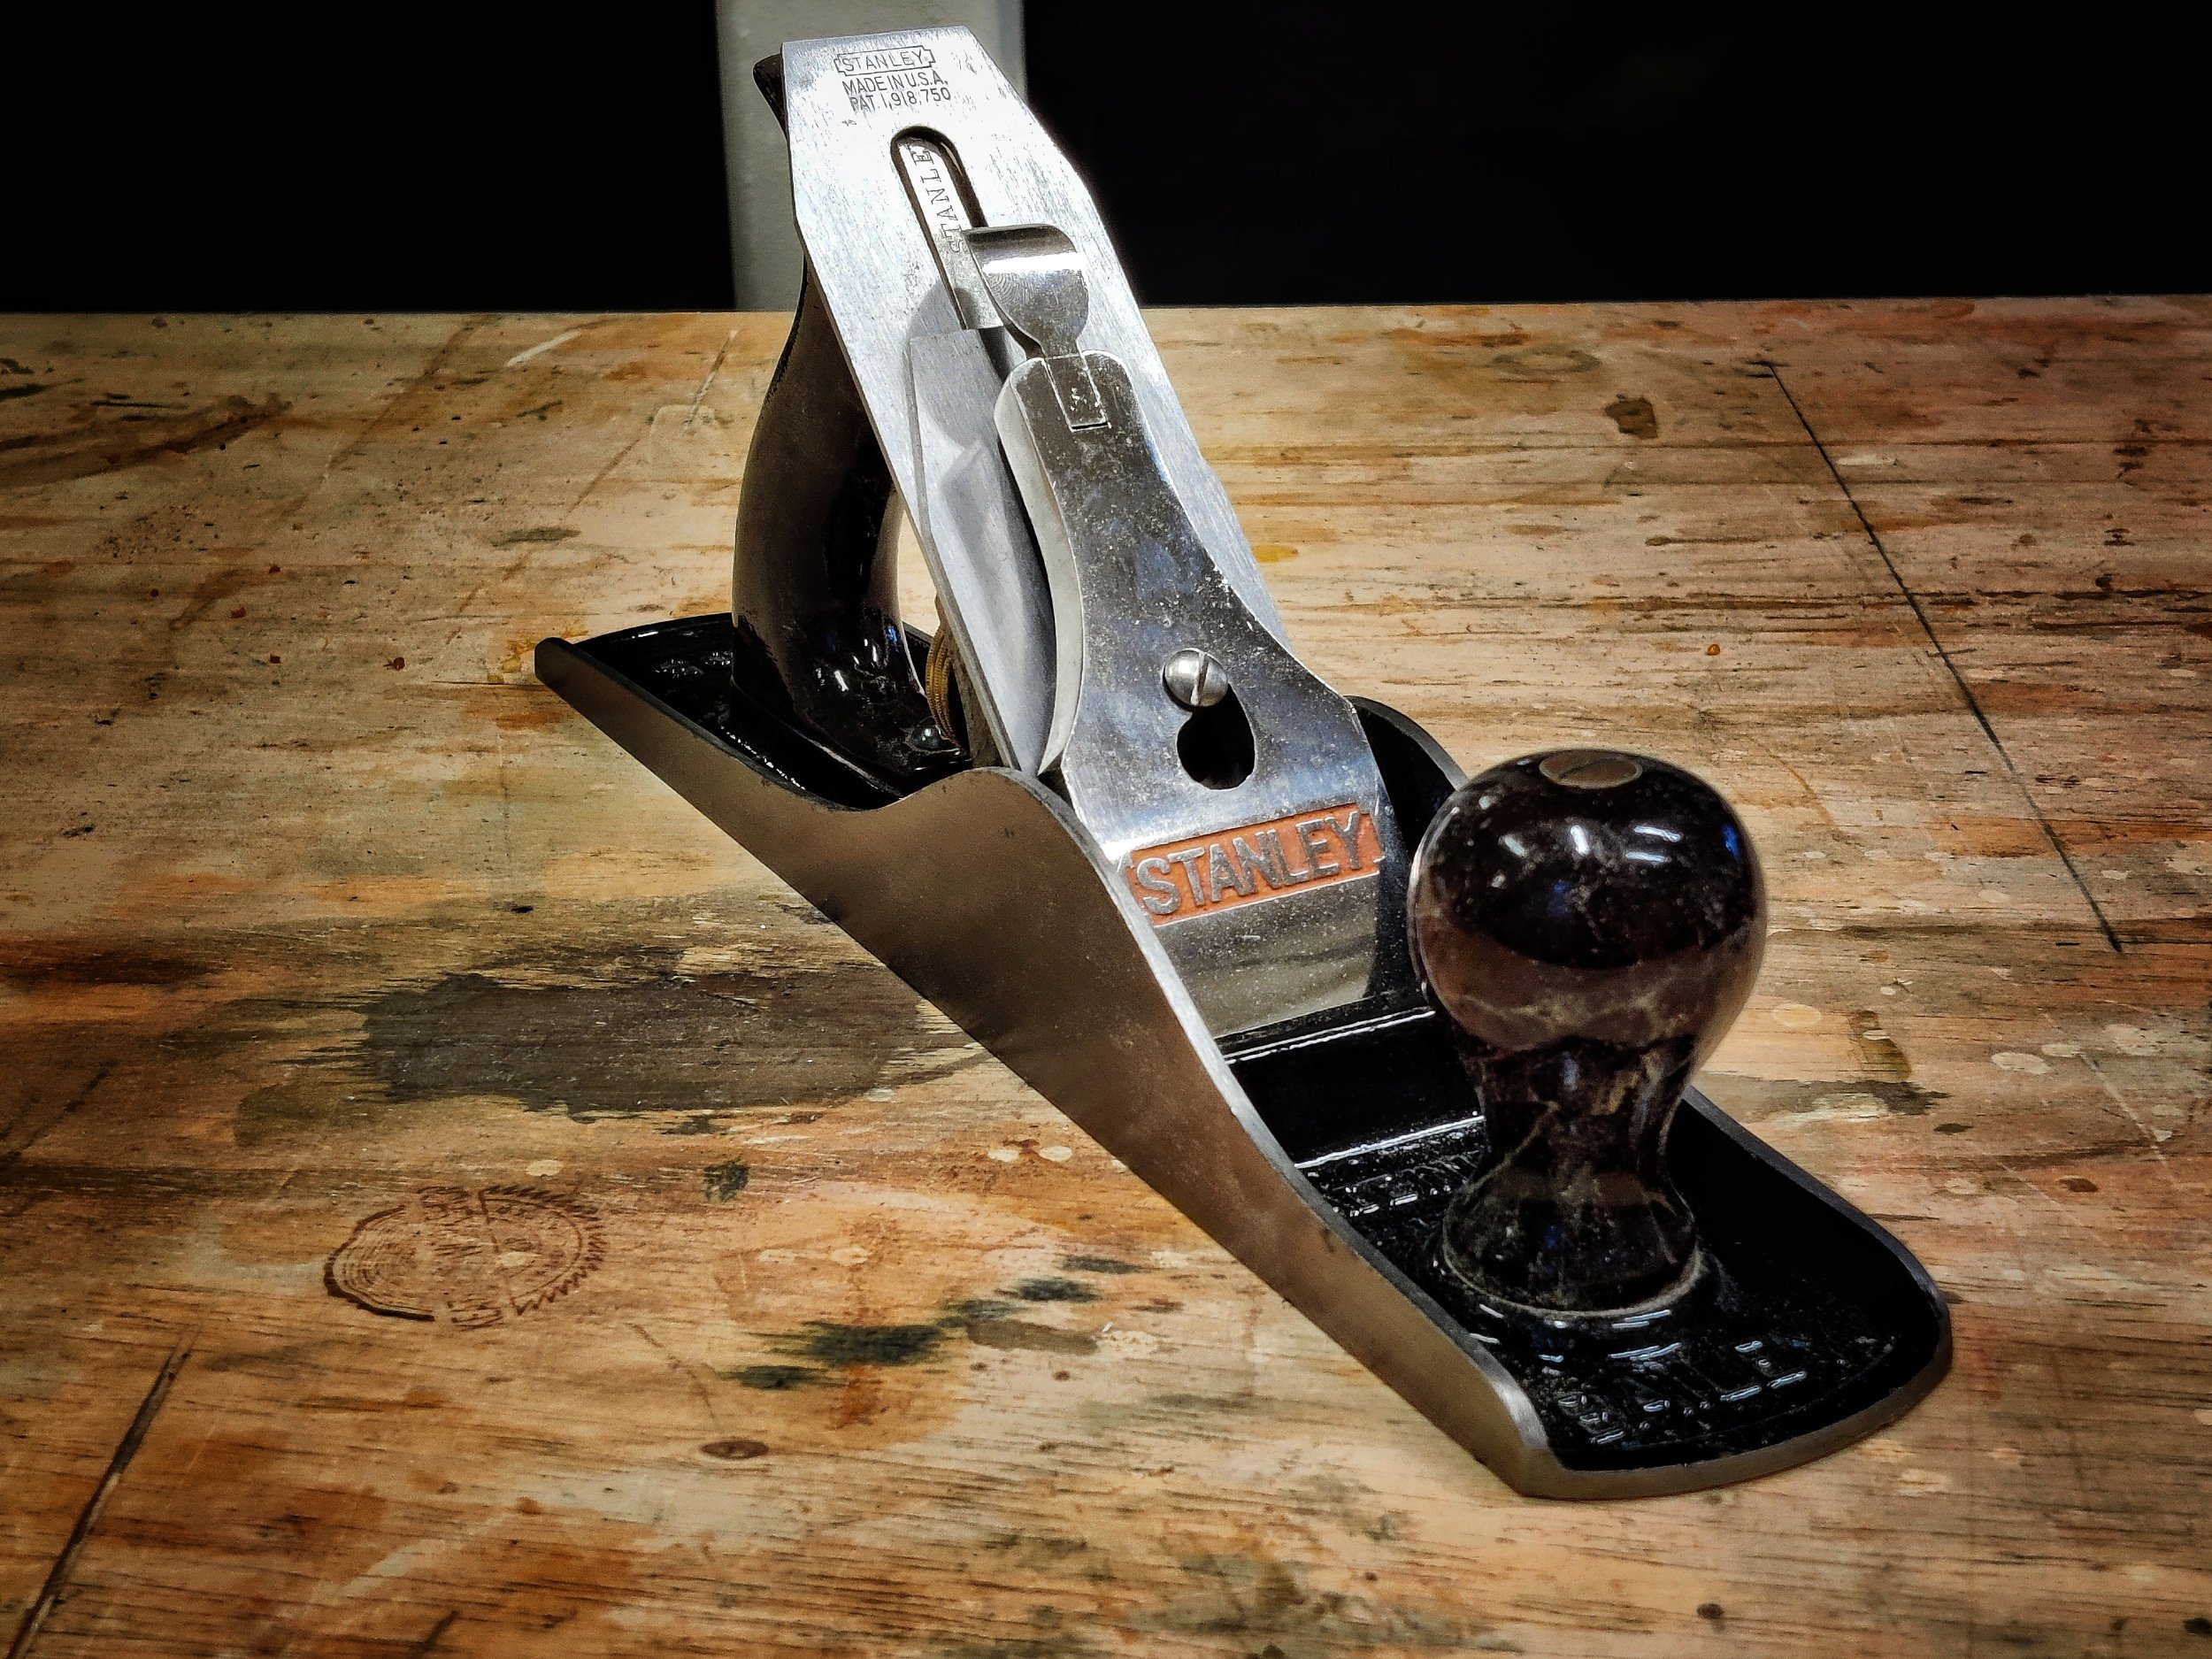
When you first get your new hand plane the first thing you should do is take a picture of it. That way after you have it stripped down you have a way to remember what it looked like.
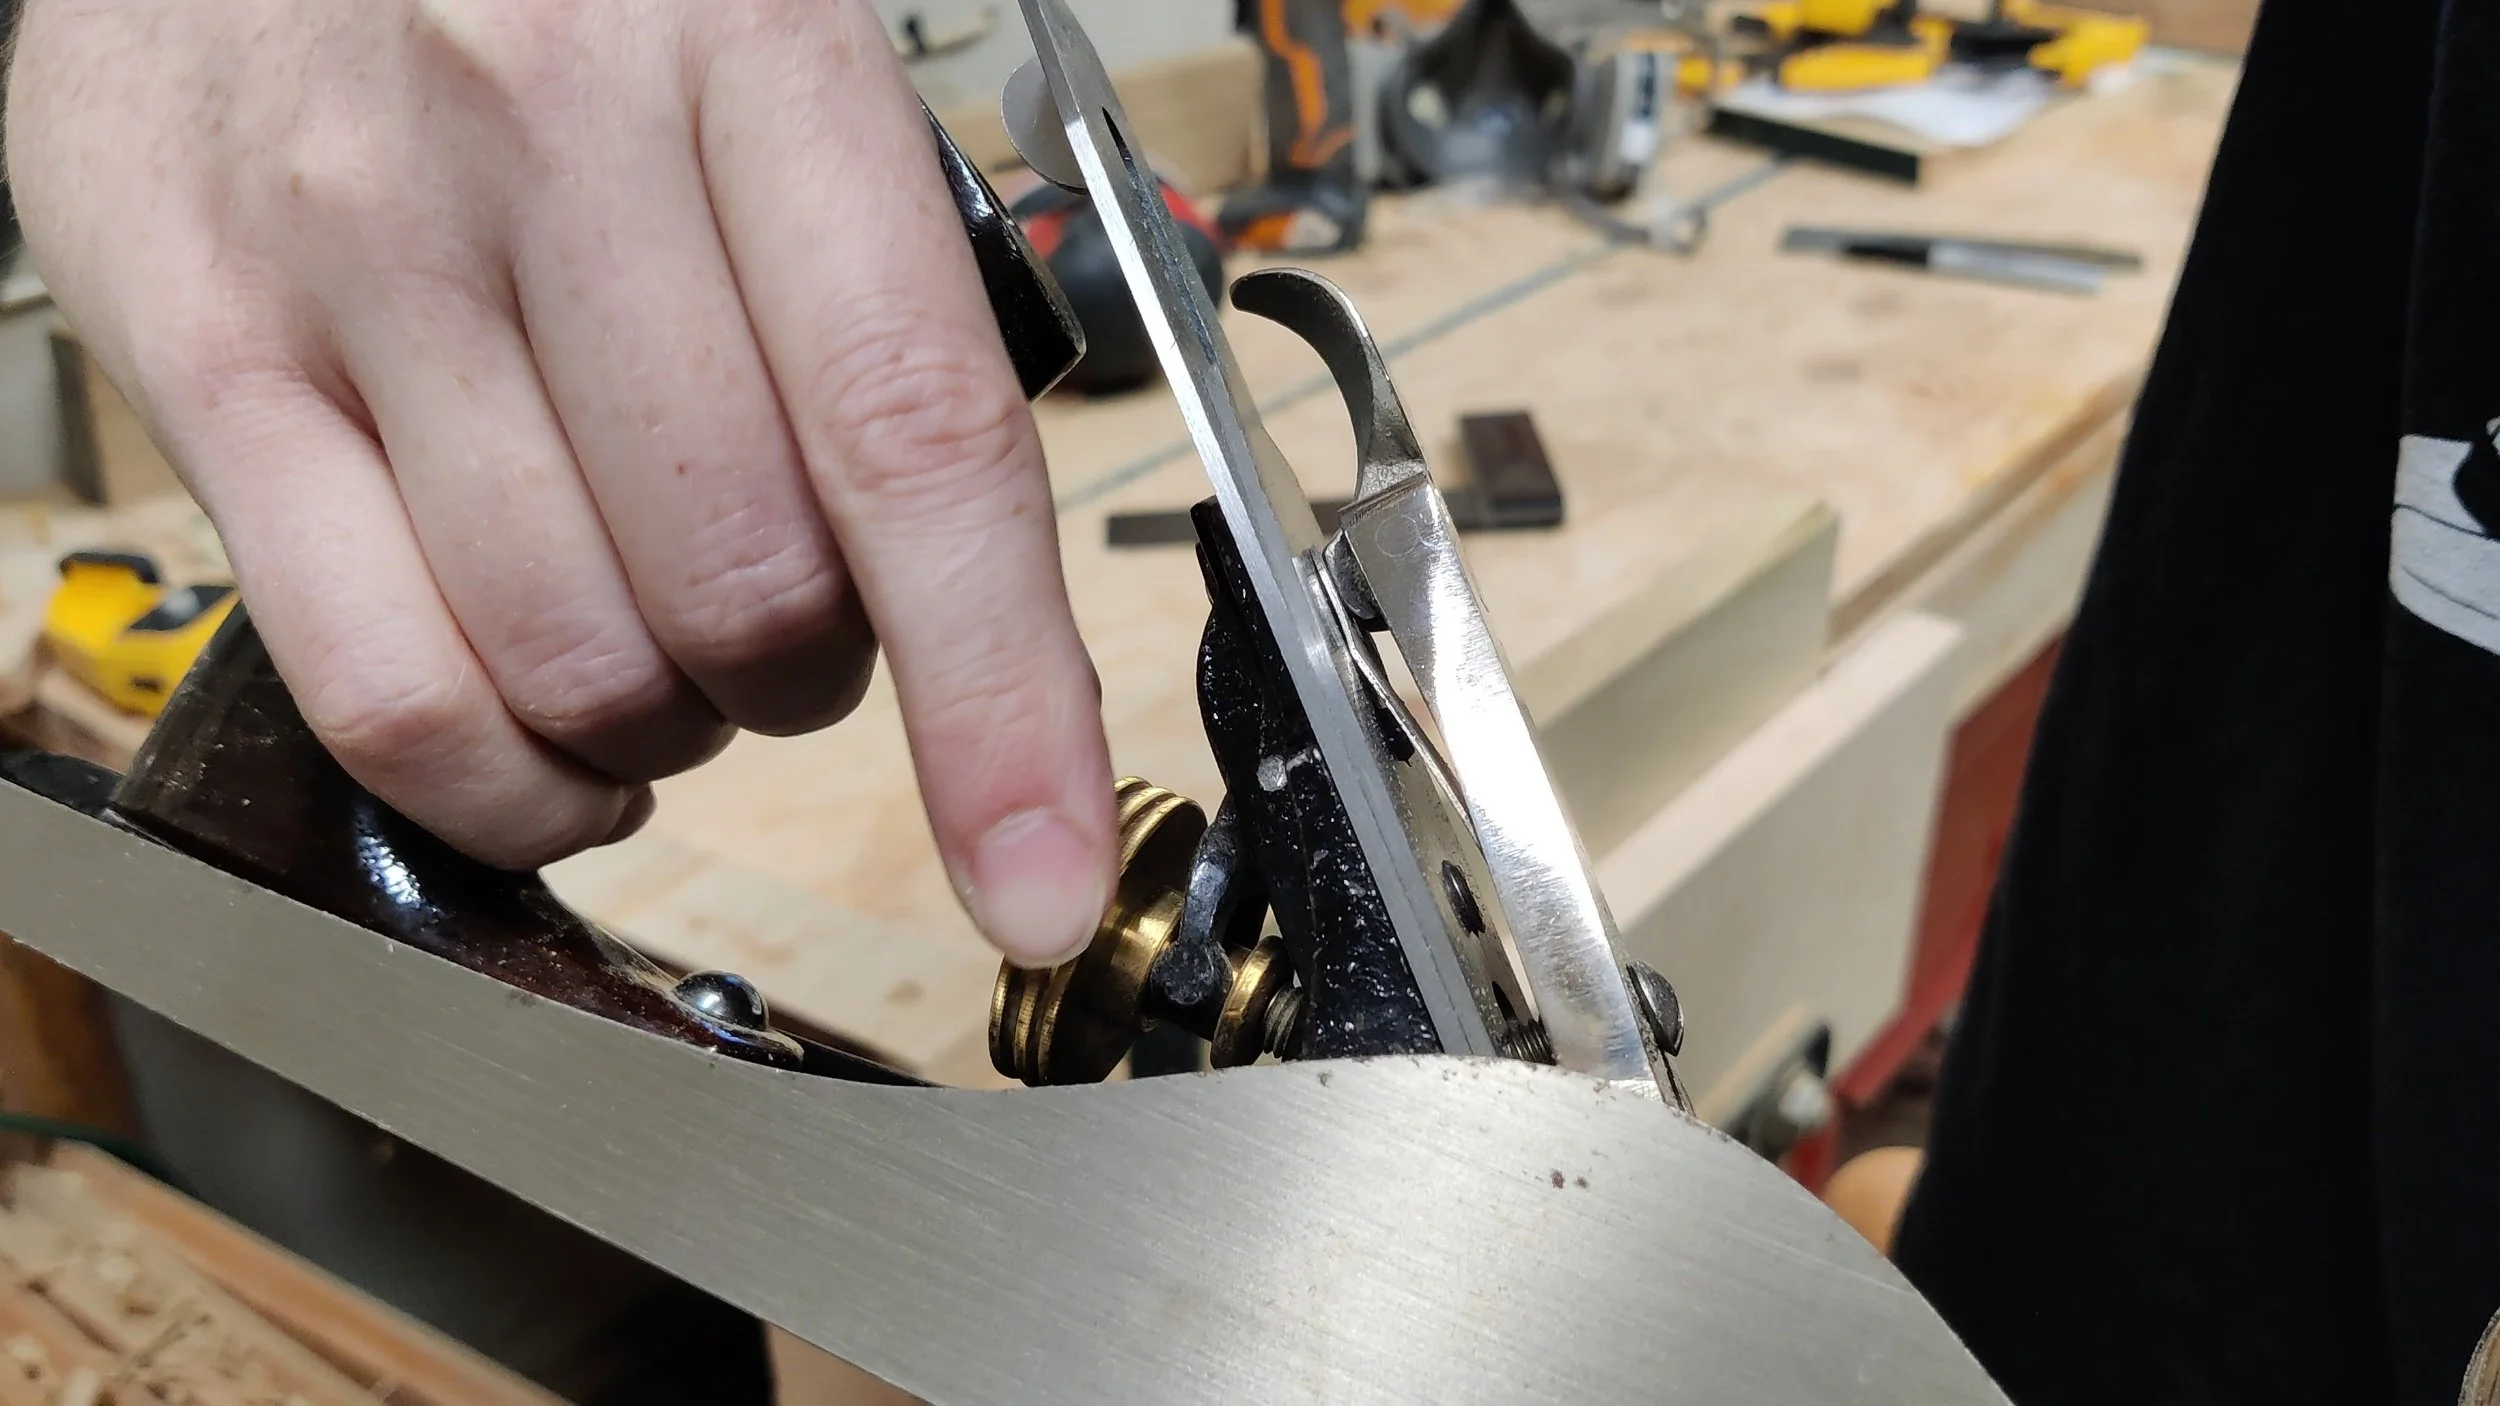
After you have some pictures from various angles, play with the adjustment knob which moves the blade up and down, fiddle with the lever near your thumb, that moves the blade left and right. Get a feel for these mechanisms. Then take it apart.
Disassembly
First thing, remove the lever cap, then take out the chip breaker and iron. To separate the iron and chip breaker there is no need to remove the screw, instead use the lever cap or a screw driver to loosen the screw, then back the chip breaker up the slot and twist it sideways to advance it to the hold where the screw will come out. You want to back up and twist the chip breaker instead of sliding it over the edge because you don’t want to damage the sharp part of the iron. If you nick it on accident you’ll have to fix it in sharpening and that is extra work you don’t need right now.

Some lever caps are different, this one has a lever to release the pressure so it can be removed.

Back the chip breaker up and twist it to the side so you can slide the screw out of the hole.
Removing the blade is something you will do often. Everything you have to sharpen your iron you will have to follow this process. The rest is less common, but good to do initially to tune up your plane.

What you will have revealed is the top of the frog. I have no idea why it’s called a frog, maybe it looks like one? To remove the frog, there are two screws at the front of it. Use a screwdriver to remove it.
Now you have access to see the throat-adjustment screw which was hidden under the frog. This screw moves the frog back and forth to adjust the throat. The adjustability here is necessary when you want to change irons as a cambered iron will sit further down requiring you to pull the frog back.

A close up of the frog adjustment screw. See that slot, the frog has a little hook that sits in there.

Here is the back of the frog with it’s hook at the bottom and the big depth wheel in the middle. At the very top is the lateral adjustment lever. This one piece is where all the magic happens when it comes to adjustability.
The last two pieces attached to the body are the handles. The front one is called a knob and the back one is called a tote. When you use the plane you will put your dominate hand on the tote, your non-dominate hand on the knob.
Sharpening

This is the back of the iron. As you can see, I have sharpened this iron a few times. Notice toward the bottom those vertical lines, those are from the factory. Then the sideways lines, those are from me sharpening. Notice how the tip is the only area where those vertical lines are consistently gone. That’s because that is the only part that has to be flat to sharpen the iron, you can ignore the rest. Oh, and that dark mark is resin or a little rust. Don’t worry, it’ll come right off when I sharpen it.
To sharpen, if the plane is bad I start on the rough side of the stone, and for a brand new plane you’ll have to start here. Put your iron, flat side down on the stone and slide it back and forth. Your goal is to take all the marks away near the tip so it is even and flat. Once you have a consistent looking surface along the edge you are done, no need to flatten the whole thing. You are also developing a bur on the edge. A bur is a tiny bit of metal being pushed over and around the edge. That bur tells you the steel has a consistent and smooth edge.
Next, flip it over and put the iron down flat, then tilt it up so the iron eventually rocks and sits flat on the bevel. Do this a couple of times to get the feel for the angle you are holding the iron at. This takes some practice, but you will build the muscle memory to sharpen your iron at this angle over and over again. If you want some practice before starting on an iron, it’s actually easier to sharpen a chisel because the bevel is bigger and easier to feel.
There are two important considerations when sharpening an iron. One, you want to maintain the same bevel angle. If you struggle with this, they make honing guides which hold the iron at the correct bevel for you. Two, you want to keep that iron square. If you dig in too much on one side you will create a skewed iron. It’s okay if you do, your plane has adjustments for a reason, but the more skewed the harder it will be to adjust the error out.
Once you have a good feeling for the bevel, just rub it back and forth. I like to go back and forth because I don’t like to pick up the iron once I have it locked in at the right angle. If you are new to this, have a square handy and periodically check it for square. If you see light coming through between the square and the iron you are taking too much off of one side, so adjust your fingers to put a little more pressure on the high side to even it out.
Once you have removed enough material so the bevel has a consistent scratch pattern you have shaved off a layer and flattened it, just like the back. The bur will also have been pushed over the edge to the back. You can check by running your finger up the back toward the sharpened point. If you feel your finger catch, you have a bur, if it catches only on one side but not the other, keep going until it is consistent across the iron.
Next, go to your finer grit side and do the same thing again. Then the last step is to use a strop to break the bevel. A strop is a piece of leather with polishing compound. For years I didn’t have one and I highly recommend you get one. The trick is to only pull on the leather, don’t push the iron forward otherwise you’ll cut into it. Here’s a link to the one I have - Flexcut Strop.
Reassembly
Now it’s time to put it all together. So remember where you started and reverse that.

Above the throat there’s a little pile of dust I removed before starting assembly.
Start with the frog by first cleaning out its seat. You don’t want dust or wood chips in there throwing the frog out of alignment. To set the frog to the proper depth put the frog in and insert the frog screws but don’t tighten them all the way. Now take a ruler and put it on the sole and frog so it spans both and scoot the frog forward until there is no visible gap, check the other side and then tighten down the screws. Test again with the ruler and adjust as needed by loosen the screws a tiny bit and use the frog adjustment screw to advance or withdraw the frog until it is in alignment.
Next up, if you removed the tote and knob you can put those back on.
time to put the iron and chip breaker back. Your chip breaker should still have the screw installed, if you removed it then put it back (it goes on the bottom with the hump to the top, now put it on top of the iron so they make an X. The top of the iron is the part with the bevel down, so the top is the flat side of the iron. Now insert the screw into the hole in the iron and slide the chip breaker up the slot so you can twist it onto the iron with the top of the chip breaker clearing your nicely sharpened iron so you don’t ding it. Then slide the chip breaker down so it is just slightly above the end of the blade (1 mm will do). Now flip it over and tighten the screw.

Now put the iron onto the frog so the slot lands on the little metal lever on the top of the frog. That lever is what moves the iron up and down when you spin the depth wheel. At this point the iron may stick out of the throat way further than you think it should. That’s okay, you will fix it later.
Give the lateral adjuster a little wiggle to make sure the iron is properly seated and slip the lever cap over it’s screw. Then push the lever down to lock it in place. This lever should go down fairly easily. If you have to force it, back the screw that holds the lever cap off a little bit and try again. If you feel no resistance, tighten that screw down.
Now you should have your plane together. Go ahead and turn the depth wheel. If it spins easily with one finger. If you can’t spin it your lever cap is on too tight.
Loosen the lever cap screw to achieve the right tension.
One finger should turn the depth adjustment wheel. If you need a finger and a thumb the lever cap is too tight.
If you’ve done it all right you should have a plane assembled and ready for use, but your blade may be too far down, so back that iron all the way up using the depth wheel and you are ready to fine tune your plane.
Fine Tuning
Now is the fun part. You should be familiar with all the plane parts by now so I won’t add too many pictures to bog you down. Remember, the key here is to make small adjustments and test along the way.
I like to do this all by feel. Put a test board in your vise with an edge sticking up. It doesn’t have to be very wide.
Now grab your plane and slide it over the board. It won’t cut anything, but that’s okay. Next, spin the depth wheel clockwise about an 1/8 of a turn and do it again. Repeat this until you hear a change in the sound of the plane. That change is the iron starting to make contact with the wood.
You’ll also see in the throat some dust or maybe even a shaving. That’s a sign the iron is cutting.
Spin the wheel again and take another pass. This time you’ll get a shaving. Analyze it. Is it taking more from the left?
If so, push the lateral adjuster a little bit to the left, go toward the part that’s cutting more, that will make it cut less. Remember, small movements are good here.
You may have to advance the iron slightly to get it to cut again. Keep doing this until you get an even shaving. Now you can back up slightly for a shallower cut or go forward for a deeper pass.
Flattening the Sole
You likely won’t need to flatten the sole, but if you do, here’s how.
You have to do this with the plane assembled. The lever cap puts tension on the body of the plane which bends it slightly, if you flatten the sole without the body under tension you’ll be unflattening the sole.
Before you flatten, back the iron all the way back, you just sharpened it and don’t want to undo your hard work.
Next, glue or tape some sand paper down on a flat surface, a piece of plate glass or a granite tile will do. For the grit I suggest starting with a high number unless the sole is bad. Last plane I did I used 400, but there wasn’t much material to remove.
Use a little oil to lubricate the paper and slide the plane back and forth. Just like with the iron you’ll see areas where the sole isn’t flat. Keep going until it is. If it’s taking a long time, go down a grit. The plane sole is cast iron so it will sand down pretty easily, much easier than the steel of the plane iron.