
Jointer Alternatives for Edges
There are always alternatives. Just because you don’t have a certain tool doesn’t mean the job cannot be done. Here are four ways you can joint the edge of a board without a jointer listed from least to most expensive.
Hand plane
Table saw and level
Router table
Track saw
Before we jump in, what is jointing? Jointing is the act of cutting a straight, even, typically 90 degree to the face surface on the edge of a board. This is an essential skill to master in order to have clean glue seams to create panels.
Hand Plane - Cost: $20 - $50 used
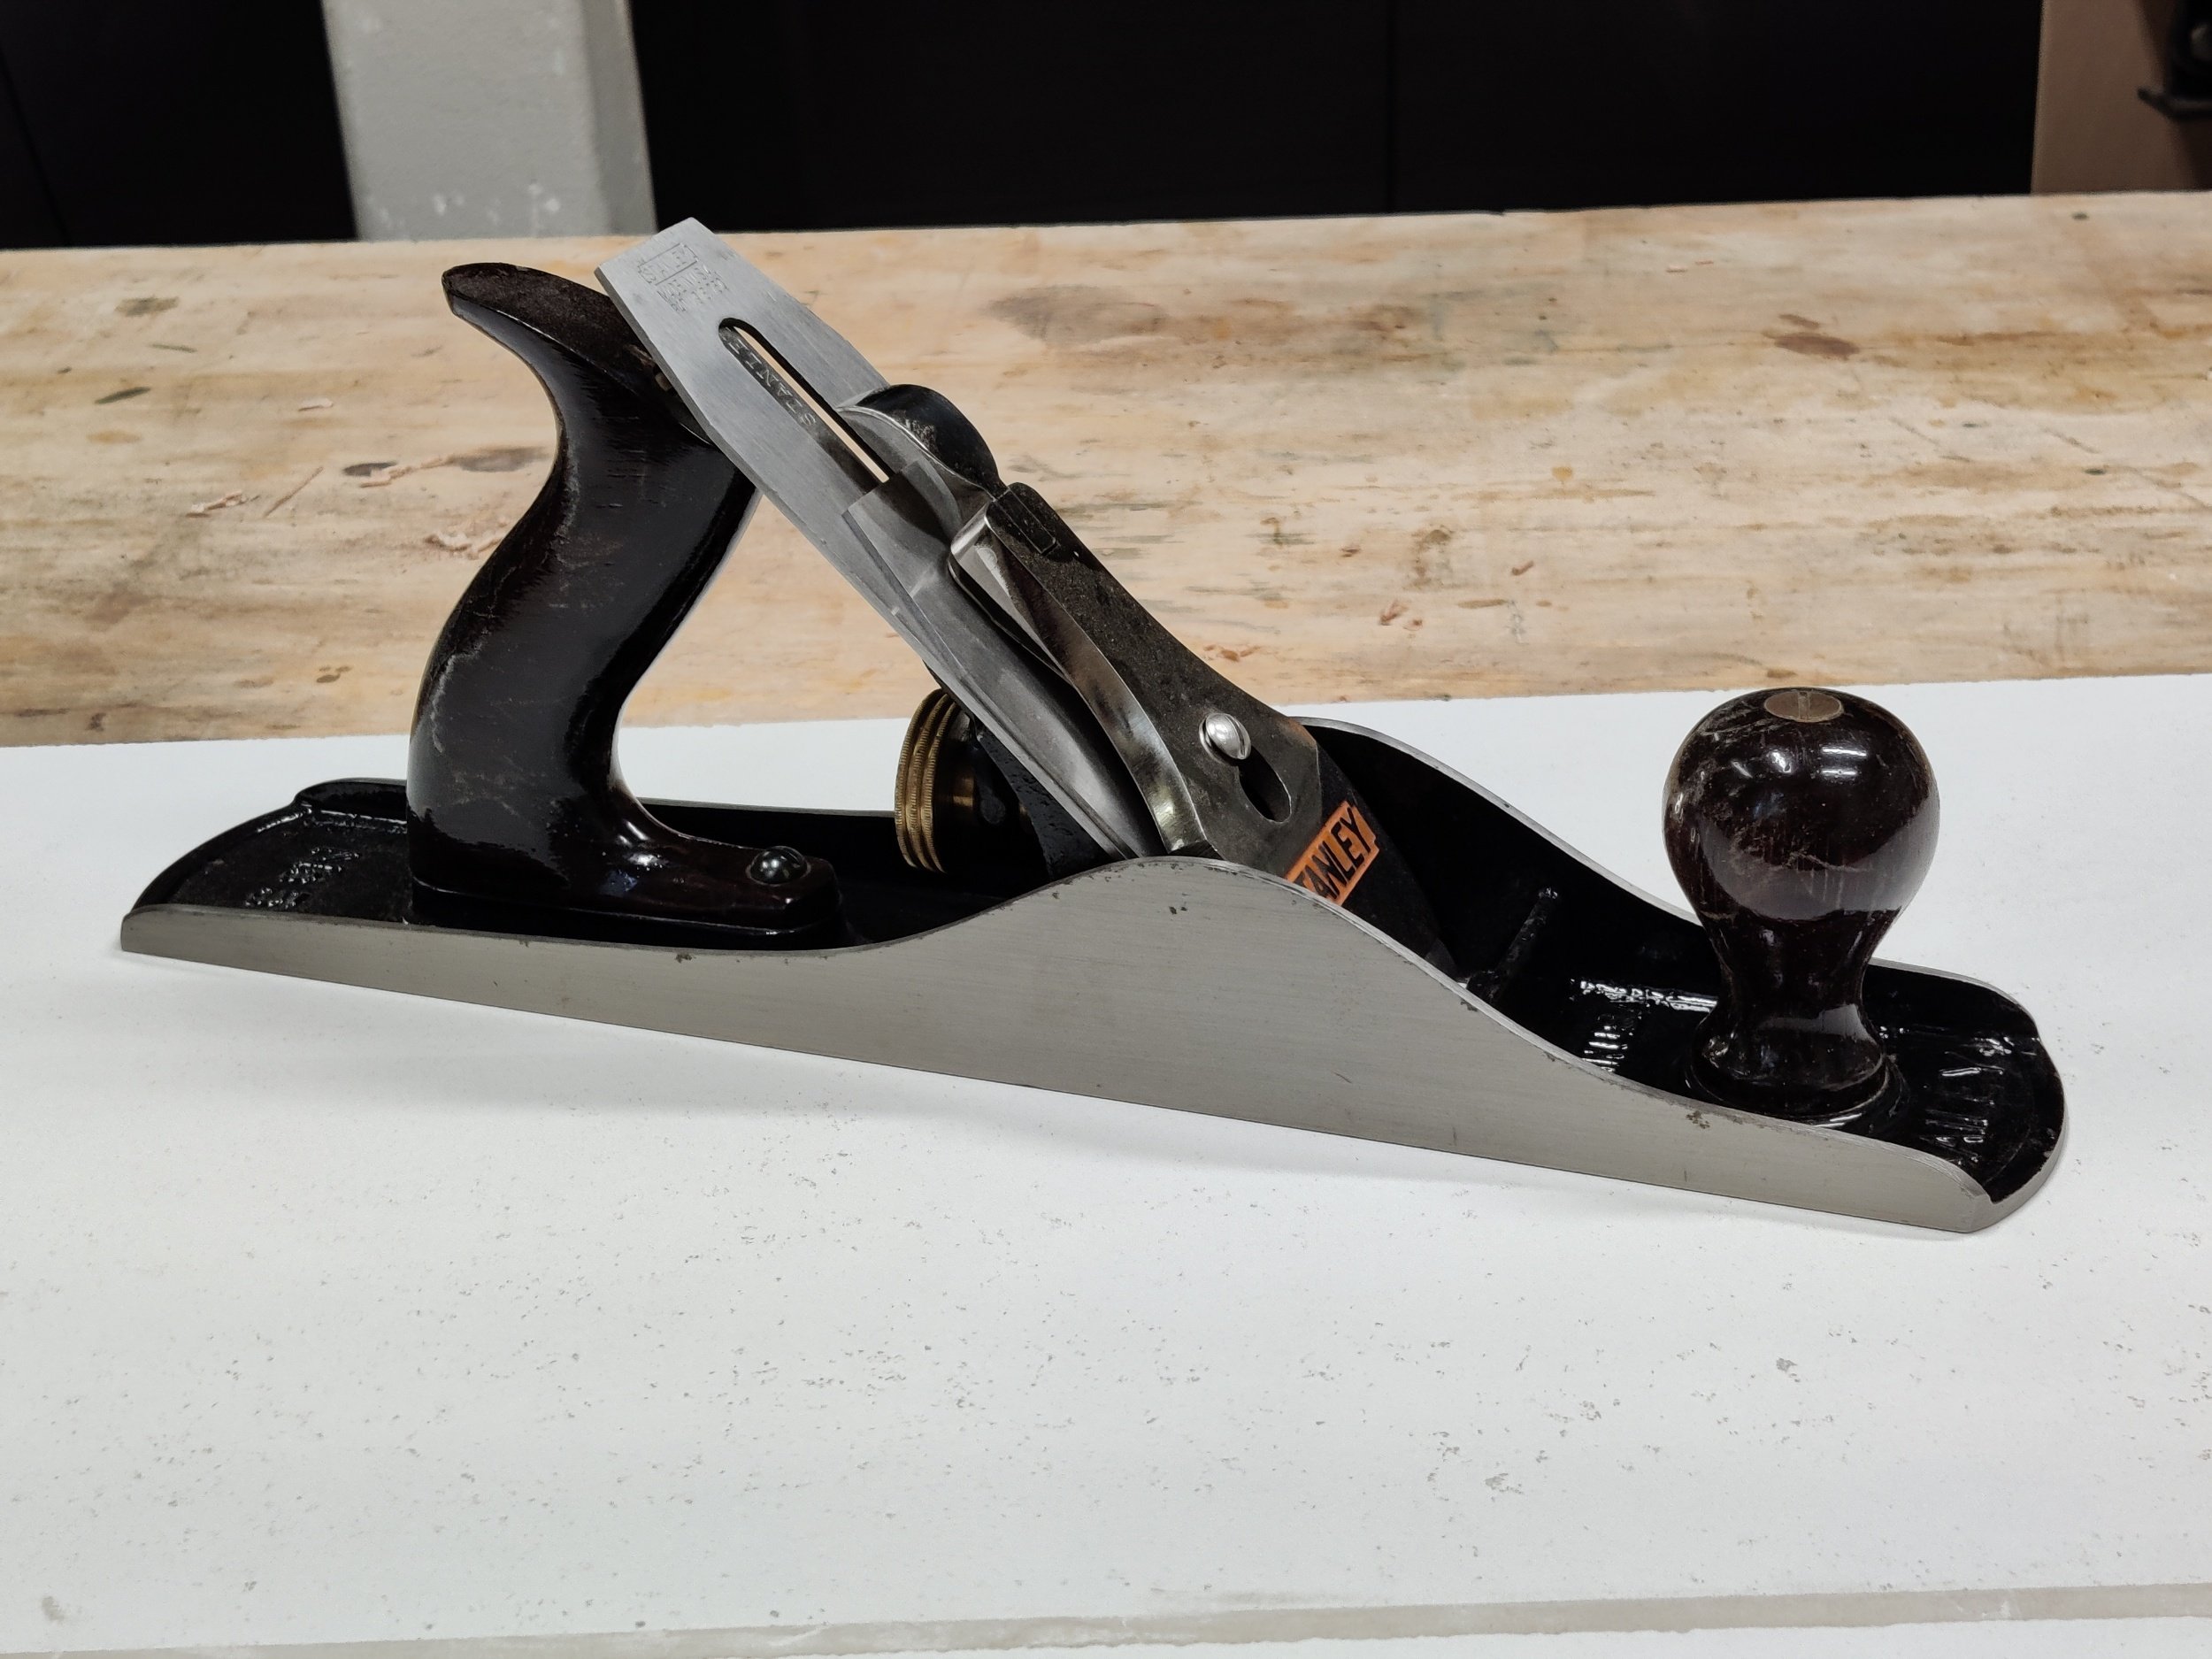
A hand plane is the least expensive but hardest to master. For a beginner, go get a used Stanley number 5. The number 5, or no. 5, is a jack plane, named as such because it can do it all, smooth, joint, and scrub. Now it can, but it requires extra skill to joint with a jack plane as the jack has a shorter sole compared to a try plane, aka jointing plane. You can pick one up from a flea market, Craigslist, or Ebay for a reasonable price
The longer the sole, the flatter the cut. The same goes for a power jointer, hence why a tabletop jointer is next to useless.
There’s a lot to this one so I’ll keep it brief. First, learn how to sharpen and tune the plane, I have a guide for that. Next, place a level or straight edge on the board to identify where the gaps are. Focus on the high spots to reduce the gap. Once your straight edge is mostly there, start to check for square, making adjustments to the plane or your motion until the board is flat and square.
This is a complicated process and much easier to explain in visual format. Luckily I have a video on the subject. Now if you want to go further in depth, as I’m skimming over the details here and in the video, leave me a comment and I’ll work on an in depth explanation of the mechanics.
Table Saw and Level - Cost: $40 (level only)
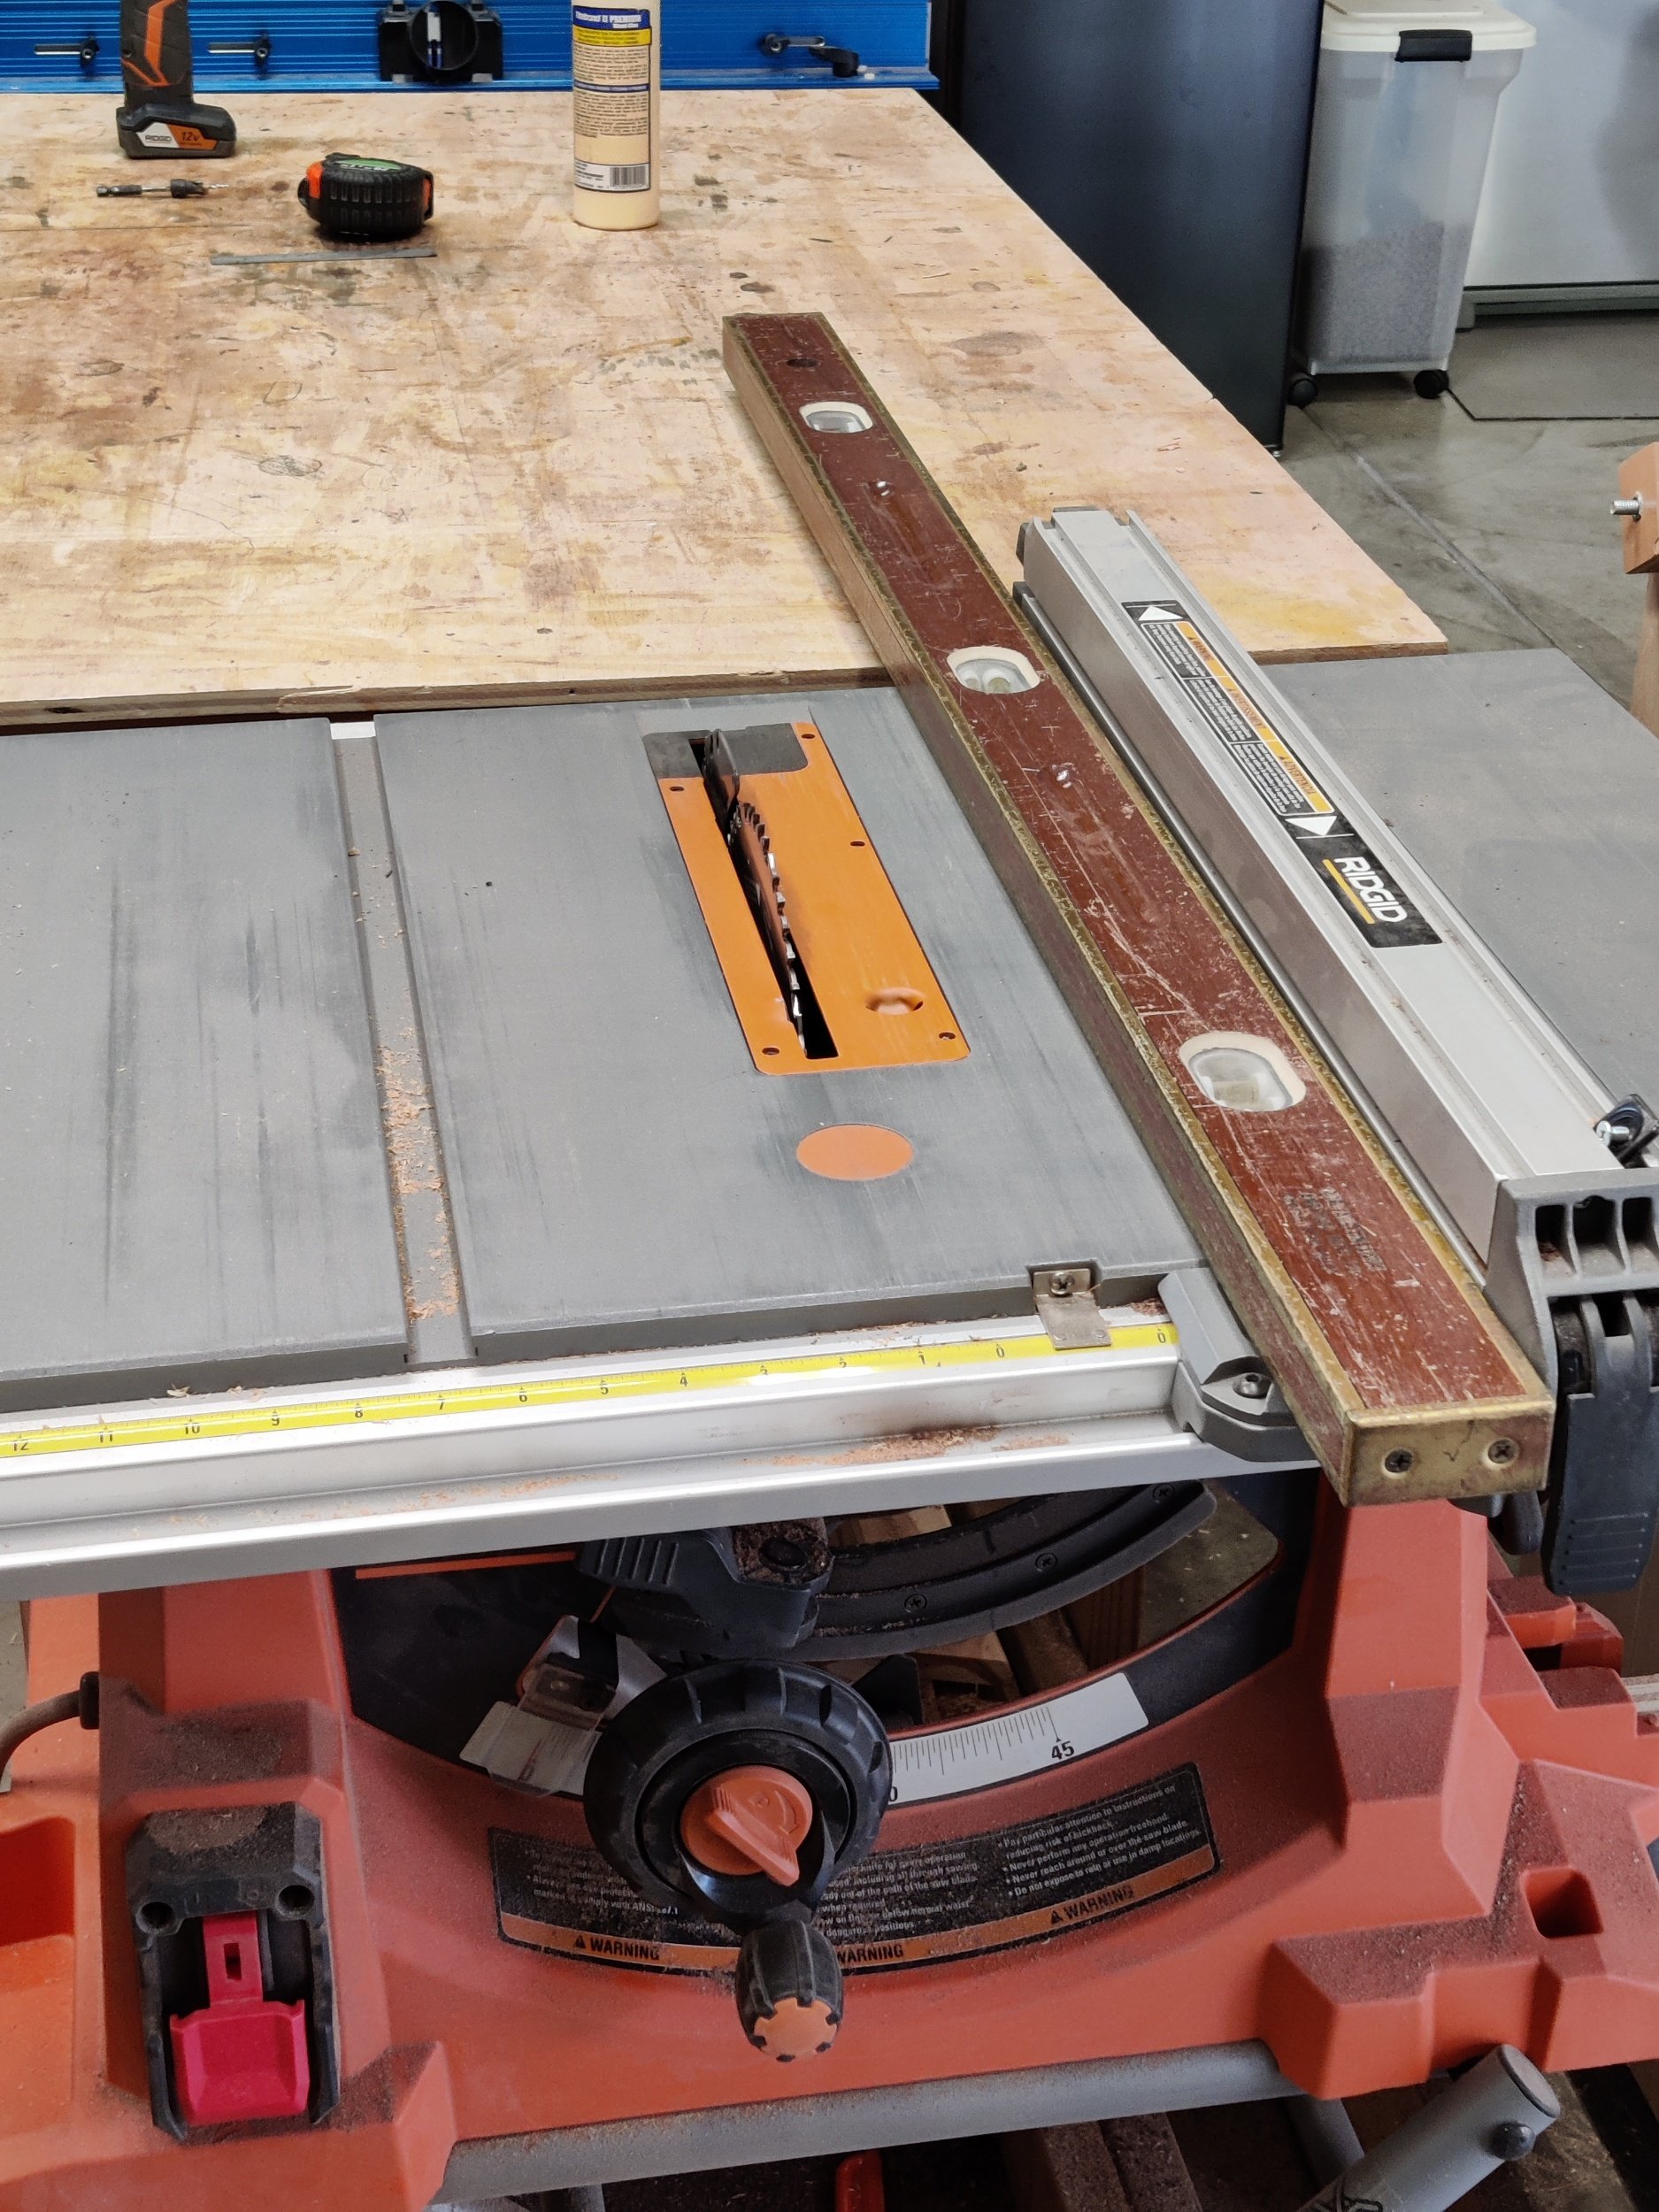
Prerequisites, you need a table saw and a level. If you do, this is the trick for you. The reason you won’t get a straight rip on a bowed board at the table saw is because the board’s curve follows the fence. You’ll straighten the board to a degree, but the bow will still exist.
But if you reference against the fence a straight edge, then you can cut a straight line in a curved board. Now this does require some dexterity and has it’s limitations (mostly your comfort and the length of the level).
Simply put a board against the level, concave side in so the board connects at two points. Adjust the fence so the blade will cut as little off as possible but still make a full pass. Now run the board through the saw, level against the fence, pushing both level and board at the same time.
I do not recommend this for long boards due to control issues, even four foot boards get to be difficult to handle. Table saws also tends to leave a rough cut which is not always ready for glue up. But it does work in a pinch.
Router Table - Cost: $500
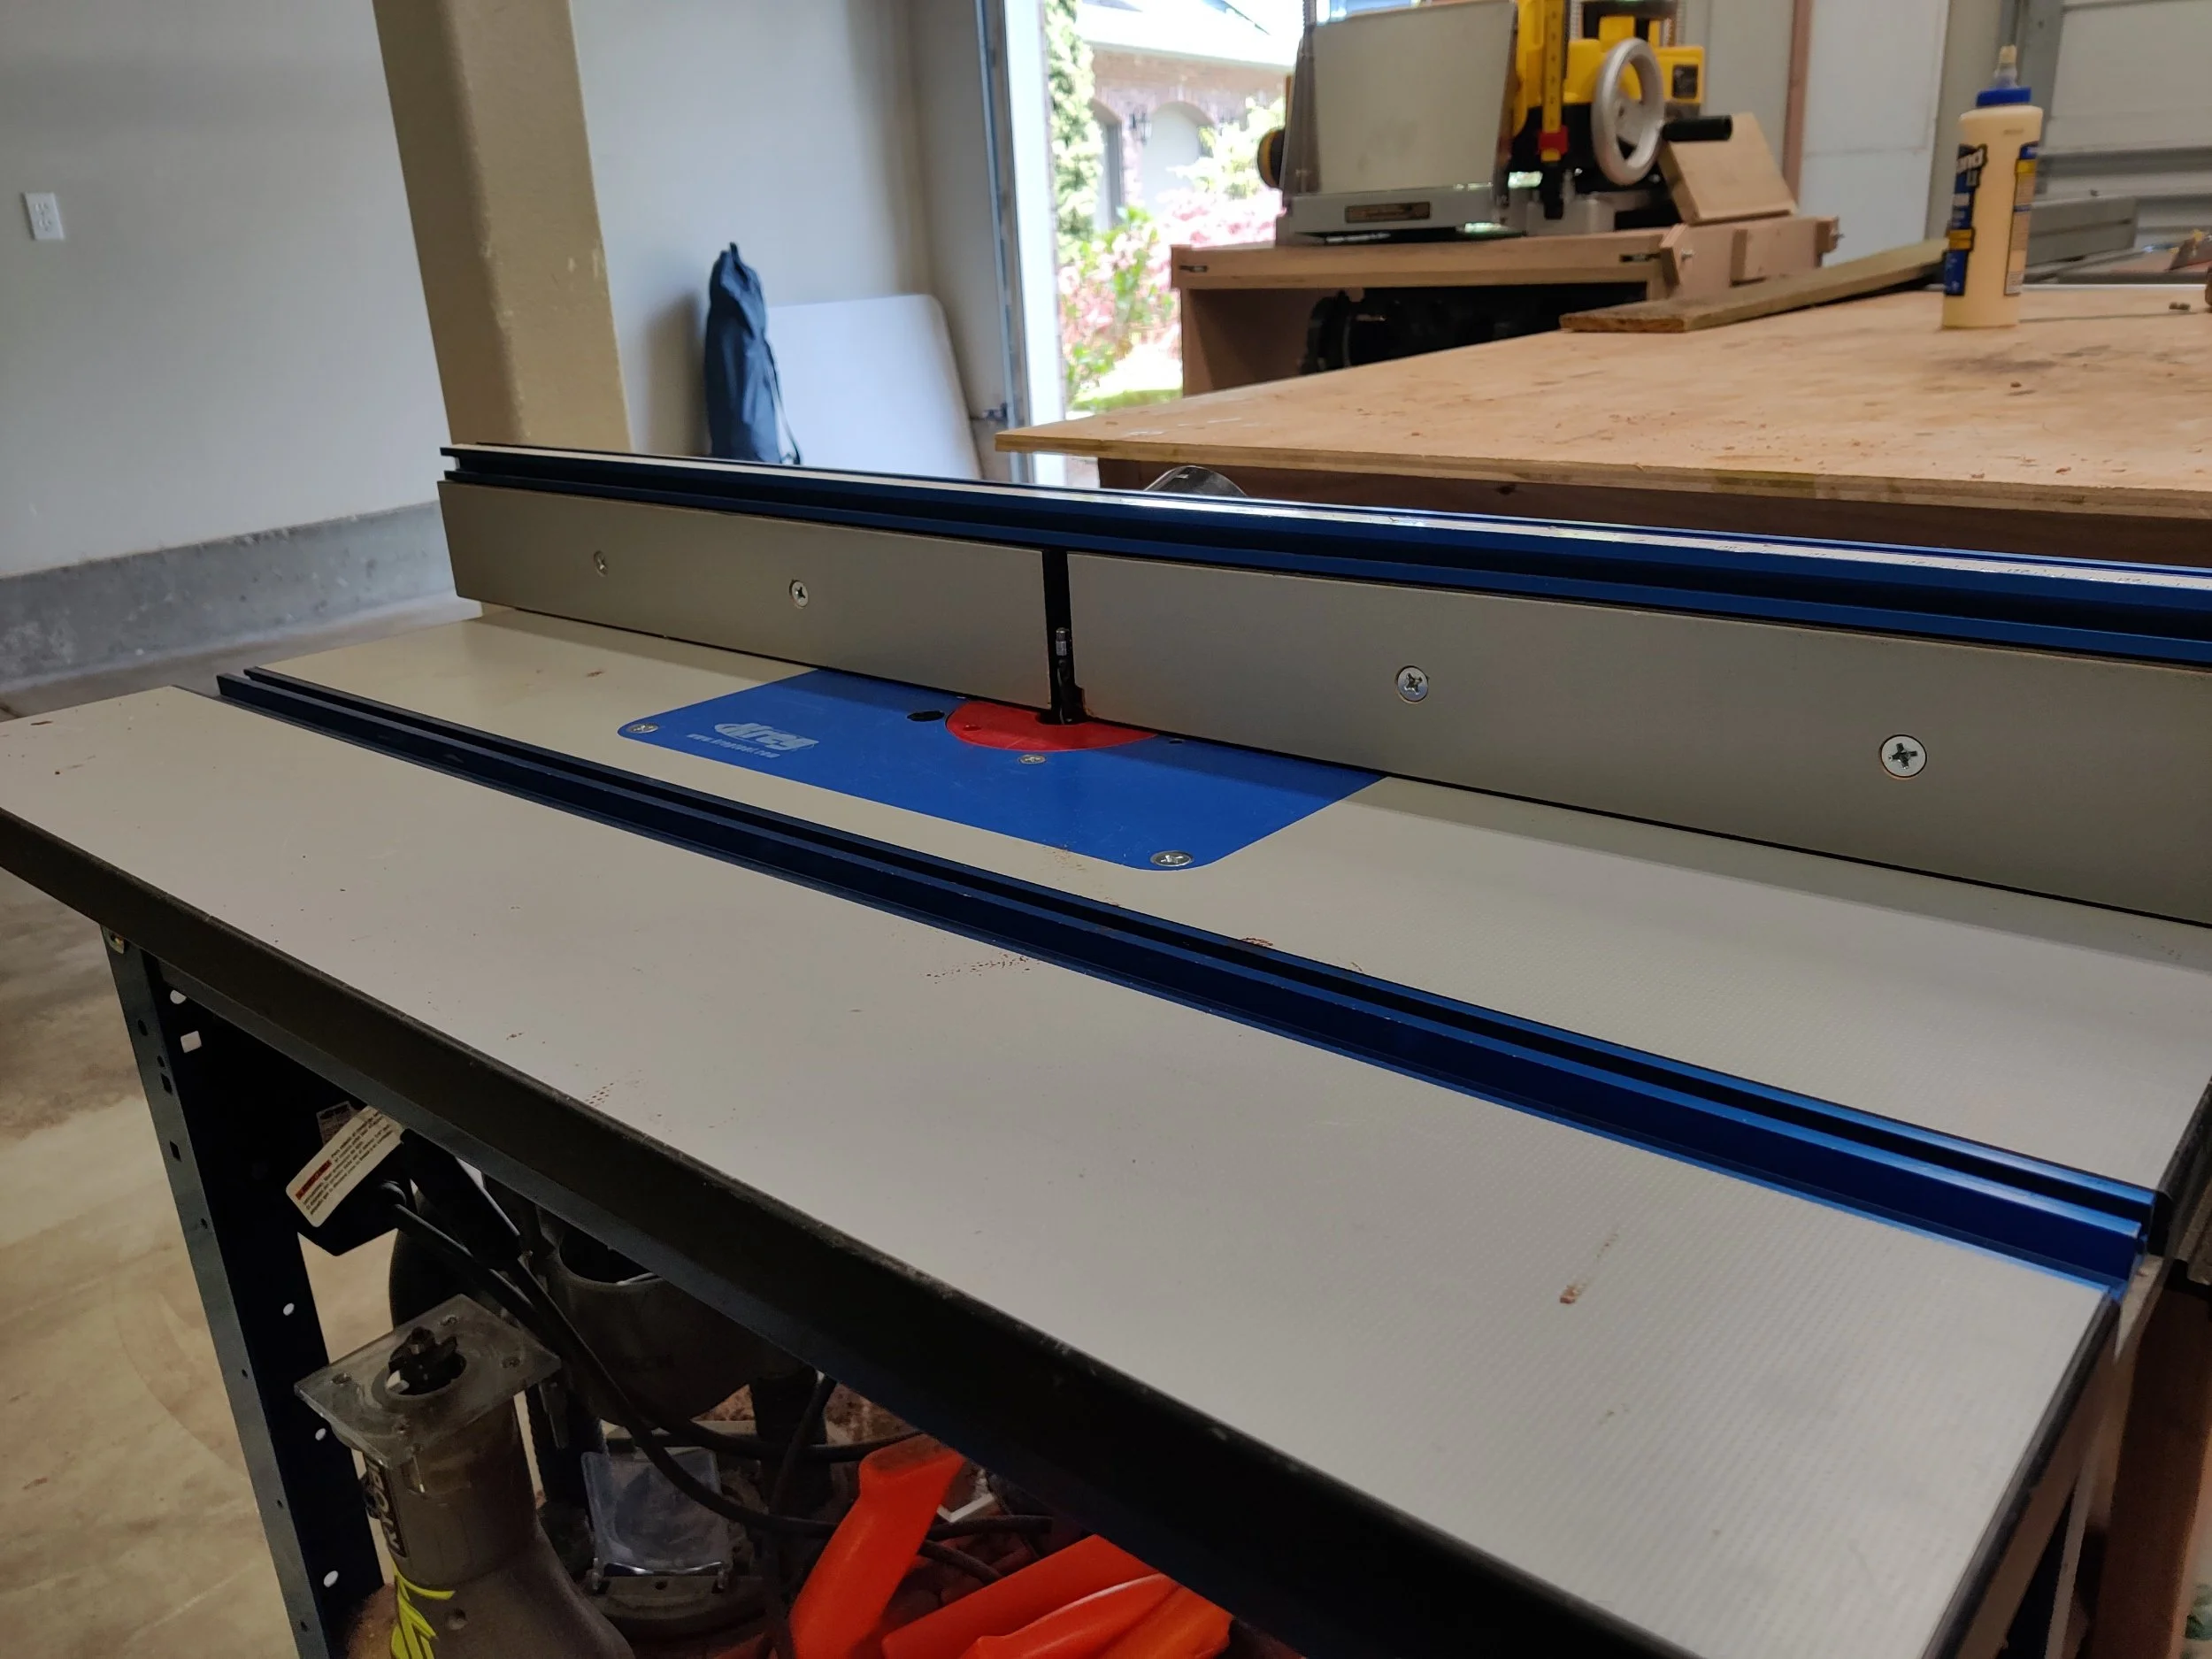
I know I listed these in order of expense, and a router table is not cheap. But you can make a router table and use a budget router in it, so I’m going with this as a cheapish option compared to the track saw. I’m also putting this below the table saw because a table saw is more essential in the shop than a router table, in my opinion. But a router table is of higher importance than a track saw, again, my opinion.
Every router table is different, mine has bump outs to push the outfeed fence out so it is slightly prouder than the infeed side. To joint, take the bumped out outfeed side and align a straight bit with it. Now you have an infeed side that will allow for a cut and an outfeed side that will be straight with the bit, that’s essentially a jointer sitting on it’s side.
Push all your boards through, putting pressure on the outfeed side of the fence, and you now have jointed boards. However, you are limited to the length of router bit you have. This tends to work well for 1 inch thick boards.
Track Saw - Cost: $685

A track saw, homemade or purchased, is another great option for jointing. And it’s simple. Lay the track where you want to cut and cut. There’s really nothing to it. No measuring, no aligning, and the cut will always be straight. But it does have limits. You can only cut so thick, generally 2 inches or so, and you are limited by your track length. Luckily, you can buy more tracks and connect them with extensions bars that clamp the tracks together.
The problem with this method is you have to setup every cut individually. The router table method is closer to what you would get with a jointer because the setup happens one time and is ready to go for all of the boards. But that shouldn’t disuade you, it’s still faster than doing it by hand with a plane.
Like most circular saws, the blade will leave a rougher cut than desired, that’s where a combination of this method and a hand plane will serve you well to make a final, cleanup pass with a hand plane so the board is ready for glue.
Why Buy a Jointer?
Those are four ways to joint without a jointer. So why buy a jointer?
For speed. Each of these options takes setup and working time that would be saved with a dedicated machine. But that machine comes at a cost, both monetary and in floor space. So while you save up for a bigger shop and a big machine use these alternatives to keep you going.