
Sharpening - Hand Tool Essentials
The most important woodworking skill is sharpening. Even a master craftsman will not be able to cut a clean line with a dull chisel, so why would you try?
The good news is sharpening is a lot easier than it seems. At first, it is an intimidating process with the weird terminology such as bevel, bur, grinding, honing, lapping, and more.
I’m here to help you get past the fear of starting by showing you the easiest way to sharpen. Once you practice a few times you’ll be able to take a chisel from dull to shaving your arm in under one minute.
And remember throughout this guide, the goal is to sharpen fast with a low barrier to start so you sharpen often and get back to work quickly.
Step 1: Learning the Lingo
Every discipline has its own terminology to describe the specifics. After all if a surgeon asked for a sharp pointy thing and was handed a pair of tweezers when needing a scalpel that would certainly slow down the surgery. Here are the terms you need to know.
Bur - A hook of metal pushed over the edge of whatever you are sharpening.
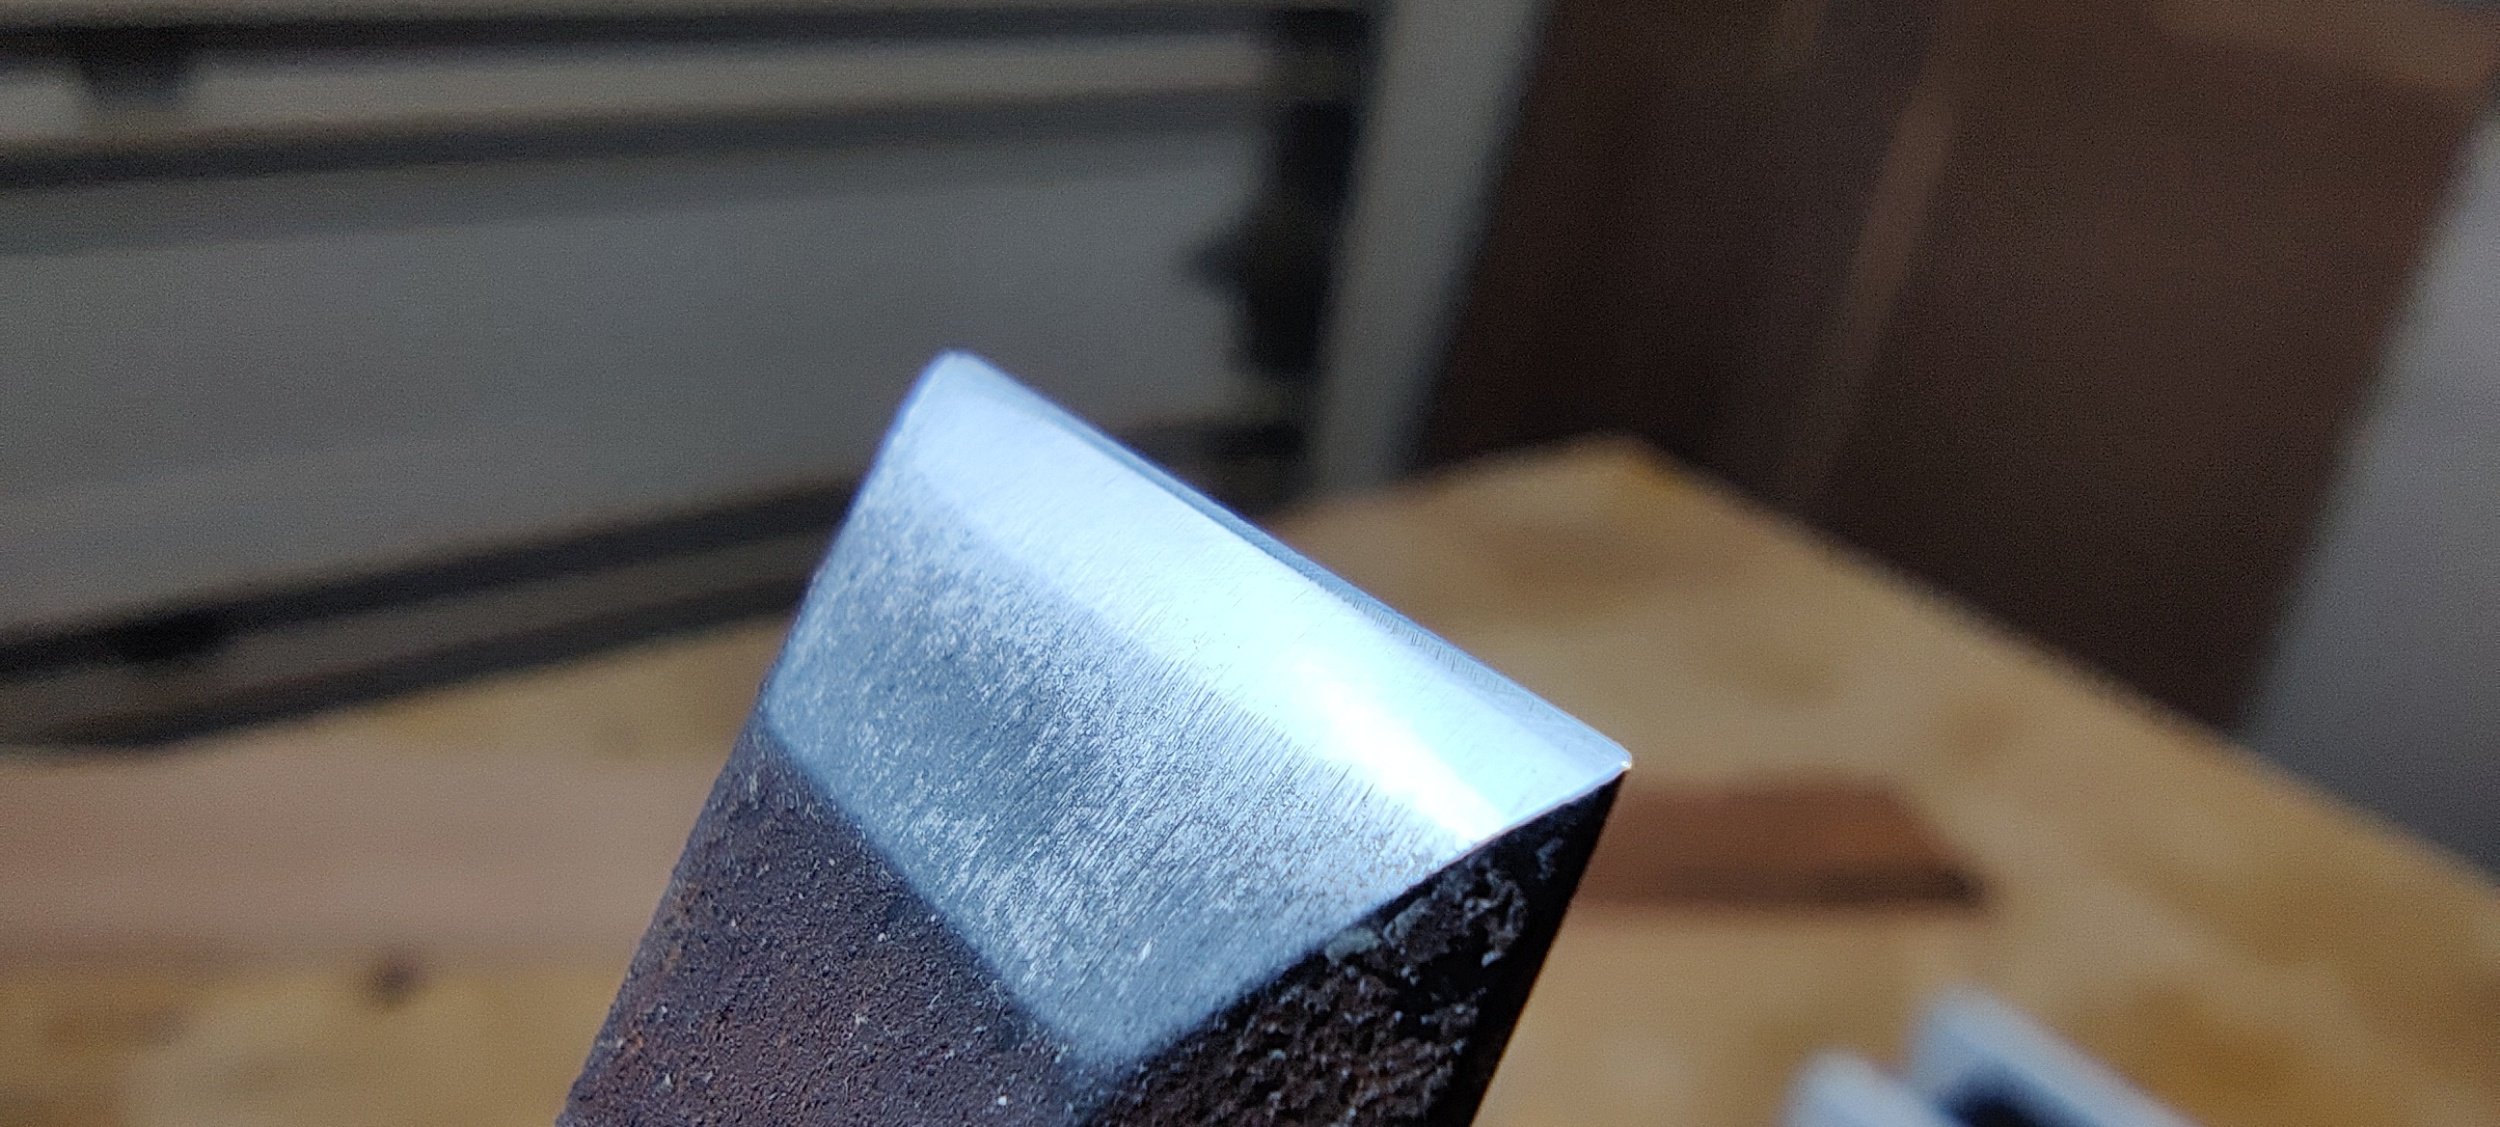
Bevel - The angled part of your tool.
Stone - Generic term for sharpening device (oil, water, or diamond)
Grit - The roughness of the stone. Smaller numbers are rough, big numbers are smooth.
Grinding - Removing material quickly on a coarse (rough) stone
Polishing - Removing very little material to create a finer, sharper edge
Strop - A piece of leather used for final polishing.
Lubricant - The point of lubricant is to carry the filings away. You want a puddle, not a mist.
Step 2: Equipment
To sharpen you need a few things.
A cheap chisel and hand plane iron. Chisel and irons sharpen the same way, but their surface area is different. I suggest starting with the chisel because they are easier and cheaper, but both are essential to learn how to sharpen.
A sharpening stone. Oil, water, or diamond. Any of the three will work, I suggest purchasing what is in your budget. I started off with a diamond plate from Home Depot which I purchased for sharpening my kitchen knives, then I got a free oil stone which I boiled the oil out of to use it as a water stone. If you’re in the market for a stone, here are my buying tips.
Oil stones are old school. It’s what your grandpa had in his garage, which is how I got mine. Good news is they don’t wear easily, but do require occasional flattening. You can also use water instead of oil, just boil the stone to release the oil and now you can use water as the lubricant. I personally like oil stones the best, they can even be picked up second hand.
Water stones are great for fine polishing but they wear quickly requiring regular flattening. You flatten them by grinding down the top with a diamond stone. Plus they require soaking in water which means prep work. These are for advanced sharpeners
Diamond stones remove material quickly which means they are great for rough work, but 90% of your sharpening will be fine work. I would avoid these.
Sand paper is a seemingly cheap alternative. Buy some high grit sand paper, glue it down to a piece of glass and get to sharpening. The problem is these papers wear out fairly quickly and need to be scraped up and replaced. That is a barrier to sharpening often, and you should sharpen often.
Lubricant. Water for a water stone, oil for an oil stone, or Windex for a diamond stone. I use water in a squirt bottle which works great for flooding the surface.
That’s it. No honing guide, no special jigs. You are going to teach your hands how to sharpen, that’s how you sharpen fast to get back to work.
To select a stone, go with a combination. I have one with a rough side and smooth side. I have no idea what the grits are, but it seems to work. If I were to pick a stone I would go with a 600 grit rough side and a 2,000 grit smooth side, or something close to that.
Most of the time you’ll only use the smooth side, but the rough side is nice for preparing new tools or for heavy work when you waited too long between sharpening. More on that later.
Step 3: Setup

Keep it simple. An elaborate setup is a barrier to entry. When I first started I put a towel under my stone and had a sour cream container with water. I put my one stone on it and got to work.
Now I have a better setup with a board that can be clamped into my vise to hold everything securely.
Whatever you do, keep it easy to move around.
I also suggest a stool. You can stand, but you are going to be doing this for a while, especially at first, and sitting will save your back and feet.
Step 4: Sharpening
Start with your high grit stone.
If this is your first time sharpening you’ll want to follow all of these steps. Once you do this once you can skip to step 3.
Flatten the Back
The back of your chisel is not flat. It looks like it is, but it’s not. Good news is the entire back does not have to be flat, only the end. Squirt a puddle of water on your stone. You always want to be working in a puddle, that water will carry away the fine shavings. If you try sharpening dry the shavings will embed in the stone and hinder the stone’s ability to cut.
Place the back of the chisel in the puddle so the chisel is perpendicular to the stone with the majority of the chisel hanging off the edge.
Now scrub back and forth applying gentle pressure to the center of the bevel. Do not push down, just hold it securely in place and let the stone do the work.
After a few swipes inspect the chisel. You’ll notice lines going in the direction of your scrubbing and lines going along the length of the chisel. The length long lines were put there by the factory, the new lines parallel to the end of the chisel.
Your goal is to make the new lines to cross the entire back of the chisel at the tip. Once they do you are done.
Create a Bur on the Bevel
Using the same grit, lay down a little more water. Hold the chisel with two hands, one on either side of the metal, fingers on the bevel side and thumbs on the back.
Now place the chisel down on the stone and rock it. Get a feel for the angle at which the bevel rocks and sits solid. Your goal is to match this angle the entire time.
Just like before, light pressure and slide forward and back. Go slow and apply even pressure throughout the cut. You don’t need to push down, let the weight of your hands do the work. Concentrate on keeping your angle.
Do this a few times and check your work. Just like before, you are removing those factory marks. Check for square too, if you notice your edge is starting to tilt you are likely putting more pressure on one hand.
Keep going until those factory marks are gone and at this point you can feel for the bur. Slide your finger up the backside of the chisel and you’ll feel right at the end a tiny hook of metal. That hook means you have completely flattened the bevel and the metal is pushing up and around the corner.
Your chisel is now sharp. A bur means your current grit can no longer sharpen the chisel, it comes to a perfect taper and a point. The metal can continue to be scrubbed off, but it won’t develop any finer of a point. That doesn’t mean it’s sharp, just that the grit has done it’s job, but it could be sharper.
Move to Finer Grit
Flip the stone over and move to the fine side. Now that you have the bur your goal is to polish the back and bevel. By polishing you are taking away those scratches in the surface. Each scratch means you have a hollow in the chisel. Under a microscope you’ll see the tip of the chisel is serrated. By polishing you make those scratches smaller and smaller to the point that the tip smooths out and is increasingly sharp.
Just as before, start with more water and put the back down. Slide the chisel back and forth a few times. It doesn’t take as long at this point because the end is already flat. Your goal is to remove the scratches from the previous grit, just like when you sand a tabletop, moving from 80 to 120.
With the scratches polished and the bur pushed over to the bevel side, flip the chisel over, adding more water, and take the same stance as before, fingers curled under and thumbs on the back.
Go back and forth again, just a few times, and check your work. Take your time and go slow, checking for the bur. You’ll feel it start to form in one area and eventually all the way across. It will be trickier to detect this time because it’s smaller, but it will be there. You may have to dry the chisel and your hands to really feel it.
Once you have both sides polished and the bur all the way across you are ready for final polishing.
Strop Polishing
The strop, a piece of leather with polishing compound. For razor sharp chisels it is a necessity. If you don’t have one, I have a mediocre alternative which I used for years.
Your goal here is to polish and remove the bur. By removing the bur you take off the rounded tip and are left with a perfect edge.
Rub polishing compound on the strop to prepare it.
Back side down, drag the chisel toward you a few times. Now flip the chisel and do the same with the bevel side. After 10 or so strokes your chisel is ready to use.
If you don’t have a strop, use your bench. Simply drag the back across the bench toward you a few times and do the same thing on the bevel. You won’t be polishing, but you will be breaking or removing the bur. Your chisel will still be plenty sharp with this method.
Sharpening Next Time
Now that you have a flat back and a sharp chisel your next sharpening will go easy. You can skip the first two steps and concentrate on three and four. You no longer need to flatten or remove mill marks. All you need to do is touch up the edge. You can even head straight to the strop a few times before breaking the stone and water out.
Continuous Improvement
Practice. Practice. Practice.
Sharpen more chisels. Sharpen irons. Sharpen knives. Whatever it is, get used to the motions. Get used to the wrist angle and finger pressure, storing each stroke as muscle memory until you could sharpen in your sleep. After a few rounds you’ll notice you don’t have to concentrate quite as hard and you’ll find your sharpening time drop.
All the sudden a few swipes is all it takes to get a bur and knocking it off is a breeze.
That’s because you trained your body and mind to sharpen and you left all those folks behind who are still spending time setting up their grinders and honing guides.
Sharpening should not be complicated, it should be easy and fast so you can do it often. And please, do this often. When your plane is getting tear out or your chisel isn’t following the line you likely aren’t the problem, it’s your dull blade. Take the 60 seconds to sharpen to save yourself the headache.