
Victorian Style Tea Cart Retrospective
The good, the bad, the “opportunity”.
Here’s the retrospective on the tea cart. This project was all about the details, so I’m going to cover each piece individually and discuss what I liked and what I would change. Let’s jump right in.
Tables
The Good
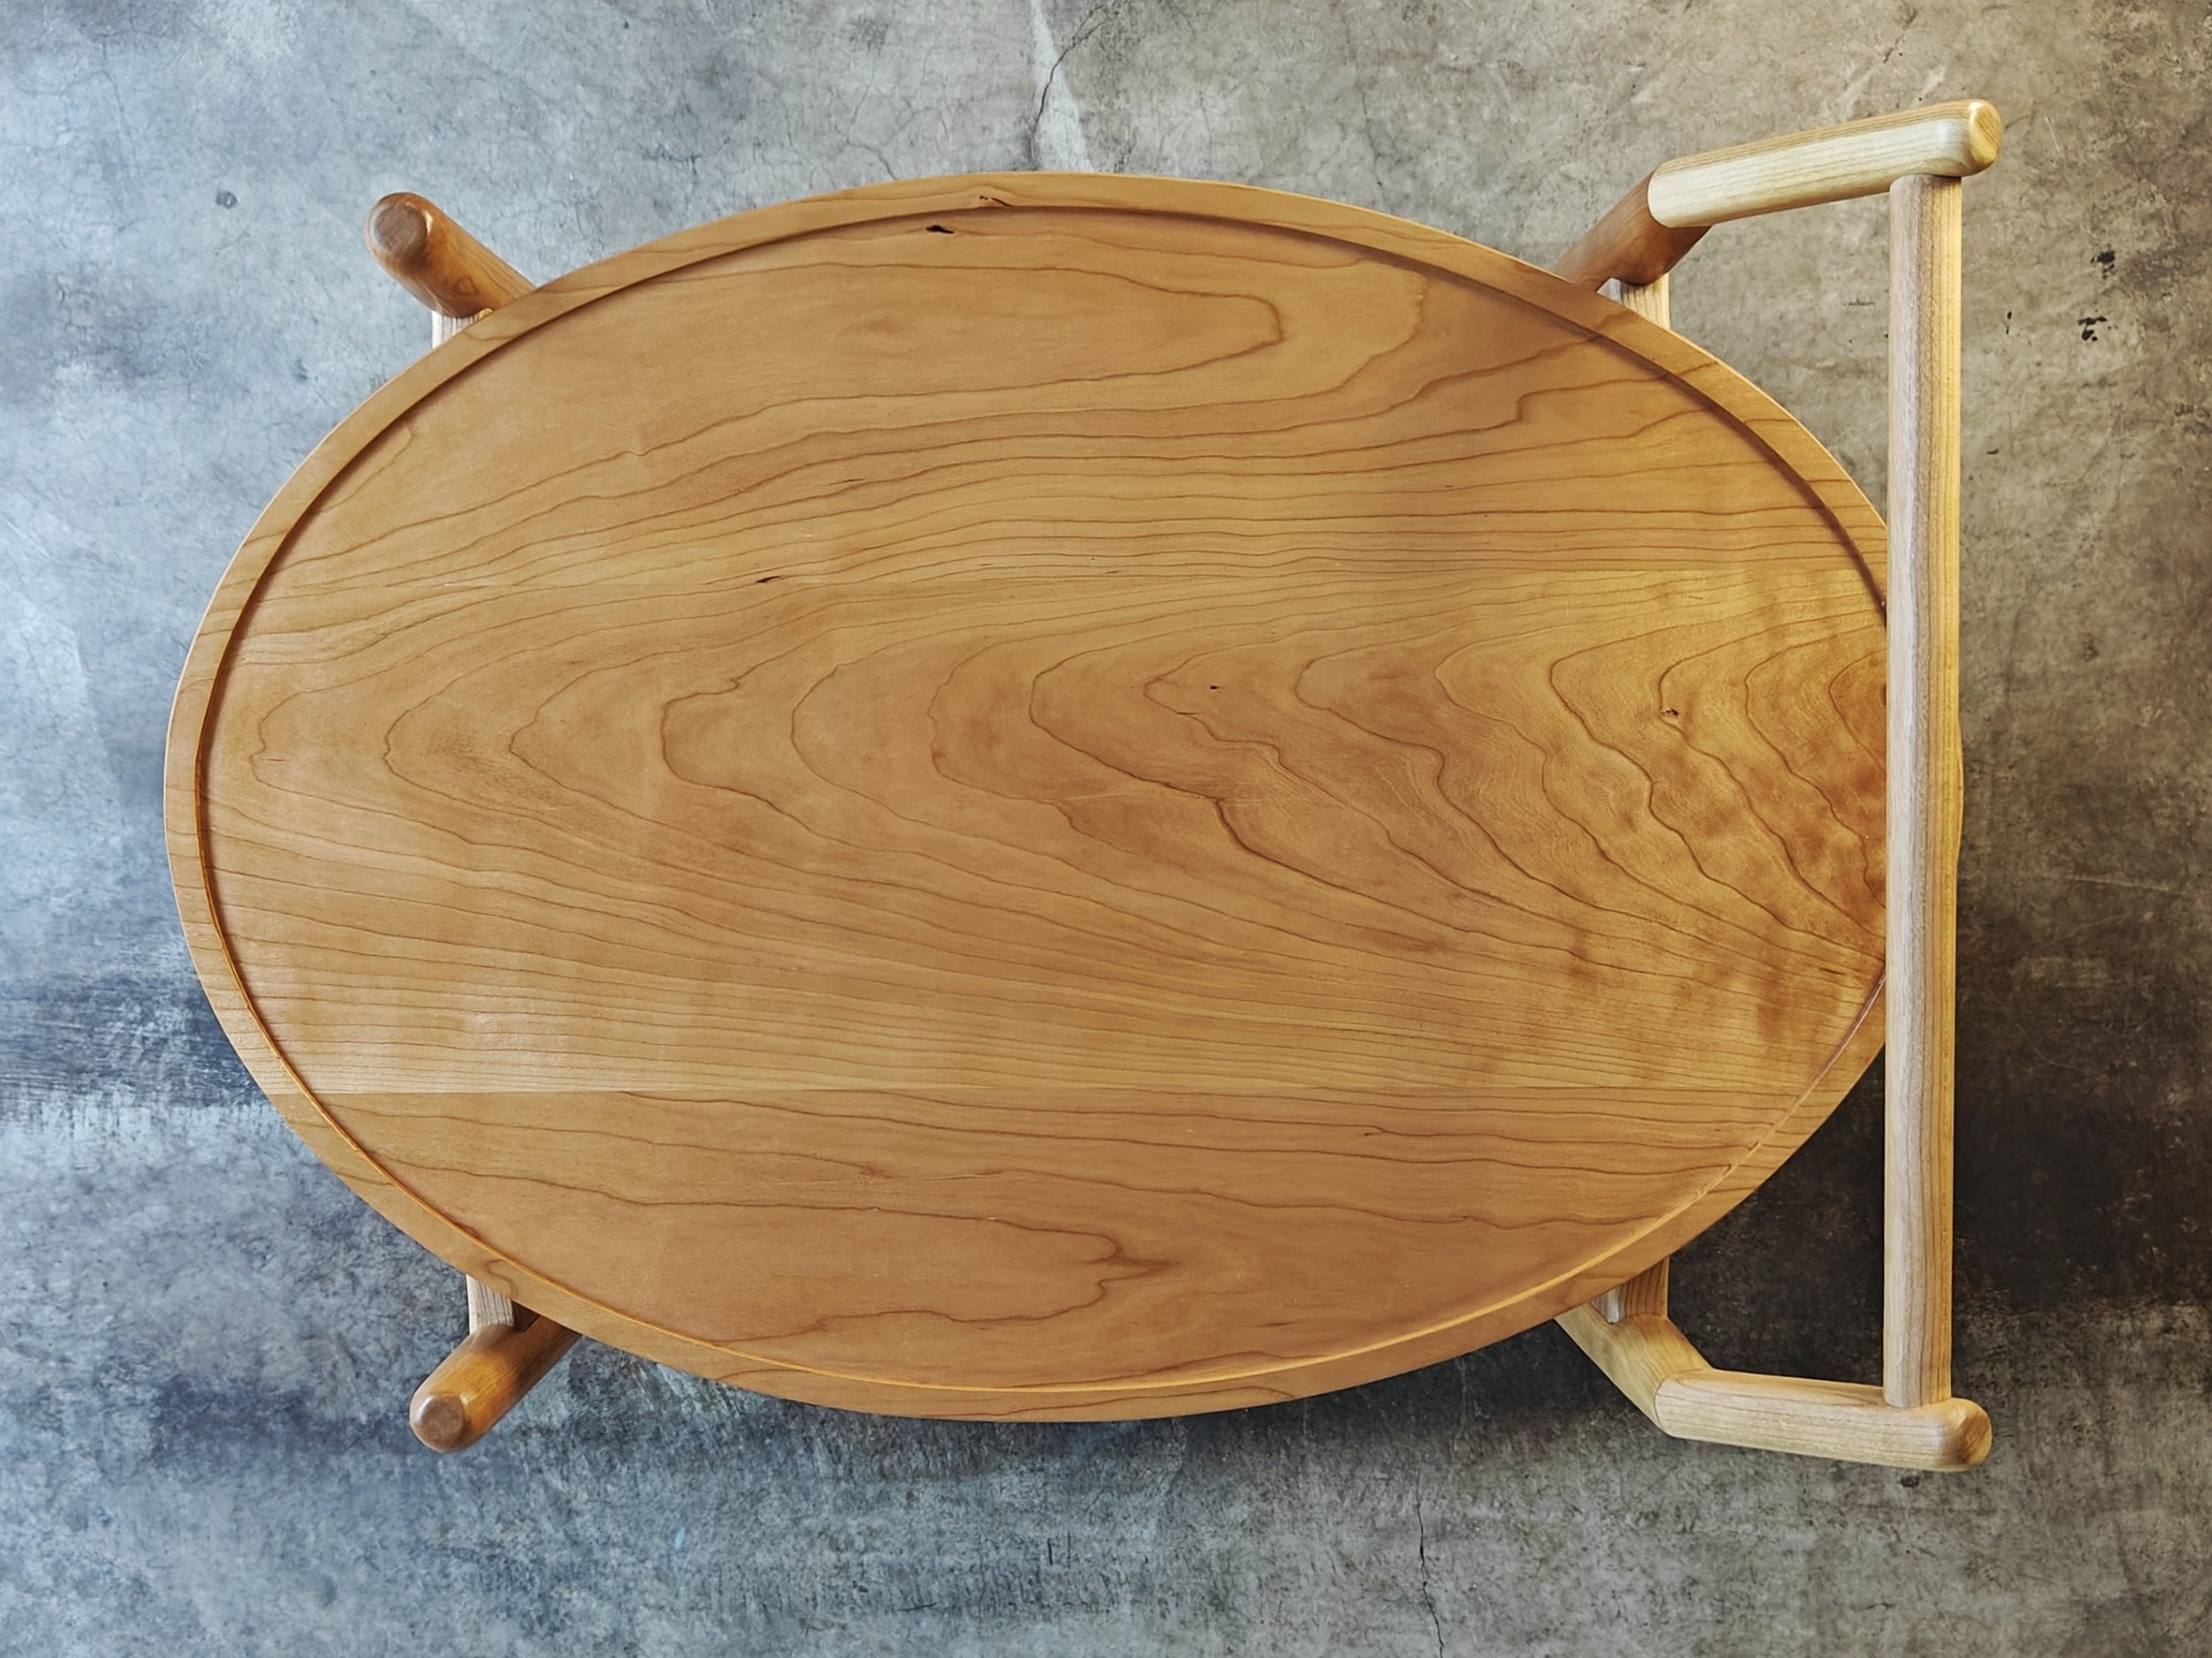
Oval Shape
The shape was done with a combination of ellipses cutting jig and a template. I didn’t go into it in the video but I cut one template which was too small, cut a second template which was still a little too small, then used the router to ride on the outside of the template to give me an extra inch and a half around the entire outside to meet the size I wanted. A little unconventional but it worked.
French Polish
The finish was really fun. It wasn’t my first time French Polishing with shellac, but that previous practice helped me know what I was doing and make it go surprisingly fast. I really enjoy the polishing process which is much easier than it seems and it deepens the grain and gives the wood this amazing, shimmery effect.
And I am working on a finishing course where I’ll share in detail how to French Polish. It’s a process, it requires some skill and knowledge, but once you get the hang of it the finish is arguably the best looking out there.
The Bad
Inlay Failure
I had a bright idea to add a proud inlay to act as a lip around the tables. The idea was to take thin strips of walnut, soak them in water for a few days to increase their flexibility and bend them into a groove I cut in the tables. Once they dried I would remove them and glue them in place.
The problem was the inlay wasn’t flexible enough to go around the tight radius at the end of the table and they all snapped as I attempted to insert them. Next time I’ll have to invest in a steam box setup which will do the trick, but more on that in a future project.
Legs
The Good
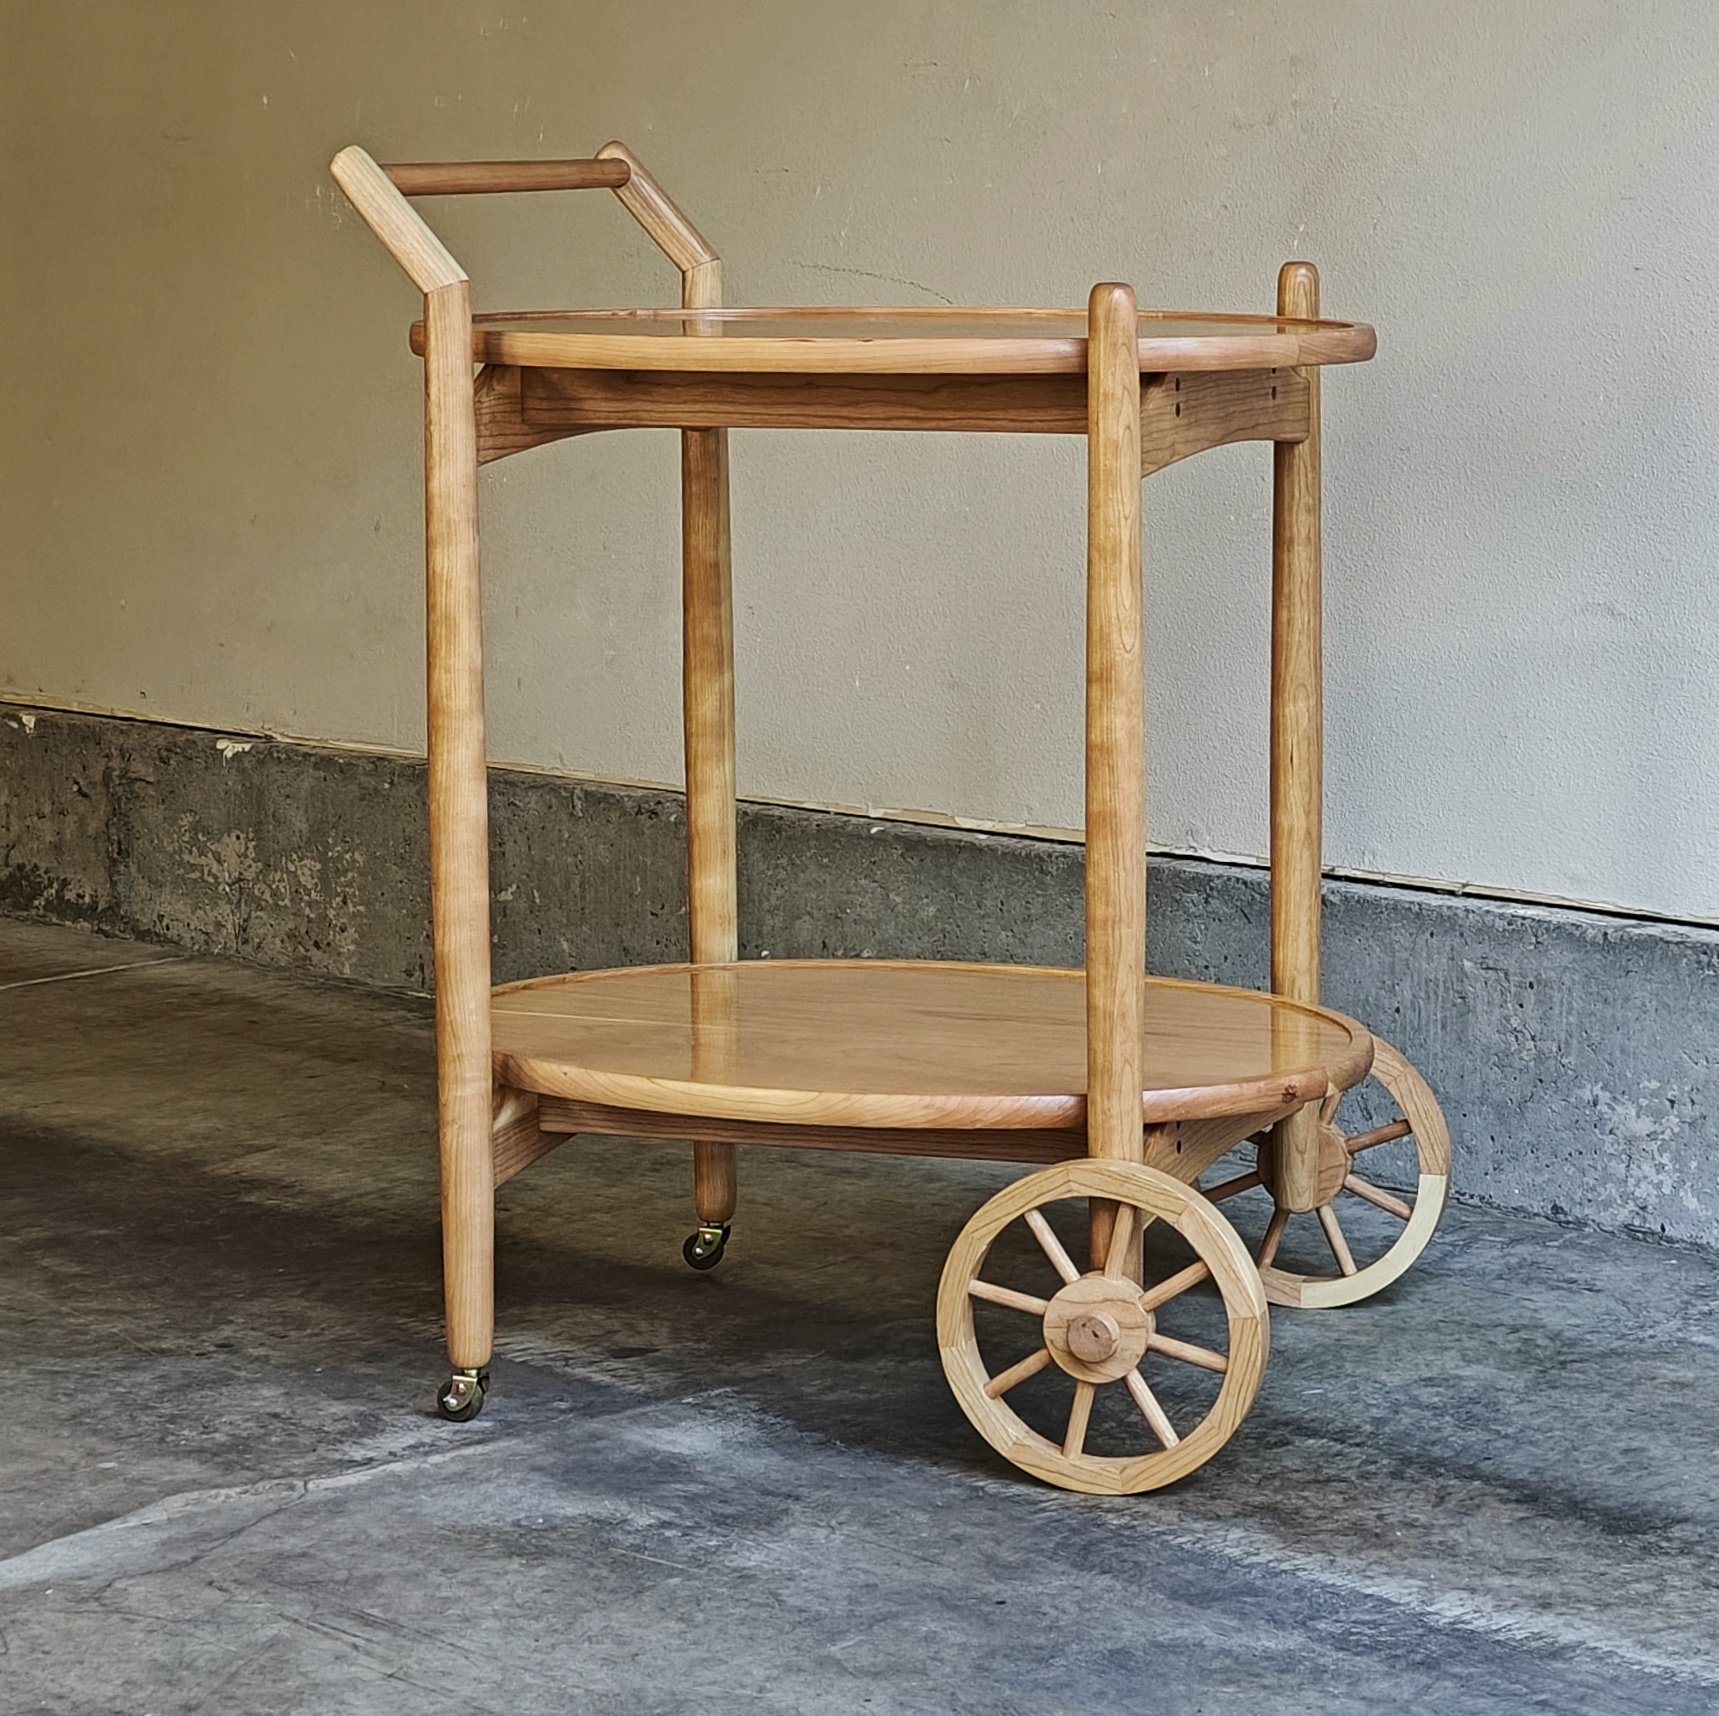
The Shape
The final shape of the overall cart is made by the shape of the legs. When the legs were bulky, the entire cart looked bulky, but with the legs tapered it gives the cart some daintiness while still being solid. Overall I’m happy with how the leg shape came out, but in retrospect I would have drilled the mortises a little deeper and tapered them even more.
The Bad
The Thickness
I came into the legs with a definite plan, to make them completely round. The problem was I started with 8/4 material when I should have toned it down to 6/4. The problem was the legs ended up being too thick for the rest of the structure, giving it an unbalanced, kids playground structure kind of vibe. Unfortunately there wasn’t a good way to solve the problem other than putting in a lot of work.
So I routed the legs thinner and spent hours hand tuning them with hand planes until they looked better, and by better I mean tapered and thinner. I could have continued to thin them, but I didn’t make the mortises deep enough into the legs which limited my ability to thin the pieces without losing structural integrity.
The Handle
Since I had not originally planned to taper the legs I initially attached the handle when my parts were square, which made it easy to align and clamp the parts together. That wasn’t the case after tapering as I had to remove the handles to do so with the plan to glue them back on later, which failed. I first tried just glue, which did not work. I then tried adding a dowel, which also did not work. My last attempt I added some nails to reinforce the dowel and act as a clamp, but that also did not work.
So I made new handles and opted to glue them on with a technique I’ve seen, but never tried. It uses two glues, wood glue for long term strength and super glue for short term sticking power. The idea is the super glue temporarily holds the pieces together and acts as a clamp while the wood glue dries. The problem was the wood glue mixed with the super glue, they need to remain separate but the space I was working in was too small, so the super glue failed.
The final attempt was epoxy. I knew this would work because epoxy isn’t like other glues. Most glues require a good connection between the two surfaces plus adequate clamping to create a strong bond. Epoxy fills, so it does not need the clamping pressure and any gaps wouldn’t be a problem. Finally after multiple days and 5 attempts the handles were on.
Wheels
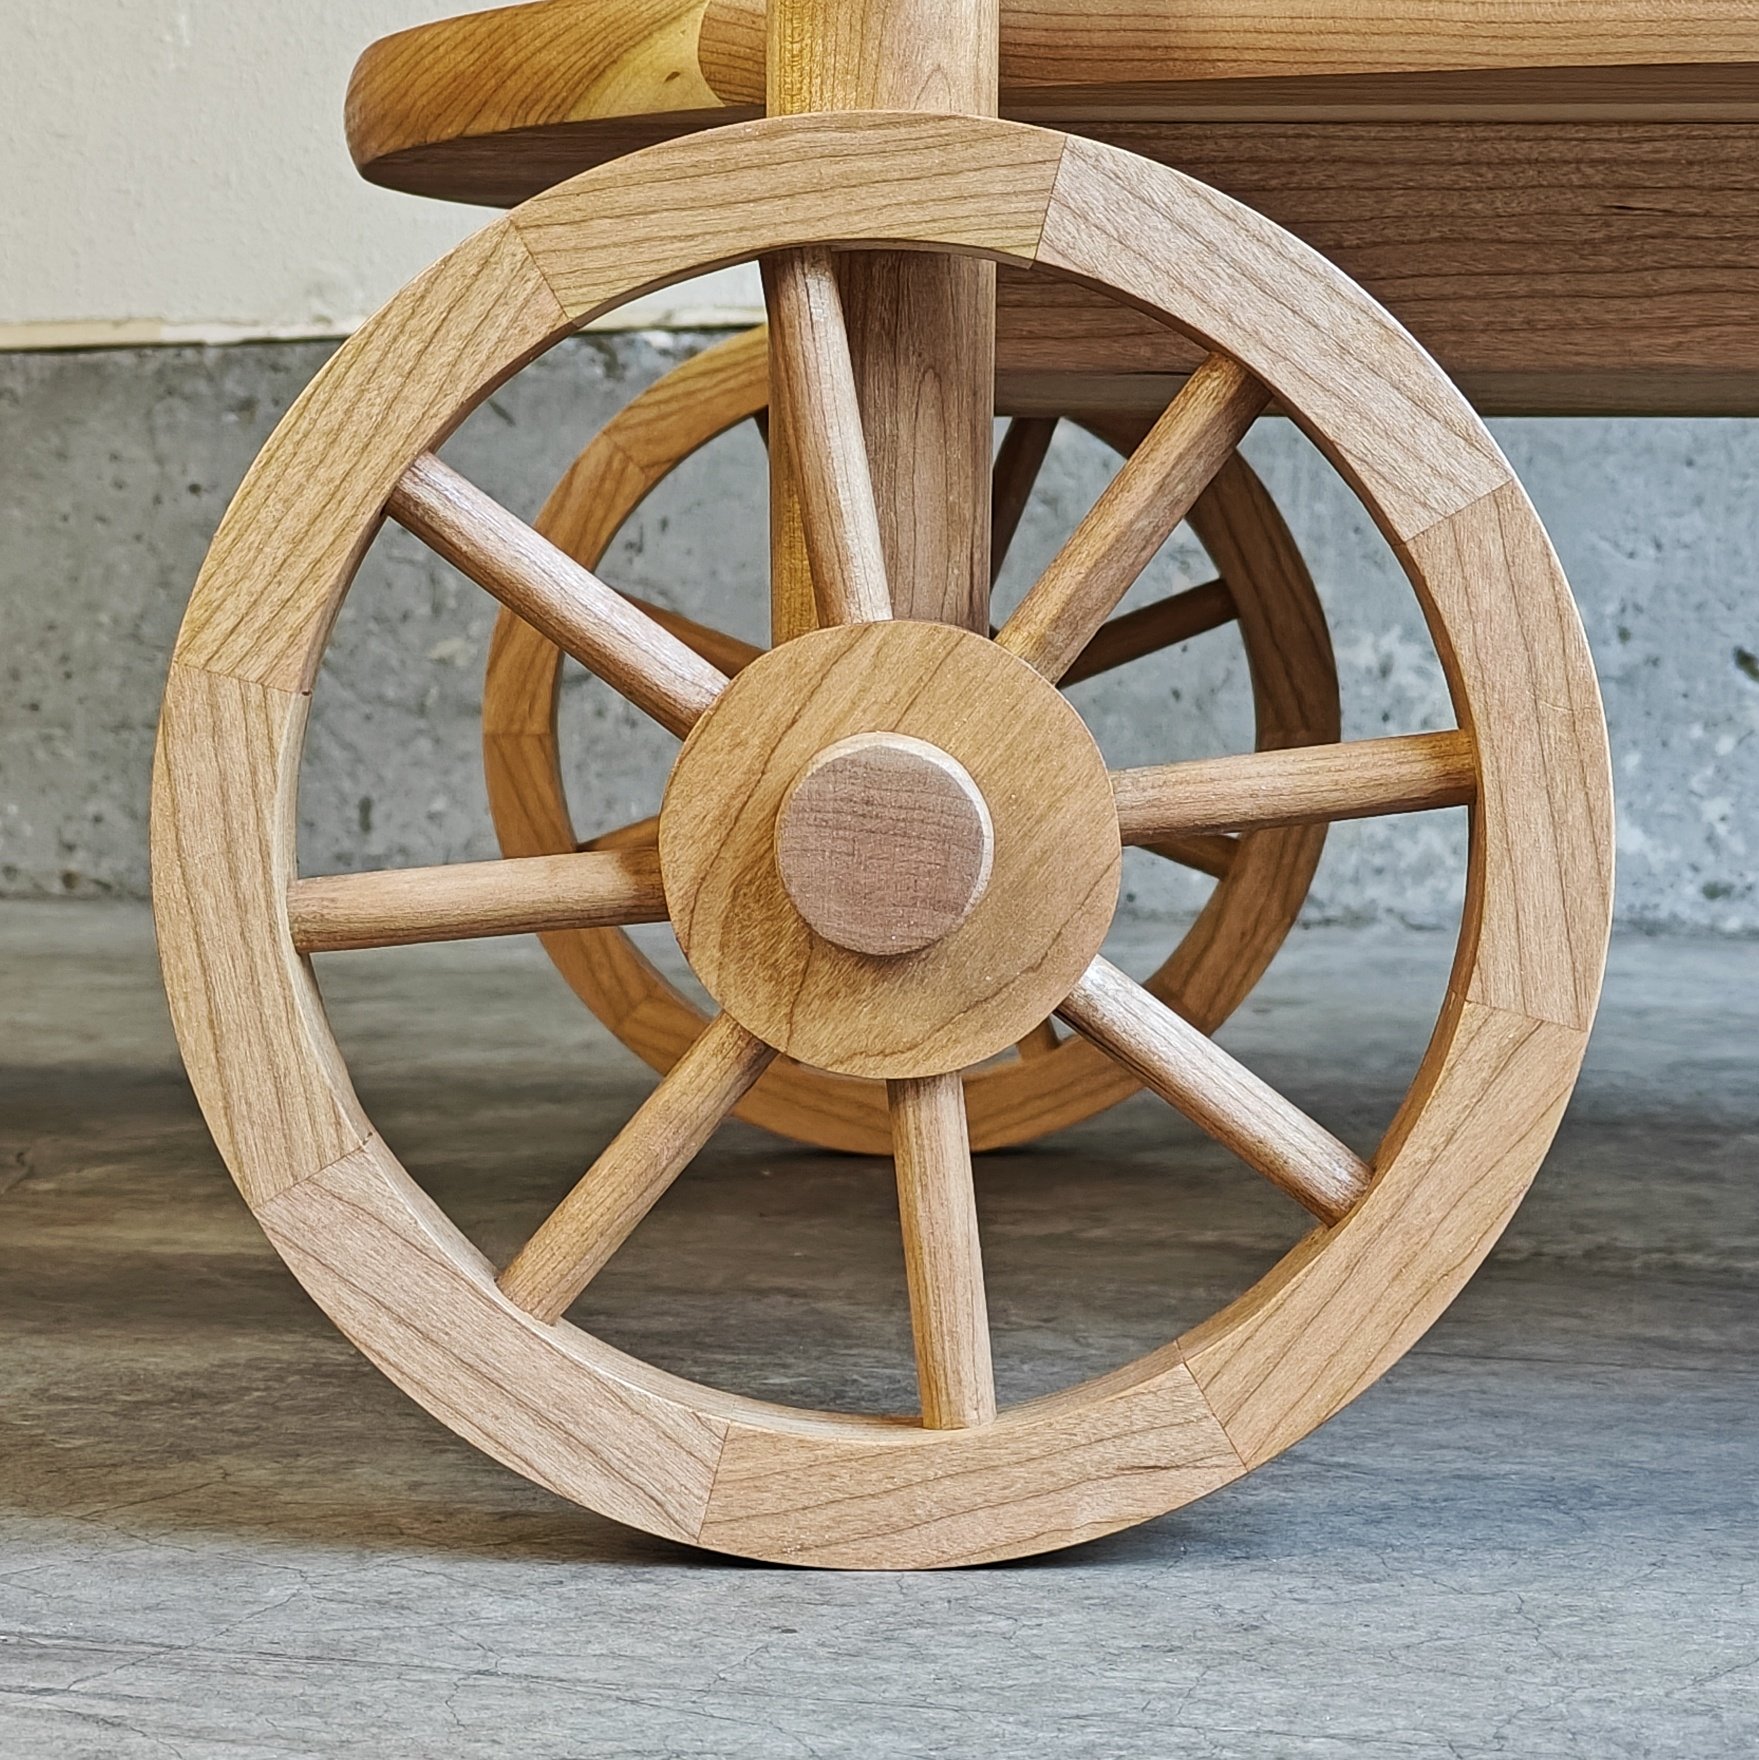
Going into the project these wheels were the most intimidating part. I had never made anything like them and doing it all from scratch tested my ingenuity, but in the end they came out pretty good. Honestly, I don’t think I’d do anything different next time other than avoid cutting my thumb while trimming a small piece of wood which I was planning to use to patch some router tear out.
I won’t go into the details, but I lost some skin and nail, but it has since healed nicely and my thumb is almost back to normal, just a little sensitive at the tip.
The funny thing is, I was rushing, yet, 3 days later when I went back into the garage I setup my stationary sander and had the patches done way faster than it was to trim them with a chisel. You live and learn.
Aprons
Not much to say here other than I had to pivot after cutting my thumb and opted to screw the aprons and stretchers together, then come back and plug the holes at the very end. The only thing I would have changed had I not cut myself is I would have done mortise and tenon like I originally planned.
Time
I spent way more time on this project than I anticipated, typical. But I was surprised at how fast it went because it certainly didn’t feel fast.
I started the project on January 27th and finished it on March 16th. Only seven weeks, but this project felt like it took twice that time.
In the moment the project seemed to drag on, but I believe it was the circumstances surrounding the project which caused this affect in my mind. Losing power due to an ice storm lost me a week of work. Cutting my thumb lost me a few more days. And the end of winter, while not a time loss, always weighs on me. But spring is here, sunshine is streaking through the windows, and the chapter closed on this project, meaning it’s time to start another.