
Walnut Display Cabinet Retrospective
Want to see more pictures. Check out the Display Cabinet in My Work.
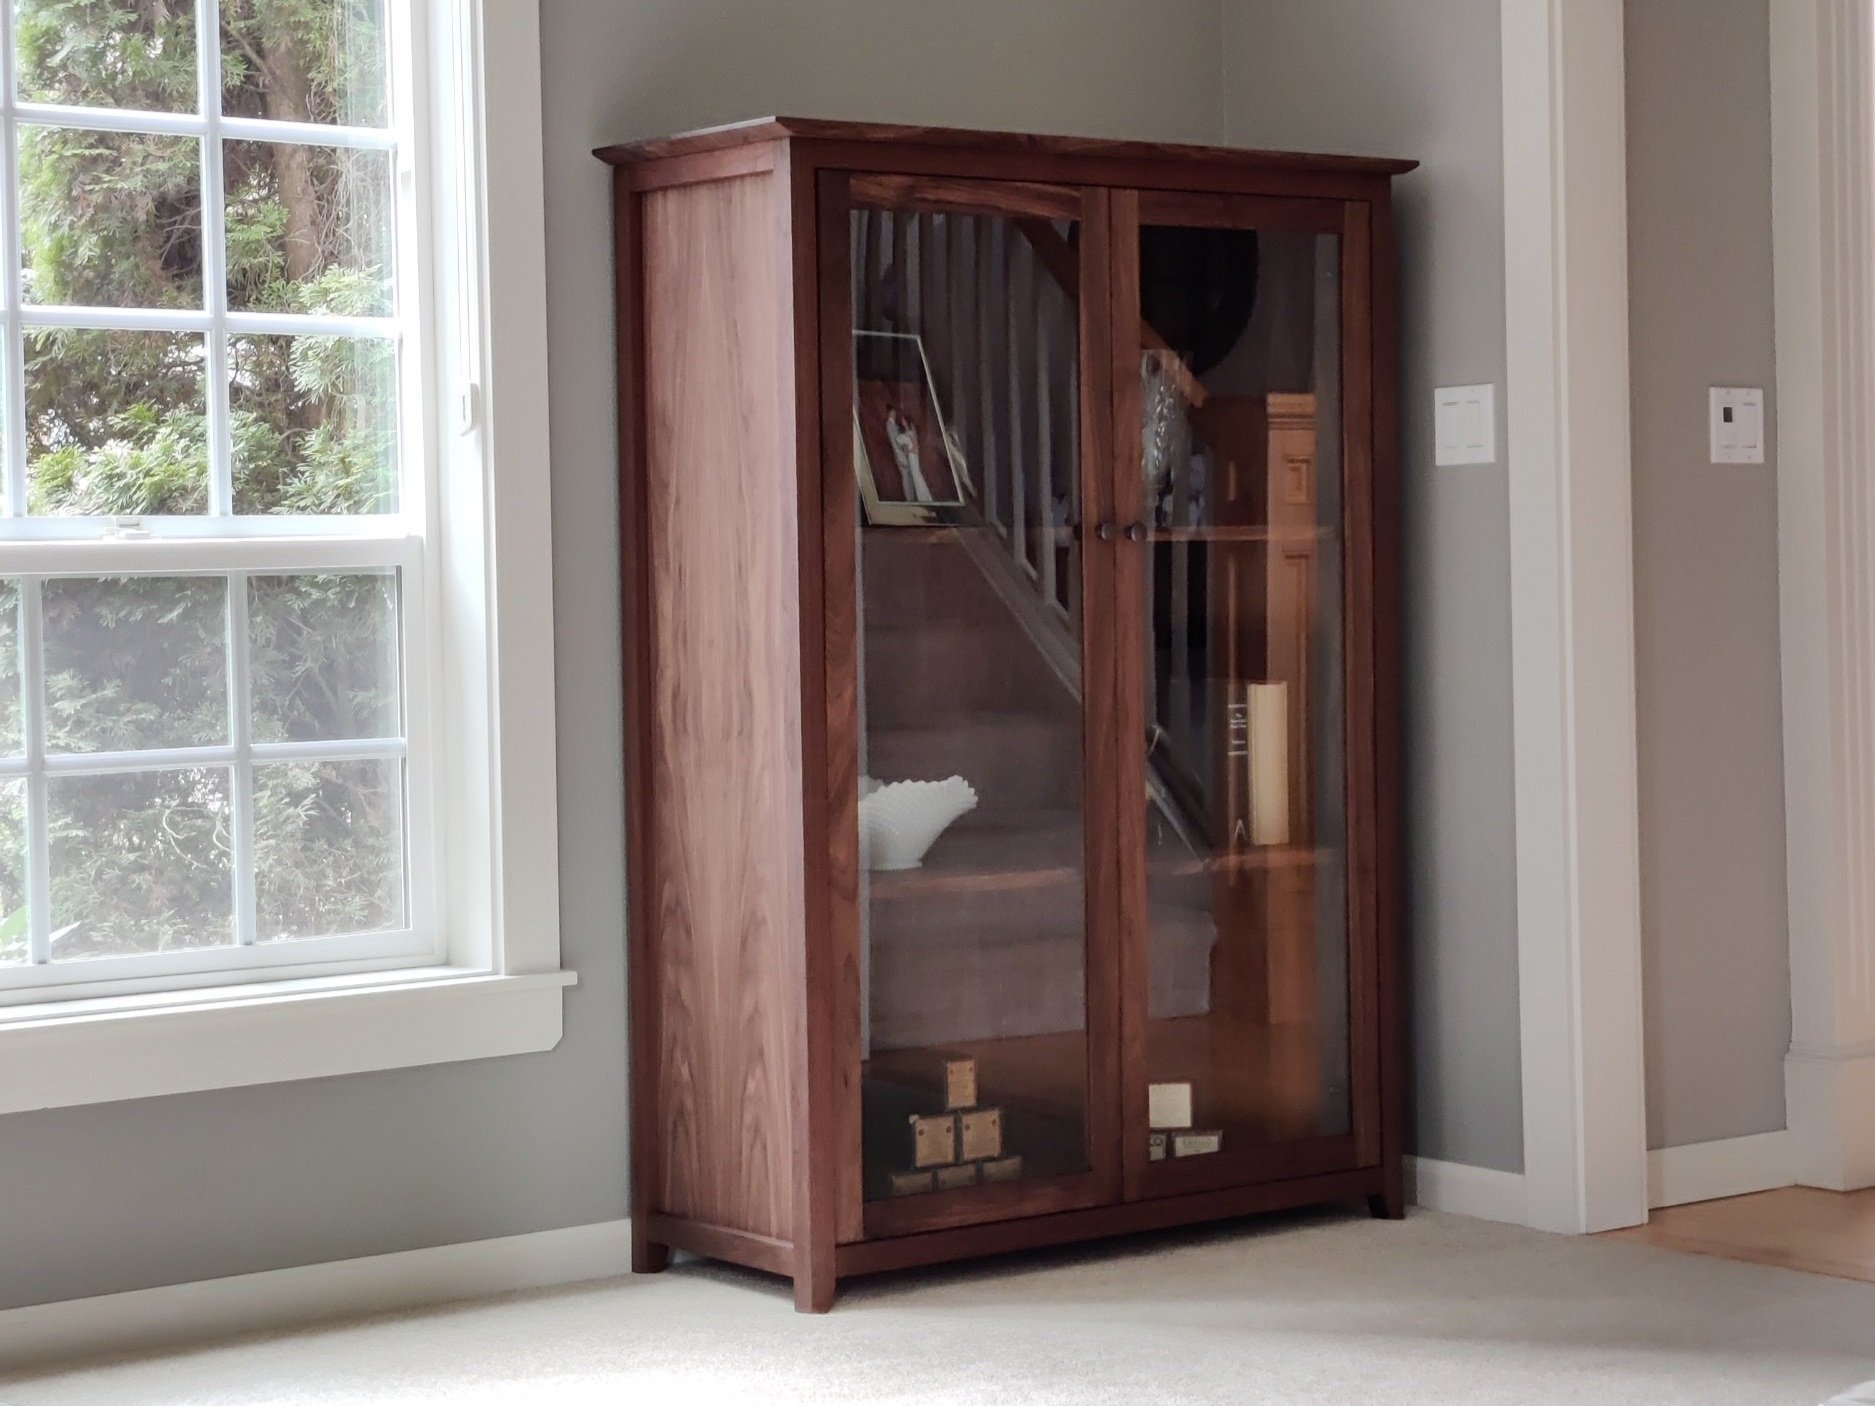
It feels great to get this one done. I started planning this project in early 2022, but other work got in the way until finally, I set aside time to put this project on the bench. On March 1st, 2023 I officially began this build and completed it on April 13th. That’s 7 weeks working on evenings and weekends totaling roughly 80 hours to complete, not counting the time spent designing, purchasing, and thinking about this project. At the end I’ll do a full cost breakdown for you, but first, let me talk about this build.
I wrote a blog about why I’m building this last fall, Custom Designed Display Cabinet, and feel free to read that article. I’ll give you the cliff notes. We have my wife’s grandpa’s player baby grand piano which was built in the 1920s and uses old paper scrolls to play music. These scrolls have been hidden away in drawers and we wanted to have a better place to put them, hence the display cabinet.
I started the project knowing a few things. One, I had a specific spot to put this cabinet, meaning it needed to fit that space. I knew what was to go in the cabinet, so I knew the depth of the shelves. I knew I wanted it to match the piano, so walnut was my option for wood.
The design also had some stipulations. It needed glass doors. I wanted it to match both the piano and the Calvert Square End Table as well as a future coffee table I have designed. This was tricky as the end table and coffee table are very modern with mid-century influence while the piano is traditional. So I took a little of both, using traditional rails and straight lines with the top being a call out to the mid-century angles given a steep under bevel.
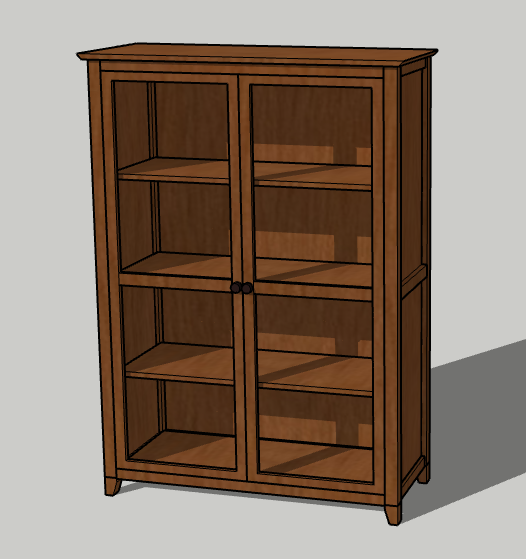
Digital model of the cabinet
With the design set, and once I got around to the project, I was ready to measure and plan my materials. I did create a full digital design, so this was an easy process. I knew how big each piece needed to be and which pieces would be what material. The sides and shelves were 3/4 plywood. The back was 1/4 plywood. Between those two I knew I needed one sheet of each, and I wanted to keep it that way given a sheet of 3/4 walnut plywood was $200. The rest was hardwood, the doors, top, and case with the doors and top being 4/4 and case constructed with 6/4.
If the fractions look weird, that’s because wood is measured in quarters and it’s pronounced in quarters too. So 4/4 is said “four quarter” and 6/4 is “six quarter” for rough lumber. This is because lumber, when it’s milled, is milled by the quarter inch and thus sold that way. Typically, a lumber mill does the sawing of fresh cut logs. Those logs are then dried, and as they dry they shrink so a 8/4 just means close to 2 inches thick. Once dried they either plane it or send it to a lumber yard to plane. The yard buys the lumber based on the quarter size and will smooth the wood or sell it rough. If smoothed, they plane it and even straight edge one side, but increase the cost per board foot for the work they put into it. When you buy the wood you might measure 8/4 as 1 and 7/8, but it’s still called 8/4 and sold using 2 inches as the calculator for the board foot, thus you pay for the sawdust.
I then began the build. Milling, cutting, assembling, sanding, finishing, and more. I won’t go into the details because I have a full build video for that, what I will share are the lessons I learned.
What went well
I enjoyed this build. It was a challenge for me, which is always fun. I really like the way the sides came out with the way I assembled them. I clamped the sides together, then routed out a dado for the plywood. Then routed the plywood so it fit perfectly in the dado, but I used a marking gauge to cut the veneer so I had zero chip out. This worked wonderfully and resulted in a very clean look.
I really like the way I attached the top and I will be reusing this method. In past projects I’ve used little metal z-clips, but in this one I didn’t want to see those metal bits through the glass doors, so I made my own out of walnut. They work great and you can’t even tell they are there because they blend in with the sides and top.
The glass went in perfectly, partially because I ordered the glass after I had the doors together so I knew exactly what size I needed. At the time I was worried I would lose a few days waiting for the glass to be made, but I was lucky and they had the glass ready in 2 days. And since I am talking about the glass, I really like the way the stays came together. It’s been a while since I worked with glass and these stays look awesome. I left them slightly proud of the door surface which adds a little charm on the inside of the cabinet, and will make them easier to remove if they ever need to come out to replace the glass.
Improvements
It’s always easier for me to call out what didn’t go well. In this case the joinery was not optimal. I used floating tenons, cut with a router and jig. My jig was a little off leaving every connection slightly twisted. It wasn’t much, but enough to require cleanup with a hand plane and sander at every seam.
Next, the doors. I had an issue with tension in the wood I used for the doors. In the video you can see a board break apart as I cut it because of the tension. This caused the doors to warp slightly. I was able to correct it with the hinges, but the doors will never line up perfectly like they should because of that warp.
The doors again, but this time the joinery. I decided to do it mostly by hand. I need the practice, but it took forever to achieve a nice fit for each joint and even then there were still gaps. I could have fixed it, but I didn’t as a reminder that I hand cut these doors and I’m proud of that.
Cost Break Down
Dollars wise, I have a careful accounting of all my spend. The wood, being walnut, was the highest cost in both solid and plywood, totaling $1,033. Next highest spend, the glass at $210. Lastly, the hardware coming in at $94 bringing my grand total to $1,337.
Now that’s a little high because some of the wood I purchased for this project I decided not to use for this project and will use it instead for a future project, so I can subtract $320 for that. Next, I originally designed the cabinet to have a face frame with the side plywood panels sitting in the middle of their frames, therefore I purchased hinges which attach to the back of a face frame. Then I changed that to sit the plywood flush on the inside, requiring new hinges doubling my hinge cost, so I can subtract $35 bringing my real total just under $1,000.
Considering my time and shop costs, such as sand paper, screws, and tool wear and tear I would price my labor at $50 per hour. That covers my time and overhead. Rolling in materials, I would charge $5,000 for this cabinet had I built it for a client. That seems like a lot when comparing my furniture to a retailer such as Crate and Barrel or Pottery Barn, where you can find something similar for $2k to $3k, but my quality is not lacking. Compared to a big name in handmade, custom furniture such as Thos. Moser this same cabinet would be $7k to $10k.
I land in the middle. I have the quality of any custom builder which instantly gives me the right to charge a much higher price than most retailers, but my name carries less weight because I am new on the scene.
If you are interested in this piece or one similar and value finely crafted furniture that will outlive you, contact me and we’ll discuss what you have in mind. Like this article says, I’m not cheap nor am I fast, but you will get what you pay for and the quality and service will blow you away.