
Buying Lumber - Wood Essentials
So you have a project and now you need to buy the wood for it. Before you head to the home center, go find a local hardwood dealer or saw mill. Having trouble locating one? I have a helpful guide on what to look for and where to go.
To sum the article up, go find a hardwood dealer, unless of course you need softwood, then find a lumber yard. What’s the difference? Lumber yards specialize in construction timber while hardwood dealers have hardwood.
But you can’t just show up and expect to find what you are looking for, without the proper preparation of course. Here are the three steps you should take before you go, while you are there, and when you bring your boards home.
Before You Go
There are a few steps in this phase. The first, and most important, is to know what type of wood you need. This will help you narrow down your location. I mentioned the difference between a lumber yard and hardwood dealer already, but there is a third option, the saw mill. A saw mill will have a smaller selection of wood, but at greater thicknesses and lower prices, but you will have more work to do.
If your shop does not have a planer, and preferably a jointer, then stay away from the saw mill. These boards are rough as can be.
So now you are down to soft vs hard wood. If you are unsure which is right, I have an article on that too called Softwood vs Hardwood. Once you know, figure out how much you need
Measurements
This isn’t the easiest step. It requires a plan, rough or drawn, it doesn’t matter. Just know roughly how wide and long each board needs to be so you can plan that into your lumber purchase. Then write it all down.
If I know I want 3/4 thick stretchers, 40 inches long and 2.5 inches wide and I need four of them I will plan to buy one board at least 6 inches wide and at least 8 feet long. I’ll write that down and label it as “for stretchers.”
That way when I get in front of a rack I can measure and quickly check off a board. It’s important to note roughly how long you want the finished pieces, and not because you will buy a board exactly that length, but because you will need to think on your feet.
When in front of a bunch of boards you will see some have cracks in them, there are knots, and maybe even holes. You need to know if a board will work, even if you have to cut around defects.
Equipment
You’re going to need more than a list when you get to the hardwood dealer. Here are the basics I always bring

My essential tools. Rubber coated gloves are better than leather. They provide a better grip and more protection, especially when it is wet.
Tape measure. You aren’t at Home Depot where you can head down aisle 12 and grab a tape off the rack to use. Bring your own, I carry a 12 foot with me. It’s small enough to easily fit in my pocket but long enough to measure most any board you will encounter (usually 10 feet is the largest you’ll see)
Gloves. Rough sawn boards are rough. And they are heavy. Avoid splinters by keeping a nice pair of gloves in your back pocket. I prefer the rubber ones, they tend to grip better than leather.
Pencil and list. You took all those measurements and notes down, so don’t leave it at home. Bring a pencil or pen to check things off as you get them and label your boards so you don’t forget by the time you get home.
Check book. This is essential for saw mills. Some will accept credit cards, for a fee, but they prefer check or cash.
You may want a spray bottle with water in it which can be handy to get an idea of the grain. Just ask before you start soaking boards.
Vehicle
Always come properly equipped. If you have a truck, great! If you don’t, make sure you know your limits. Can you fold the seats down to take 7 foot long boards? If so, know that, most places will be able to cut your boards down for easier transportation. They’ll even cut on your marks if you ask, just don’t make them do the measuring for you.
You also have some transportation related equipment you’ll need. I make it a habit of leaving these things in my truck at all times.
Tie downs. I prefer ratchet straps.
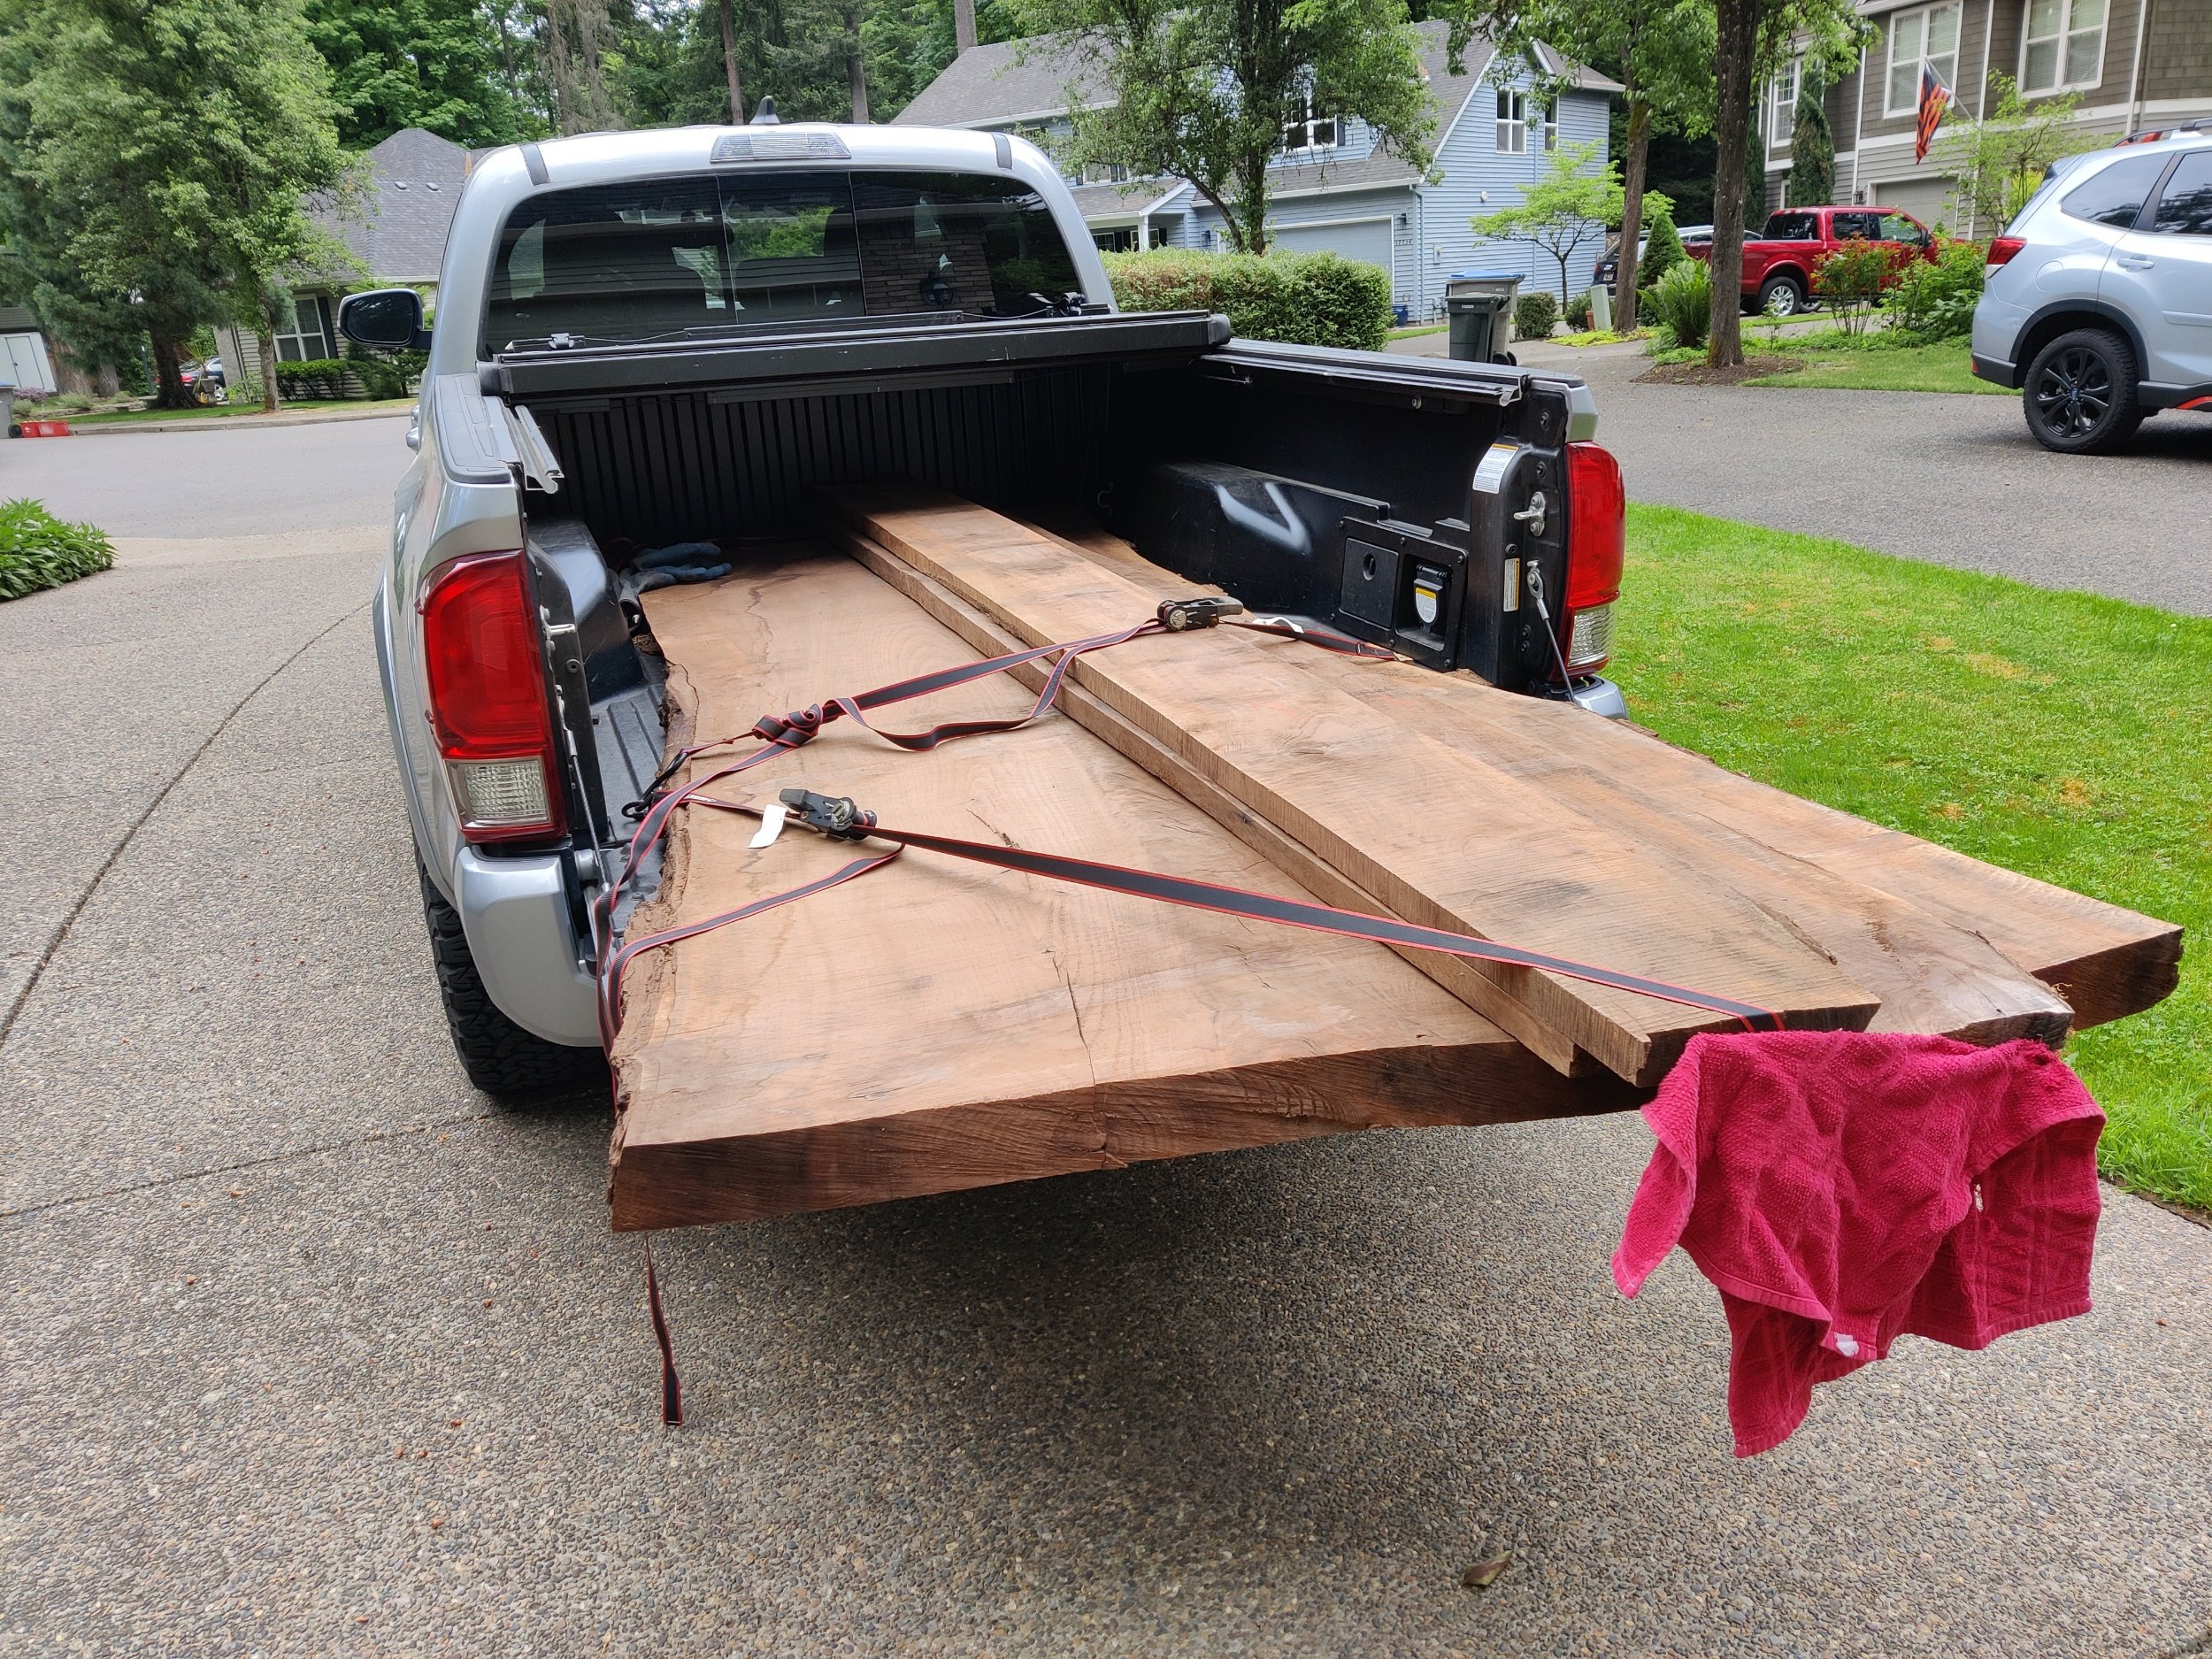
Flag. Read your state regulations, generally you need a flag for anything sticking more than 3 feet out of your vehicle. Often you only need a red or orange item on the back for anything protruding past the back of the vehicle. I use an old red towel.
Staple gun. That flag won’t do you much good without a way to put it on your lumber. I prefer stapling it in place. That way I know it won’t fly off, plus the ends of the boards will be cut off anyway, so a few small holes will not matter.
Learn the Lingo
Like any industry, wood has it’s own language. There are a few terms you’ll hear that will confuse you. Luckily you are here and get to learn it before being thrown to the wolves.
Board Foot. Wood is sold as a board foot. It’s a measurement of volume. You can use the board foot formula which is the board’s (Thickness x Width x Length)/144, all in inches. Don’t worry, there’s an app for that, and I suggest you get it. I use the BoardFoot Calculator.
In practice, a board foot is calculated based on the milled measurement. Generally, a hardwood dealer will plane boards, but they sell the board based on original size. A 7/8 inch thick board is rounded up to 1 inch.
Quarters. All lumber thickness is measured in quarters and labeled as 4/4, pronounced four quarter. Don’t ask me why saying “six quarter” is easier than “one and a half” but apparently it is.
Hit and Miss (aka H/M). Hit and miss means the board was planed, but it was hit and miss through the planer. There are still low spots, but the general roughness was taken off. Hardwood dealers do this to give you an idea of the grain. Go to a sawmill and most boards will not be planed. That’s where the spray bottle comes in, otherwise you don’t always know what you have on your hands.
S3S. This means Surfaced 3 Sides. This is generally what you’ll see at a hardwood dealer and it means the boards were planed on both sides so they are smooth and one edge was straight lined. The opposite edge is still rough as you are expected to cut the board to width on your own table saw. S3S lumber is a great option for those without a jointer and planer, you just pay a little more for the service. You can also find S2S and S4S.
Call Ahead
Regardless of where you are going, if it’s your first time it’s a good idea to call ahead. I know, that can be scary in today’s digital age. But you may have a few questions, such as if they have what you are looking for in stock, or if they will be around (especially important to ask if you are going to a sawmill as they could be out getting logs).
I learned this lesson the hard way when going to a large hardwood dealer who supplies local cabinet shops. I just went but what I experienced were fork lifts flying around and customers loading up pallets of plywood as I tried to sift through a stack of maple while avoiding impalement by tine. As I was paying they told me to call next time and they’ll get me setup with boards to look through in a safer location.
While You Are There
You made it with all your equipment and are ready to go. But before you head straight to the rack you want, poke around. See what they have and take note of prices on interesting woods you may want to use in the future, that way you have an idea of what the project cost will be and can shop prices around town.
After you poked around, grab yourself a cart and head to your section. You already know the lingo, you know the species you want, and you know how much. Now is the tricky part, getting the boards to fit your needs.

I start by sifting through boards, avoiding excessively cracked boards or those with knots or holes smack dab in the middle, which can be difficult to work around. After finding an acceptable board I’ll measure it and see if it will fit my needs. If it does, it goes on the cart.
With the first board found, the next become trickier. You now need to pay attention to the color. I generally avoid sapwood, then try to match streaking, grain, and coloration as closely as I can.
Feel free to sort through as many boards as you want, just put them back the way you found them when you are done.
Courtesy Cut
Before you head up front, if you need your boards cut drop them off at the saw station. If you don’t know where that is, ask.
Checking out
I do a quick calculation before I head up front to know what I should expect to pay. If the total comes up close, then we’re good, otherwise, dispute it. Usually boards will have a board foot number written on them, but sometimes those boards get cut and are no longer that amount.
Loading up
Some places will have a loading dock, others you have to wheel the wood out to your vehicle. Either way, don’t block other people. And if you need help lifting heavy boards just simply ask for it. No one minds lending a helping hand, just return the favor.
Speaking of return, take your cart back to the designated area when done. This isn’t Walmart, you are the cart returner.
Now slap a strap on and staple your flag in place so you can get home and start working your wood.
When You Are Home
Start cutting immediately?
No.
Actually, this is the hardest part of any project. You just bought all the lumber you need and now you have to wait. The wood now needs a couple of weeks to acclimate to your shop. As wood changes environments it will exchange moisture, and in doing so it will move. The last thing you want to do is start your project the same day only to come out in a day and find all your perfectly straight boards are now warped.
Be patient, mark your calendar, and work on something else in the meantime.

Stickered and stacked, waiting to be used. The stickers, pieces of wood in between the boards, allow for airflow completely around the board so moisture from the air can be gained or lost evenly by each board.