
A New Video and Table Base Work: Friday Update
Progress check. Last week I milled the table base boards, poured epoxy and filled cracks in the slab.
This week I start the base, sand the slab (bottom side), and refilled/resanded holes that appeared after initial sanding.
That’s the short version, but before I go into detail, here’s the World’s Largest Lazy Susan video, released yesterday!
The Base
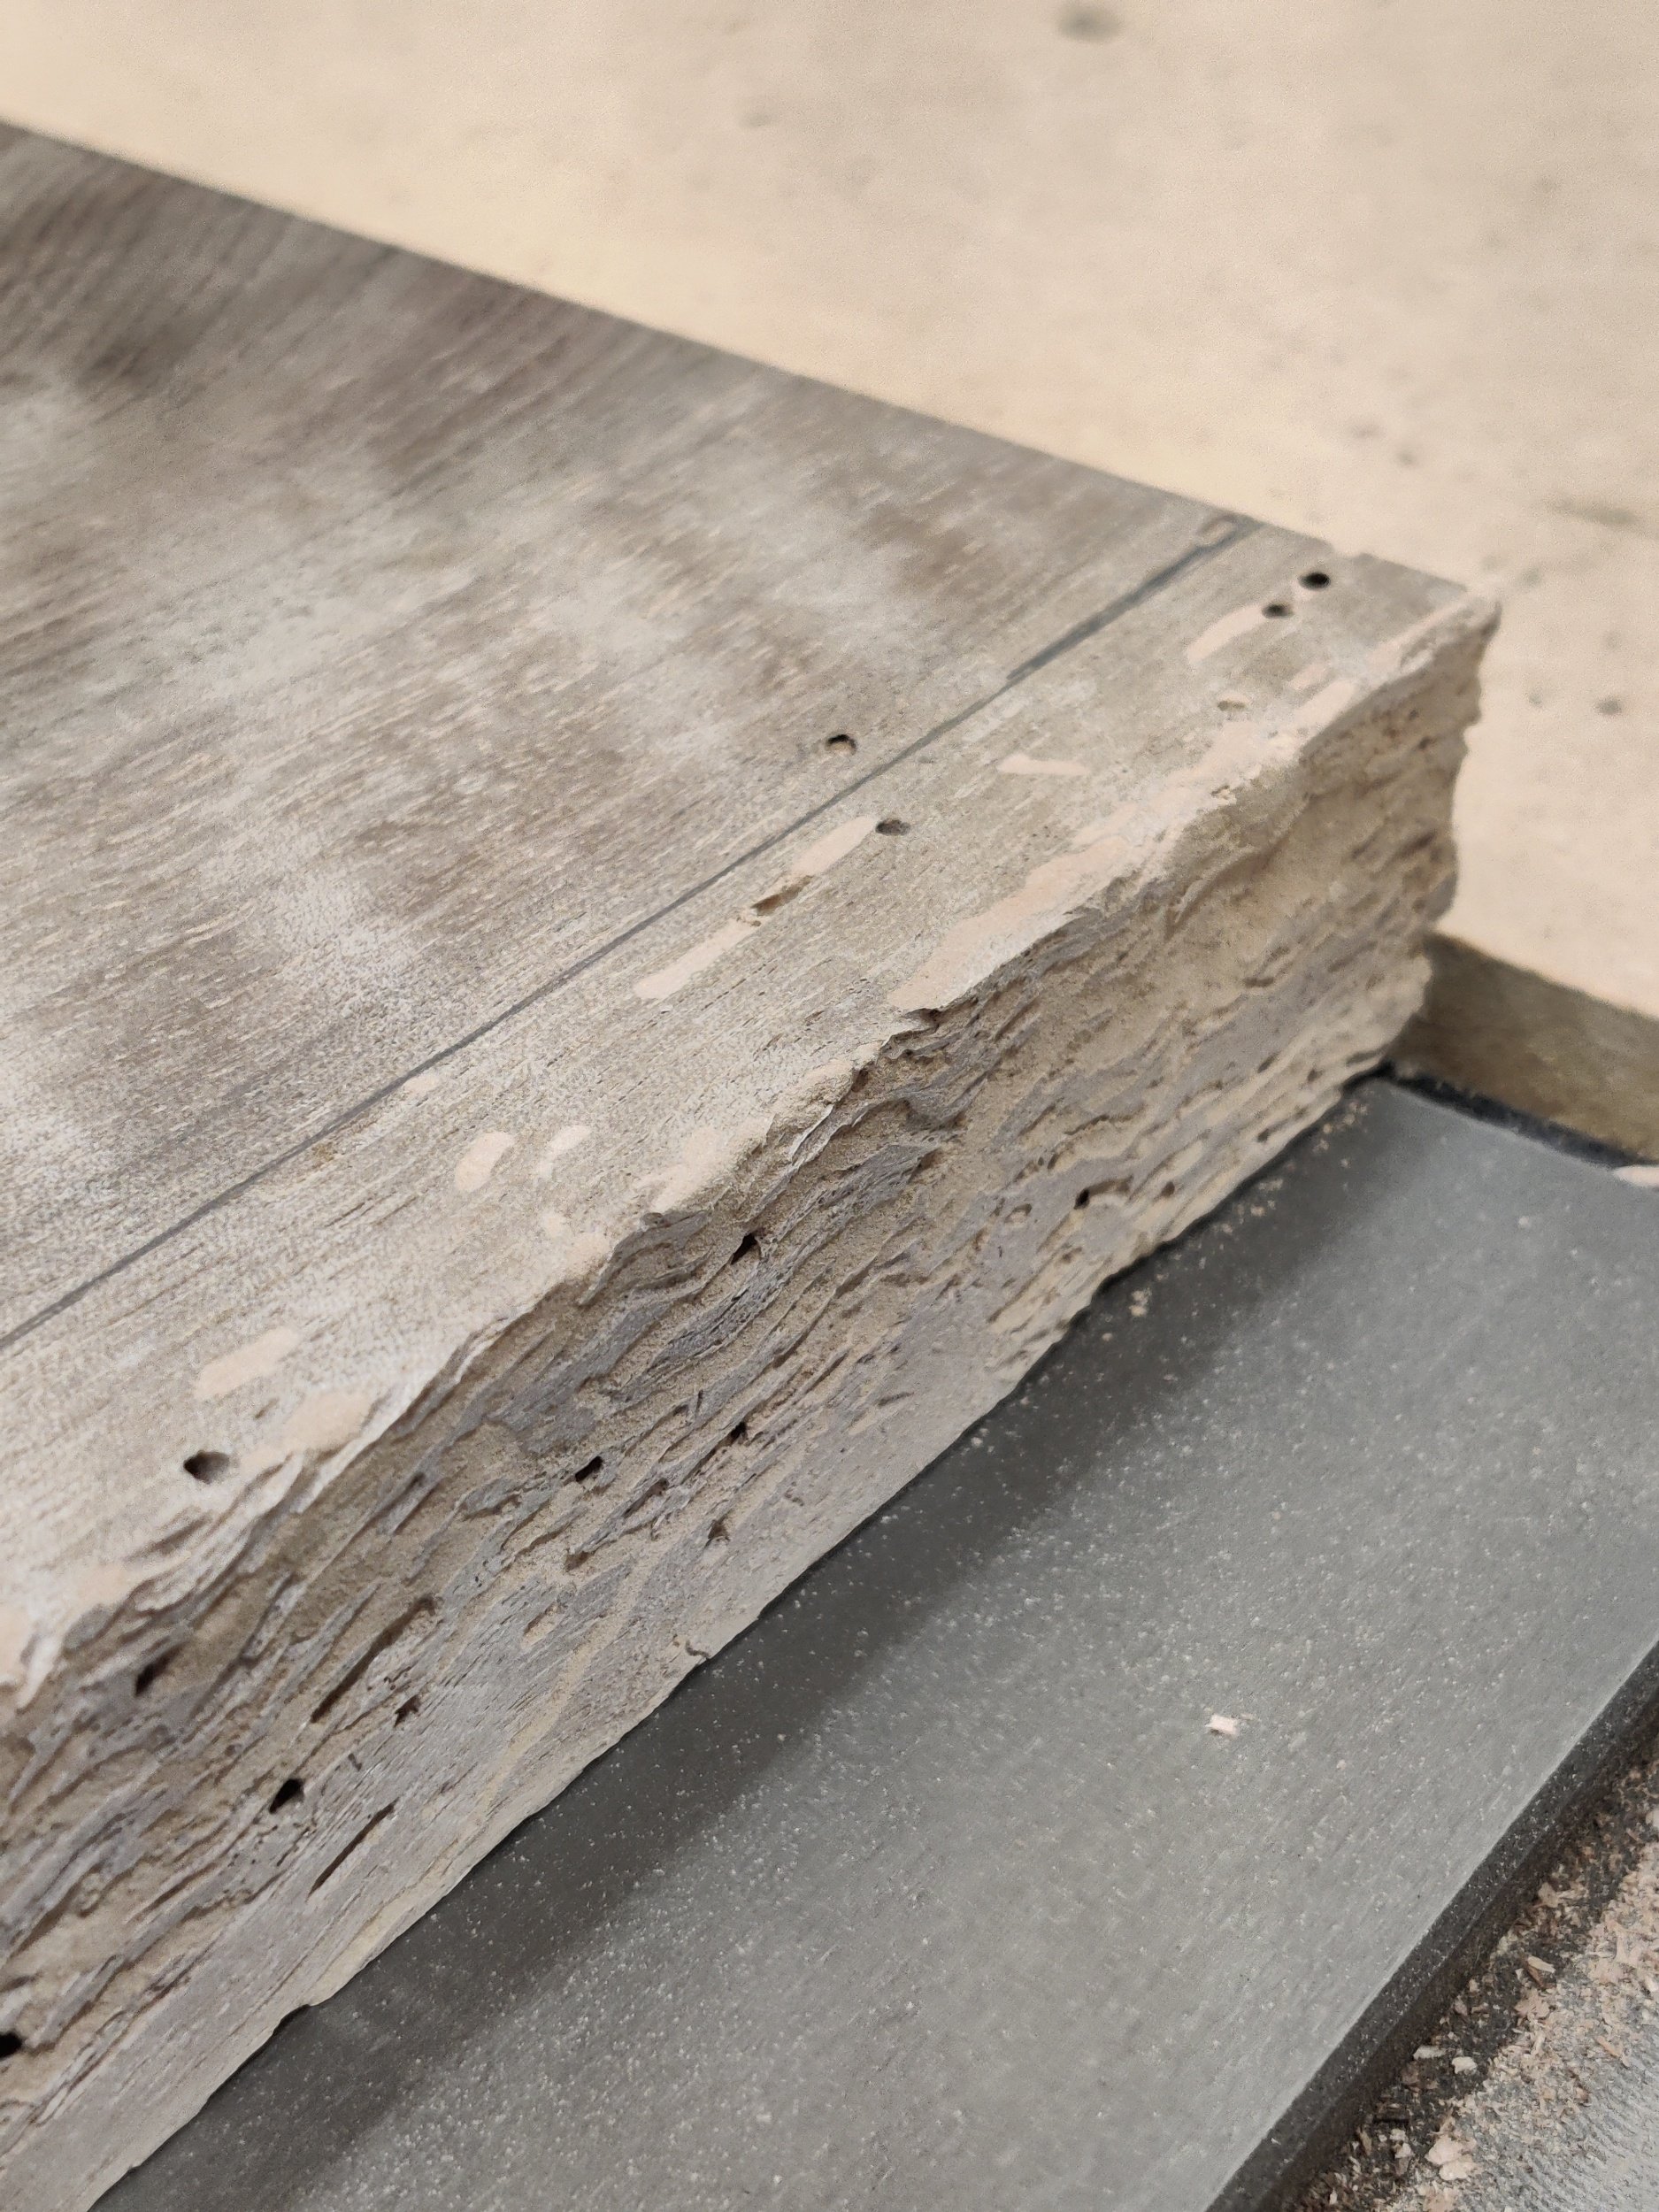
Buggy, but you can see my layout line where I’ll trim to knock off the bad wood.
I had hoped to get the table base started on Monday, but Monday presented problems. The wood I had prepared had a problem, specifically the leg wood. It had some bug holes in the soft sapwood which needed to be trimmed off.
Rather than milling more wood I decided to roll with a design change already on my mind, tapered legs. From the side the base will have a taper as it is a trapezoid. I thought it would also look nice to have the legs match that shape and also be trapezoids. Nothing crazy, just a slight taper, 1 degree or so, to best use the wood and waste as little material as possible.
Joinery
With the shape figured out, my next big challenge was the joinery. At first I was planning on mortising the top and mitering the bottom. Then adding dovetail keys to the bottom to increase strength, but the more I thought about that idea the less I liked it.
The mortise and tenon top is still in the plan, that will be super strong, but a miter at the bottom will be weak and the keys won’t add a ton of strength. This table is too heavy to rely mostly on glue.
I pondered for a while and thought about doing traditional dovetails, but I’ve never done those and attempting angled dovetails for my first go seemed like a bad idea.
If I couldn’t use dovetails for a mechanical connection I decided screws would be my best bet. They would make the joint solid forever without worry of glue failure. The problem was positioning. If I drove the screws in from the front the weight would be pulling against the threads which would be in end grain, not the strongest connection.
But if I switched the orientation to have the screws going up, the weight would be pushing laterally on the screw, meaning to fail the screws themselves would have to snap in half, very strong. But I would expose end grain at the bottom of the leg which wouldn’t look good. So I came up with a final solution, rabbet the leg to slide the bottom plate into the leg with a portion of the leg covering the end grain. That means extra glue surface and the ability to run screws up through the bottom plate, making them invisible. The best of both worlds.
I know that’s a lot to share and read, but it’s the thought that has to go into things like this. A few years ago I wouldn’t have put that much thought into it, I would have grabbed a doweling jig and called it good. Heck, most YouTubers today would do the same, but with a Domino joiner. It would work and be solid, but it could be better to make the table last longer without fear of failure.
Also, apologies for the lack of pictures. All I got done was this week was cutting the legs to size, rough cutting the mortises, and cutting the top plate to length. But now that I have my plan I can move forward with confidence.
The Slab

Raking light, light coming from the side, highlights imperfections and missed spots.
Since I stalled myself on the legs I spent time on the slab where I poured epoxy on the underside, filled small cracks with glue, scraped off excess epoxy, and sanded. These tasks take time, but not a lot of brain power as there isn’t any math or figuring out, just making it look nice.
And with the slab starting to look nice my target completion is by the end of this month (July). This week’s progress moved me much closer, but we’ll see if I can hit my self imposed deadline.