
Planer Sled: How to Flatten Boards without a Jointer
Do you have a planer but no jointer and are looking for a fast way to flatten the face of a board? You could break out your hand planes and winding sticks, but that can take a while. Here’s a fast way to do it using a planer sled.
What is a planer sled and how do you make it?
A planer sled is a flat sheet of wood or wood like material. The key is the sled must be flat, otherwise it won’t work. I use a slab of melamine because it is flat and slippery so it slides well across the planer bed. The sled should also have a fence. For mine, it’s just a strip I cut off of the end of the melamine board screwed back on. The important part to the fence is it is above the bottom of the board, if it sticks down too low your sled will no longer be flat, and that it doesn’t stick up too high, otherwise it could interfere with the cutting of your workpiece.

Here is the planer I have, a DeWalt DW735x.
Before we discuss how the sled is used, you need to know the basics on how a planer works. There are three main components to a thickness planer, the cutter, the rollers, and the bed. They work together to shave off a small amount of the board referencing the bottom of said board. The way it works is there are these two rollers on either side of the cutter head. The rollers pull the board through the machine and the cutter head sits in the middle of those two rollers shaving off the board as it comes in contact with it. In order for those rollers to have enough grip on the board to keep it moving forward they push down really hard on the board and sliding it across the flat bed of the machine.
This works great when the down side of the board is flat. The top side can have dips, cupping, and warp and as long as the surface running along the bed is flat, the machine will cut a flat surface on the top of the board.
But what happens when the top and the bottom aren’t flat?
Enter a planer sled
How this works is you are putting your unflat board on this flat sled and as you run the board and sled through the planer it will reference the flat bottom of your sled and cut the same flat surface in your work piece. Here’s how you do it.
Step 1: Put your board on the sled
Place the board down and push on various points of the top. Your board will likely rock in some way. If it does, stick some shims under the point where that is in the air to get it to stop rocking. Then take more shims and put them under the areas which have a gap between the board and the sled. This is an important step because the rollers of the planer push down so hard they can flatten your board out as it passes through the cutter head only to have it spring back when the pressure is released.

As for shims, I’ve used thin pieces of wood and that works great but is hard to fine tune. Recently, I started using paper as shims. Paper works great, you can tear off small pieces or fold a larger piece in half to add thickness to your shim.
Word of caution though, don’t let too much extra paper hang out from under your board. My dust collector sucked some overhanging paper up and into the blade. It didn’t hurt anything, but it made a weird noise that scared me until I realized it was just paper being shredded.
And that’s it. No hot glue necessary. I used to use hot glue to secure the board and shims but it is unnecessary if you have a fence on your sled. Secondly, if you rely solely on that hot glue you’ll occasionally have a surprise as that glue breaks free and your board jumps off your sled, not good.
Step 2: Run through the planer
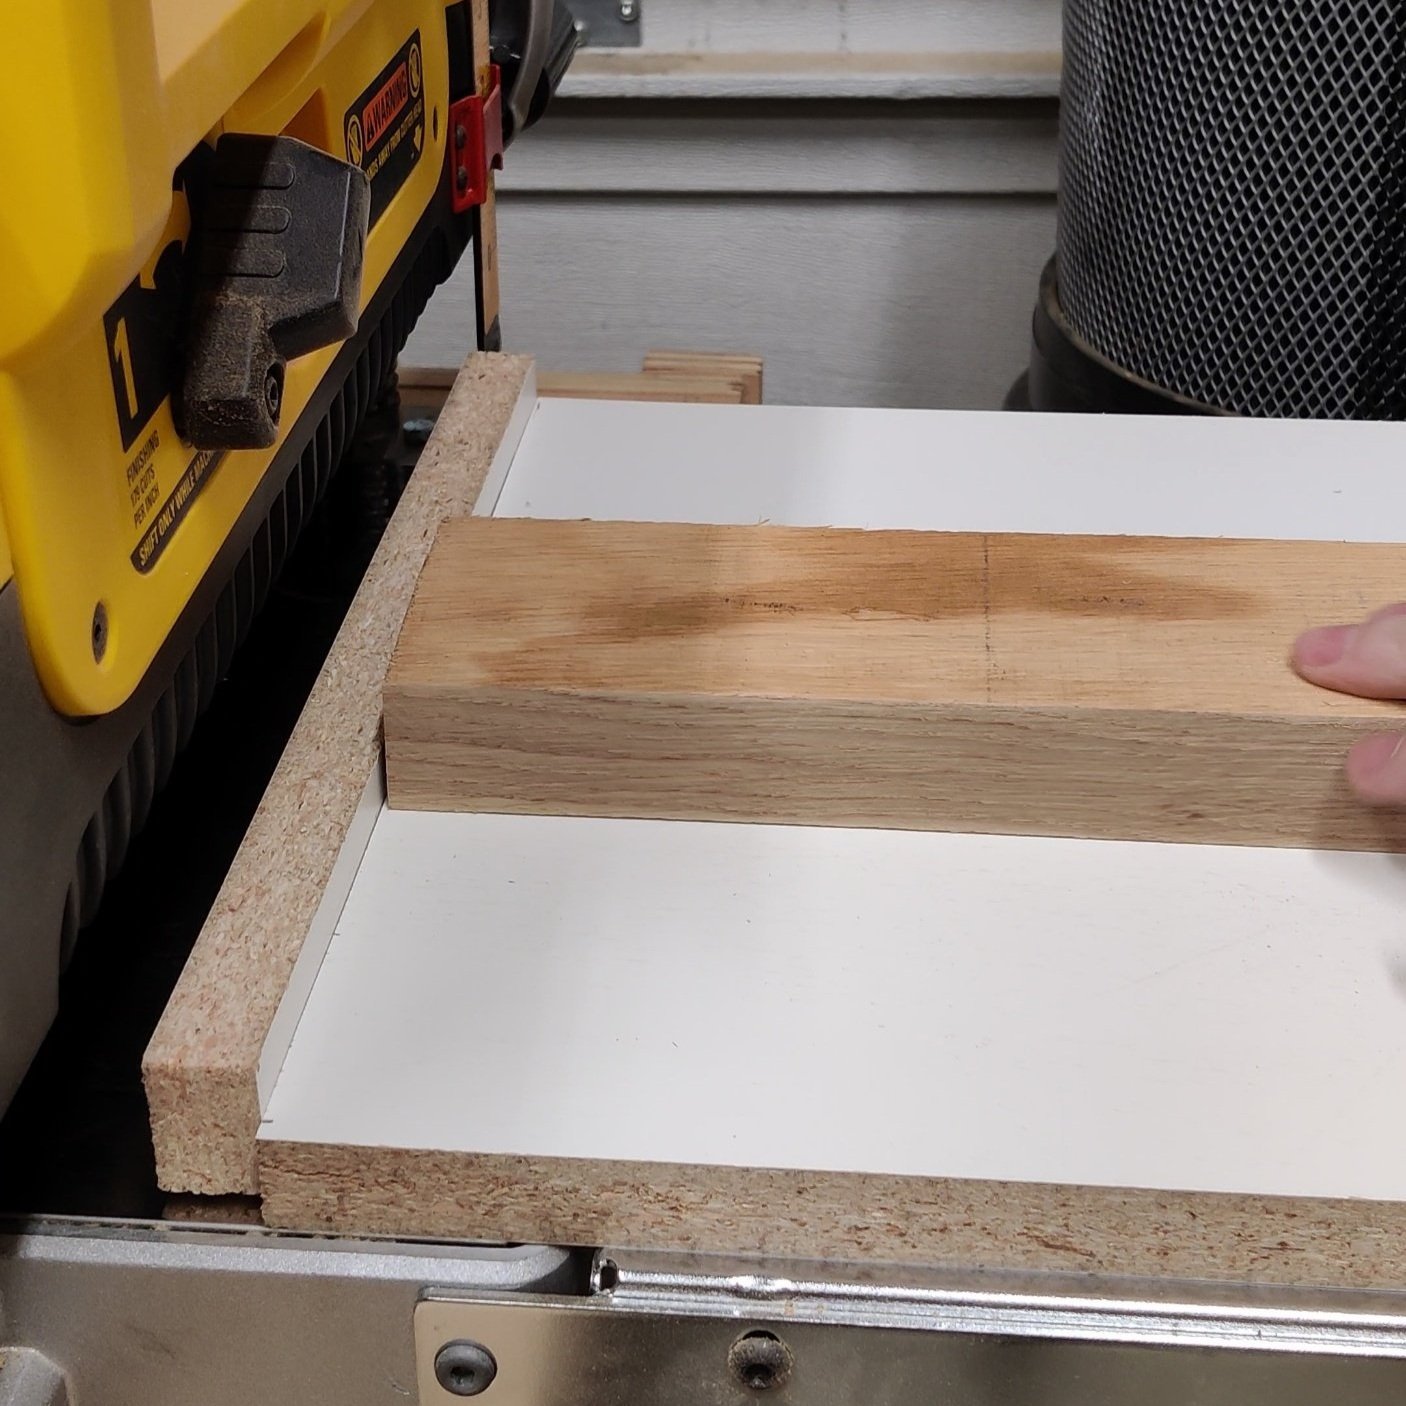
Fence in the front to stop the board from coming off the sled.
Once you have the board shimmed your next step is to run it through the planer. The first step is to raise the planer up as you are now going to plane your workpiece plus the 3/4 thick sled. The second step is to make sure to orient your sled with the fence facing the front. This is the key to this whole process. The fence will stop the board from sliding off of the sled if the fence is in the front. Remember, the rollers are pulling the board forward. If you put the fence in the back the planer will just pull your board off of your sled, don’t ask me how I know.
Need a better visual? Here’s a video explaining the process. And while you are there, please subscribe to my YouTube channel. I’m coming out with more videos and your subscription will really help me continue to write these blogs and make videos.