
How to Use a Card Scraper

Scrapers, all the same. The name changes based on size
In this article I’ll teach you how to use a card scraper, which starts with how to properly setup a card scraper. And to setup a scraper you need to know how they work, that way when things go wrong or the scraper stops working you’ll know why. Let’s get started.
But first, what is a card scraper? A scraper is a simple piece of steel. A card scraper is a rectangular version, it’s big brother the cabinet scraper is the same shape, and then there are other shapes for scraping curves. In this article I will use the term card scraper, but actually show a cabinet scraper. I find cabinet scrapers easier to learn how to use. They are larger and easier to flex, helping you get the basics down.
The entire point of a scraper is to save you time sanding, which really saves you money because you don’t have to go through as much sand paper. How do they do this? Well a scraper shaves the wood fibers, shearing them off, while a sander mushes the fibers around. This means a scraper can concentrate on a problem area and get past tear out faster than sanding can.
That’s the basics of what they do, let’s explore how they work.
How Does a Card Scraper Work?
A card scraper has a tiny hook on it’s long sides. You make the hook, we’ll get to that, but that hook is how it functions. If you’ve ever sharpened a knife, chisel, or plane iron you know your goal is to polish one side until a bur pushes it’s way over the top. That’s essentially what the hook of a card scraper is, it’s a bur. A bur is a super sharp very thin layer of metal which has been pushed over the edge.
That bur is then used to shave the wood fibers, creating little wispy curls. Once those curls disappear and dust starts appearing, your scraper is dull and needs fixing. With that knowledge, let’s dive into sharpening.

Tuning (Sharpening) a Card Scraper
I’ll call it tuning because you aren’t really sharpening, but the principles are similar. For this you’ll need a few tools.
A vise
File (medium or fine, just make sure it’s long)
Sharpening Stone (I prefer diamond stones for this operation)
Burnisher (if you don’t have one you can use a round shafted screwdriver in a pinch)

Laying out tools for a job before starting helps me understand the process and not miss steps. Plus I get to run around the shop all at once rather than stopping every 30 seconds to do so.
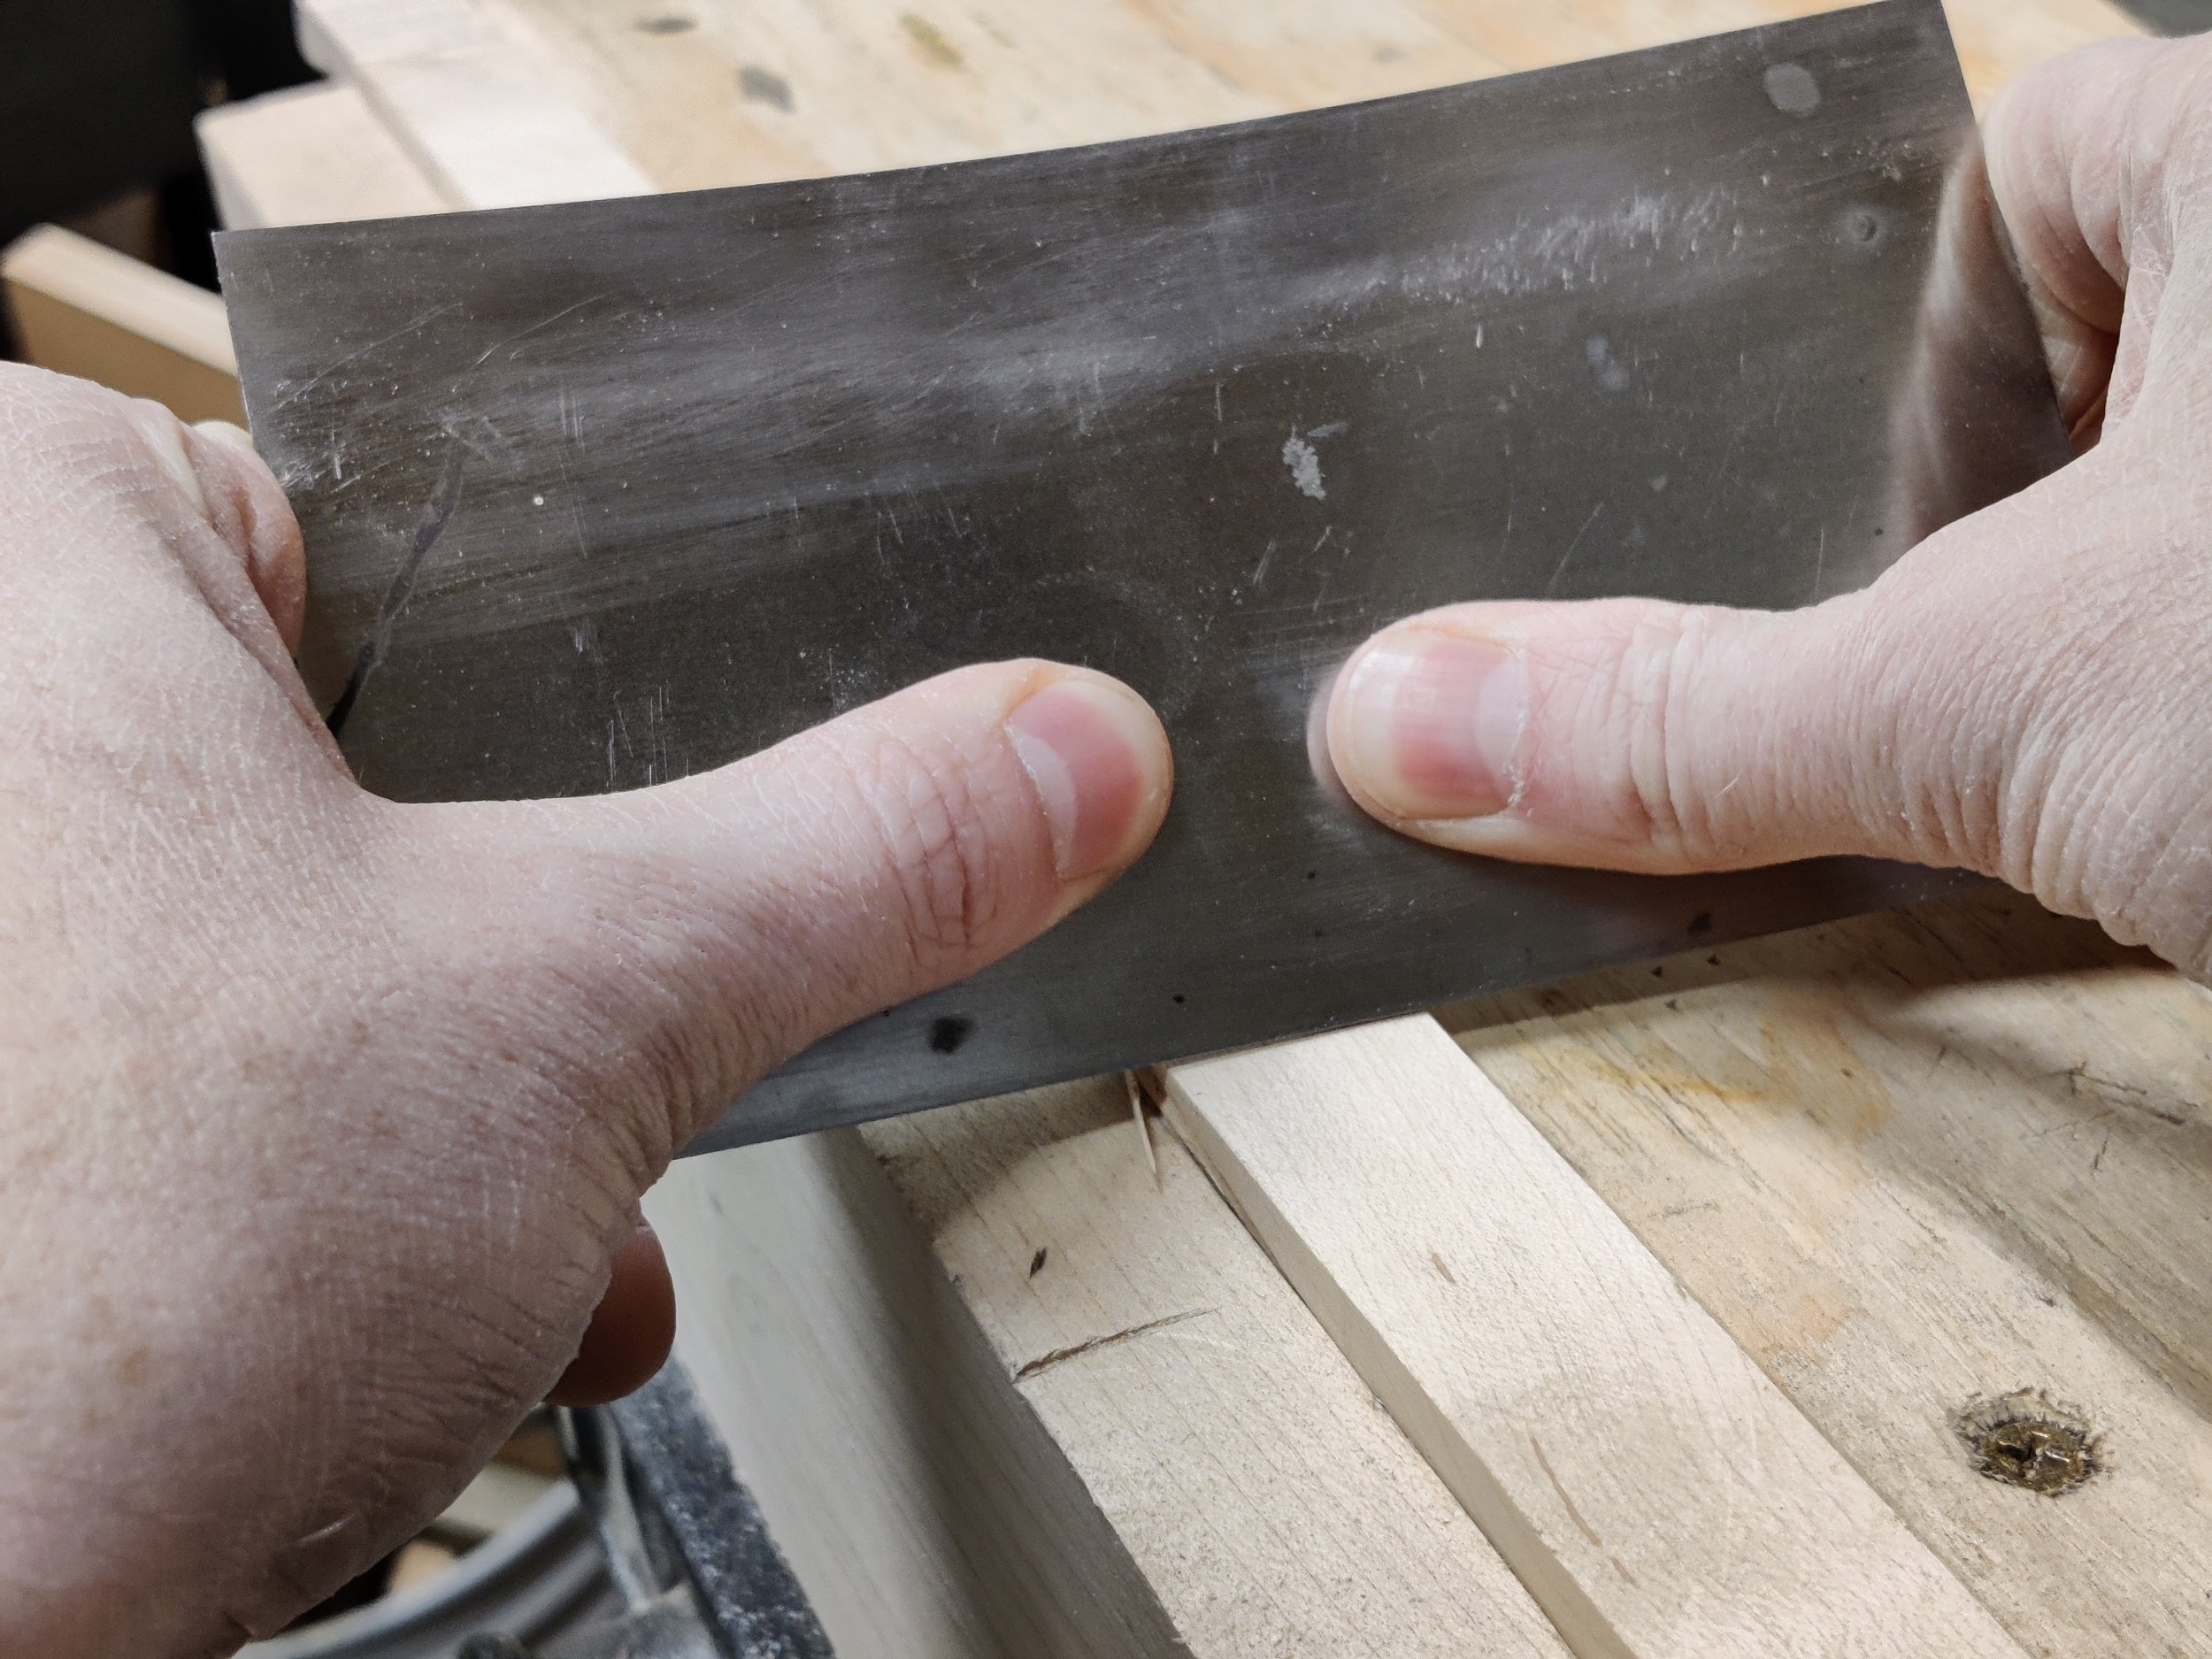
The first thing you want to do is use the file to flatten the edge. So clamp your scraper in your vise. If you find your woodworking vise isn’t holding this thin piece of metal well, take a block of wood and clamp that in with the scraper.
Filing

Once the scraper is secure, grab your file. Hold on with two hands, dominant in the back and your off hand near the end but not all the way to the end. Now curl your off hand’s fingers and place your index knuckle against the side of the scraper. Now push forward, lift, bring the file back, and go again.
I know, very detailed, but there’s a reason why. One, your knuckle will guide the file, keeping it at 90 degrees to the side of the scraper which is exactly what you want. Second, files only cut in one direction, on the push. Pulling a file back, against it’s teeth will only wear your file out faster.
After 5 or so strokes your likely done. The surface will still be rough, but flat and that’s the goal. The edge doesn’t have to be perfectly 90 degrees to the face, just close. It doesn’t need to be perfectly square to the sides. It does need to be flat.
Polishing
Now that you have the edge flat, it’s time to polish it up. The reason for polishing is to have as fine an edge as possible. If the edge is left jagged from the file, the bur will have divots which will result in poor cutting and a short lifespan, requiring more tuning time. Let’s face it, you want to be woodworking, not tool working, so let’s polish and get it right so you can get back to work.
Leaving the scraper in the vise, take your stone and do the same you did with the file on the edge. I prefer a little diamond stone as it’s easier to control, but use what you have. Oh, beware, this process will dig into a wet stone or oil stone, another reason why diamonds excel here.

After the edge is polished, move to the sides. If you have a small stone, leave your scraper in the vise. Place the stone against the side, put pressure on the other side with your other hand and slide the stone back and forth a few times. Repeat for both sides and grits. The entire point of this process is to flatten and polish the surfaces so the corner is nice and formed.
If your stone is large, take the scraper out of the vise and polish the scraper as you would a chisel back. Put the scraper down flat on the surface, then slide the scraper back and forth a few times.
Burnishing

Burnisher in action
The final tuning step, burnishing. To burnish means polish, so it’s kind of like the last step, except different. See we aren’t removing material, we are creating the hook, the bur, hence bur-nish.
To do this, keep or put your scraper in the vise. Now grab your burnisher, holding it on both ends. Place the burnisher on one end of the scraper at roughly a 30 degree angle and slide it down toward the ground at the same angle and away from you, applying light pressure. Once you do this once you can increase the pressure, but don’t go crazy, you only need to apply medium pressure at most.
What you are doing is pushing a little bit of metal over the edge of the scraper. The burnisher is a harder steel than the scraper, so that’s why you buy a burnisher, but a screwdriver will work, just not as well.
Knowing you are creating a hook, feel the edge, dragging your finger up past the edge you just burnished. Do you feel your finger catch on something? If not, keep going. If it barely catches, keep going and maybe increase your pressure slightly or increase the angle, or both.
Once you feel a good catch on that edge and if this is your first time tuning and using a scraper I suggest practicing. FIrst, before you lose track of your work, mark the done side. A piece of tape or dot from a pen will do. Move down to the using section for instructions and if you are receiving nice shavings, finish up the other three edges following the same steps as outlined.
If you are not receiving nice shavings, check out the Troubleshooting section below to see what you should try next.
Using Your Card Scraper
Now that your scraper is ready to go, you can test it on some scrap. There are two ways to use a scraper, pushing and pulling. You’ll want to learn both as some situations require a push or pull, plus when your hands get tired it’s nice to be able to switch grips and keep working.
Push Method
My go to method because I feel the push is easier. When pushing, you can change the angle of attack without modifying your stance. Grasp the scraper in both hands, wrapping your fingers around the scraper toward the front, keeping the pads of your fingers near the edges. Now place your thumbs on the back, landing them close to the center. Now the magic of the scraper is to bend it. This exposes that hook and concentrates it on your workpiece.
With your hands set, apply pressure with your thumbs and you’ll feel the scraper flex.
Next, angle the scraper down. Remember, you have a hook you want to use to shave the wood with, so angle that scraper so the hook is attacking the wood, not skimming over the top. I shoot for roughly 35 - 45 degrees to the surface.
You can see the curvature at the top of the scraper. Notice the white portions of my thumbs. I’m applying decent pressure to bend this piece of steel which would prefer to not bend. But it must conform to my will.
Now push it along the wood. You’ll feel resistance, hear the telltale sound of steel on wood, and see after you lift up a little curl left behind. If all you see is sawdust, jump down to my troubleshooting section below which will help you diagnose the issues.
I like this method because it’s easier to do for a long time. The only body part that wears out are your thumbs. Of course, they get tired from use but the biggest impediment is the burn. Card scrapers get hot, really hot. You are generating tons of friction as you scrape and steel conducts the friction heat up and into your thumbs. You could probably wear gloves, but that heat is a sign you need to switch sides, which is why you have four sharp edges so you can flip the scraper over and let it cool down, which helps lengthen the life of the bur.
Pull Method
Now that you have the mechanics down, moving to the pull method will be easy. The grip is, well the opposite. In this method, the fingers and hands do the work, not the thumbs. Wrap your fingers around the scraper, but this time position the pads of your fingers further in so the scraper edges land in the groove in your palm. Your thumbs are in luck and can go where comfortable. For me, that’s hanging out up top with nothing to do but look cool.
Here is the tricky part. Extending your arms slightly, still bend at the elbows, you want to lower your chest to the work piece. Now tilt your wrists down so your fingers point up. Apply pressure with your fingers, pressing the edges into your palms, and pull steadily toward your torso. You should generate a curl as the scraper works.

Wide shot of body position in the pull method. Your palms take the brunt of the scrapers wrath, but hey, the thumbs get a break.
The nice thing about this method is you can see what is happening as it’s happening. Useful for diagnosing issues. The problem with this method is comfort. I find it awkward on my back and painful on my hands. But it does give a reprieve for your thumbs and doesn’t have the heat transfer issues in the push method. I have read that the pull is easier to do for a long time, but I think that only applies for veteran hand-toolers, for an occasional scraper, I find pushing best.
Troubleshooting
If you went through all the steps to tune the scraper and use it, but all you are seeing is sawdust instead of curls, here’s a few things you can try to fix it.
Try increasing your angle when in use. If you have the scraper too vertical your hook will skim over the top of the wood instead of dig in and scrape.
Increase your downward pressure. You shouldn’t be leaning on the card scraper, but you do need to apply some downward pressure to engage the hook. If you are digging in, you are applying too much pressure and this isn’t the problem.
Use your thumbs to bend the steel more. By increasing the curve you are offering the hook to the wood. Just be careful to not apply too much pressure. You shouldn’t be trying to bend the tool in half, if you are, you need to go back to burnishing.
If none of those things work, your hook isn’t set right. Mark that side with a pen and try a different side. If you are receiving sawdust on all four sides, you likely need to re-burnish. Try increasing the burnishing angle to create a steeper hook which will work better.