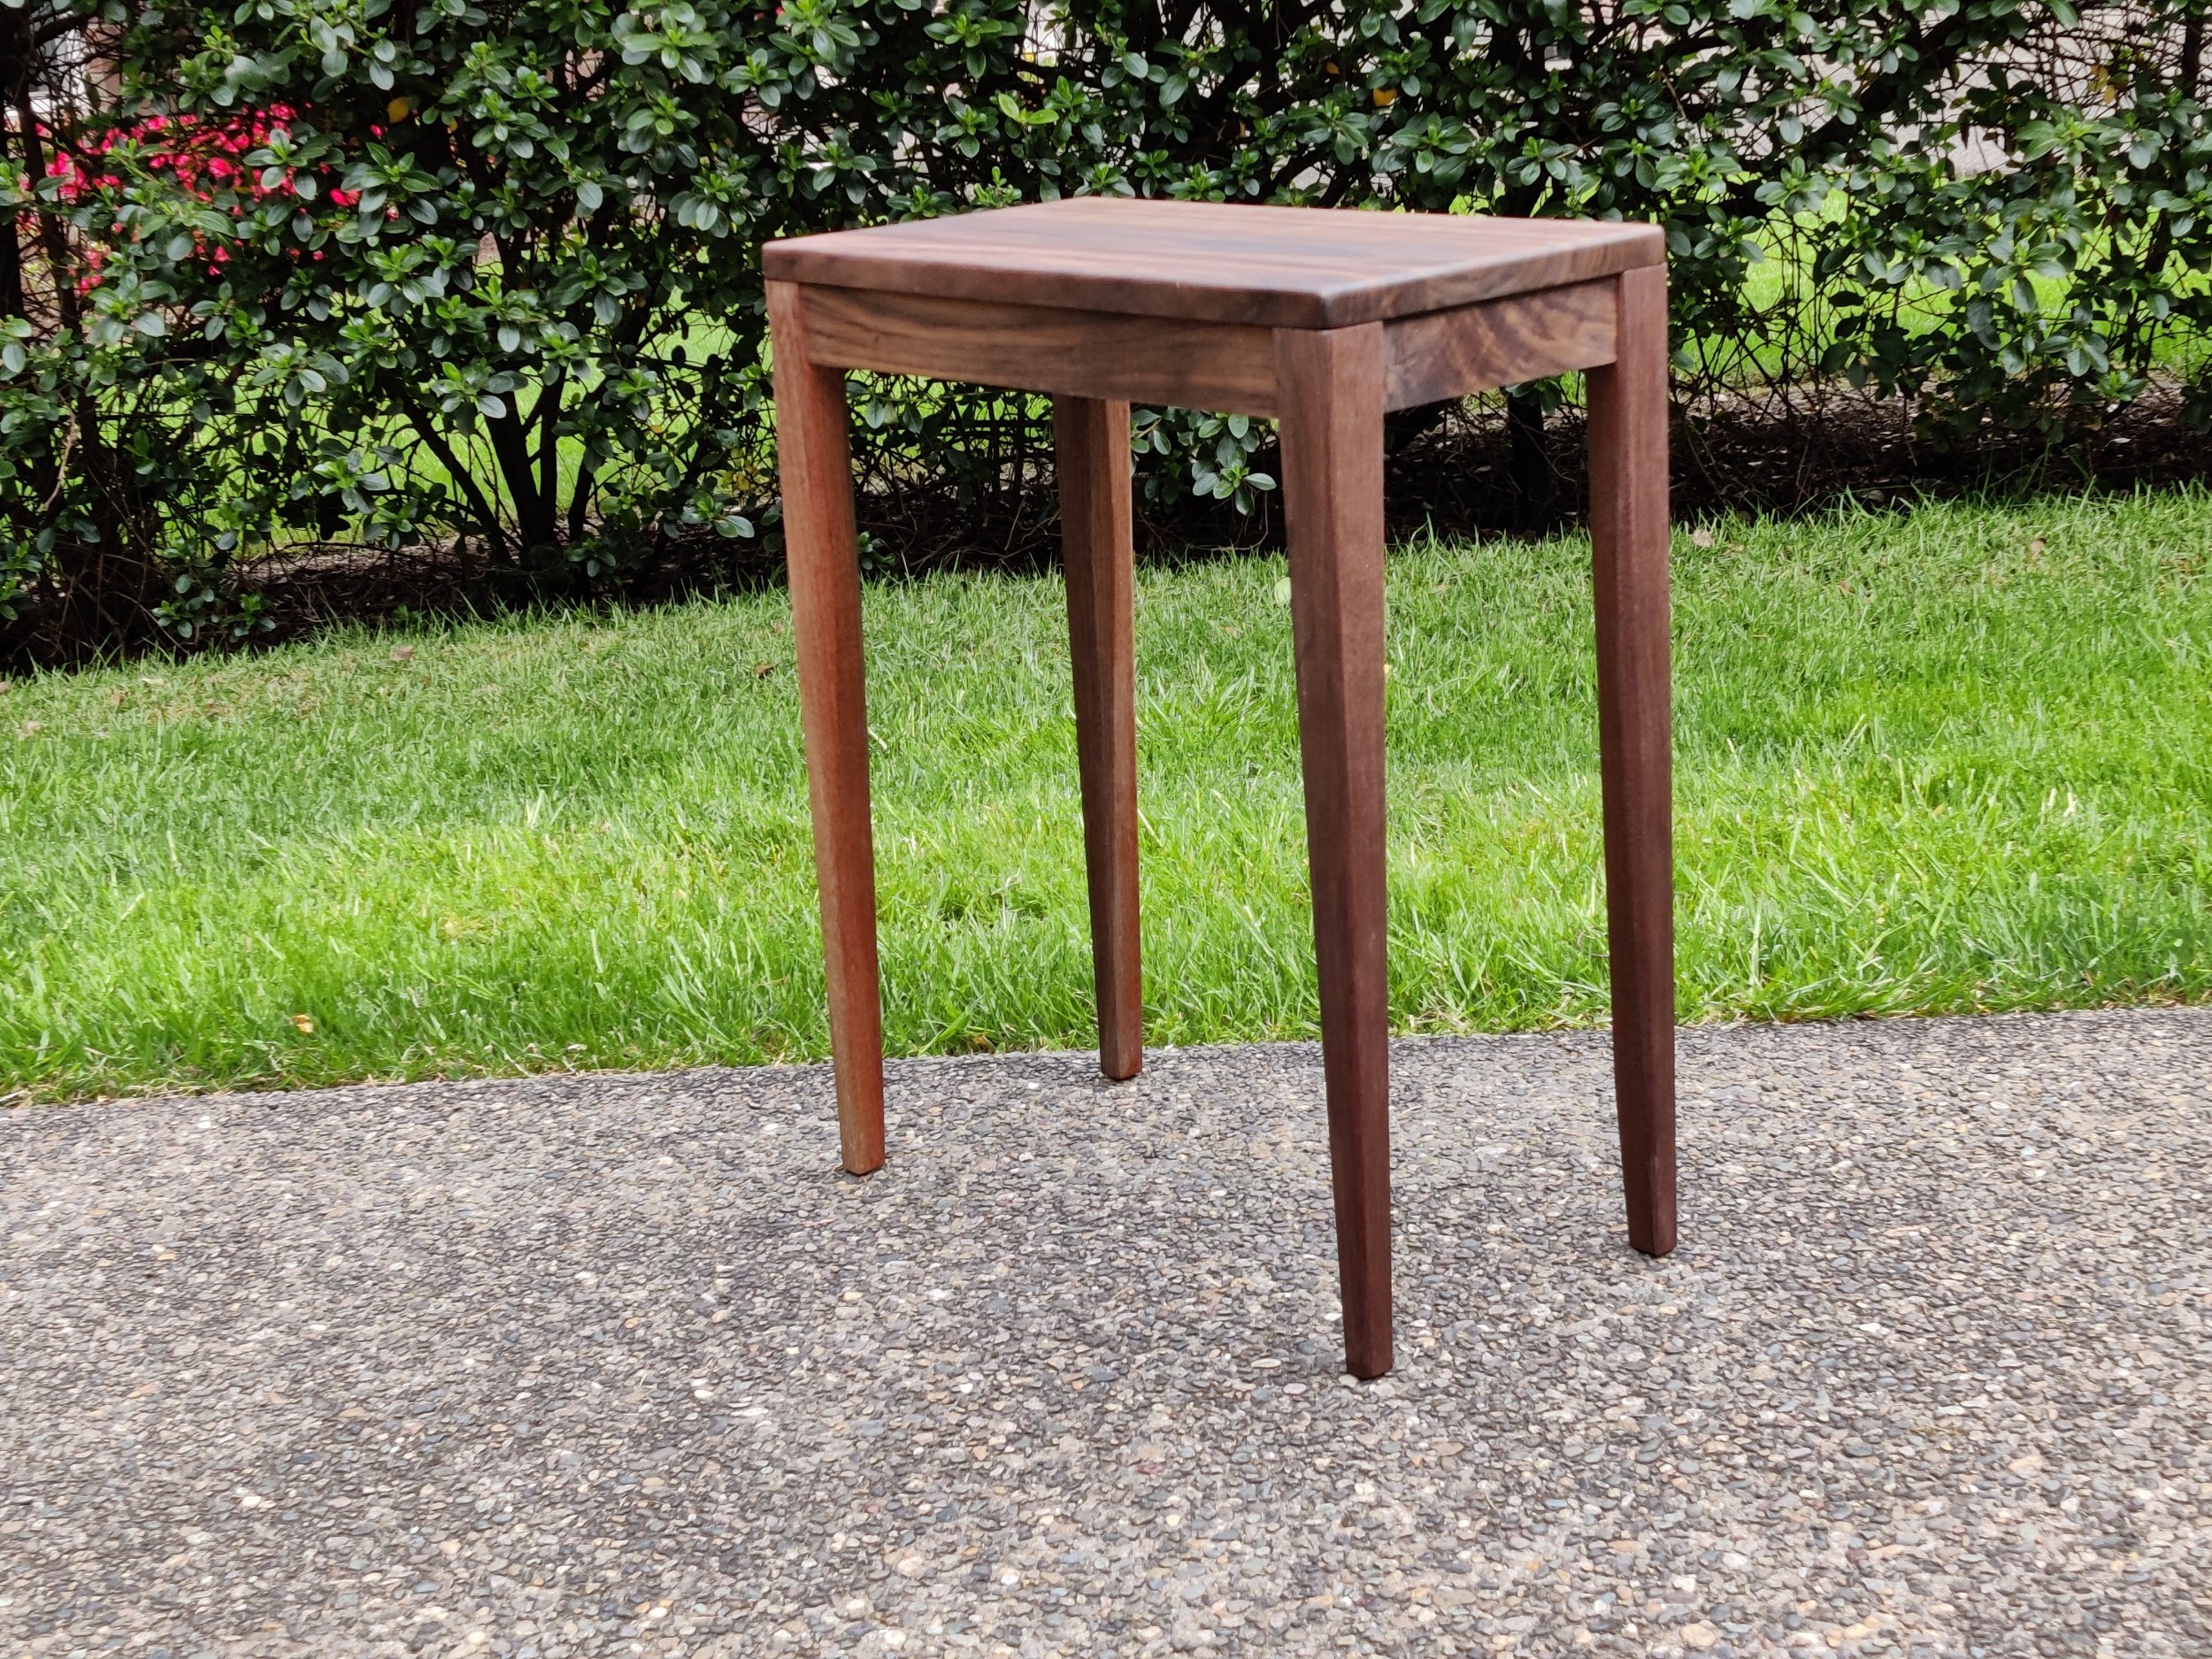
Walnut End Table: Friday Update
Last week I nearly completed this table, here was the state of it last I shared.
There wasn’t much left to do, round over the top and legs, fix the mistake I made on the back leg, and apply finish.
I did all those things, plus refreshed the finish on the Calvert Square End Table I have in my living room. It’s over a year old and needed a little bit of love. That’s the problem with the finish I use, it is an oil and all oils require maintenance, even hard wax oils. A lesson for me as I complete more client work to watch out for.
In order to make the finishing process easier I put some nails into the project to act as stand offs, holding the base above my work surface for easier application and making it easier to get under and around the edges. A trick I saw on YouTube and I am going to be using it again.
Finishing a piece means the video is almost ready. I always edit along the way, otherwise it’s overwhelming.
You’ll get better pictures soon. I snapped a few but the weather has turned and the sun went away. Once it returns I’ll snap a few more to put together a new gallery item for My Work.
Oh, and I did complete the video and launched it this week.
With the table done I was ready to move on to my next project. A giant Lazy Susan. I was going to start that last weekend, but I decided to wait as I had completed pieces of furniture drying on my bench which I did not want to interrupt with new stock. So instead I restored two hand planes my mother-in-law brought me. These were her dad’s planes. Both were in very good shape with minimal work needed.
The bulk of it was rust removal, which I accomplished with a bit of steel wool, oil, and some elbow grease. Then the iron had a chip in it. Luckily, the grinder made quick work, removing the blemish and getting me back to good steel to be sharpened. Lastly, I reassembled the plane and flattened the sole. The trick to this process is to reference a flat surface. In my case it was a old piece of countertop which has been sitting in our shed. I hauled it out, glued down some sand paper, applied oil, and got to scrubbing. In no time the sole was flat and rust free, leaving the plane ready to use.
Before
After
And then I could start the new project, which began with figuring out how to cut these boards with minimal waste. See, a lazy Susan is round, and making a square would waste a lot of wood in the corners, wood I didn’t have. I tried doing the math but couldn’t visualize it, so I laid out some scrap fence boards and drew a circle the size I wanted. That helped me lay out exactly how to use my lumber, minimizing waste.
Once done, it was on to milling. A long process of flattening with the planer and sled, flattening the opposite side, stickering and stacking to allow for acclimation, and then jointing the edges for glue up. I’m still in this process as there are a lot of boards and it’s important to mill these right so this panel stays nice and flat as it will not have much reinforcement other than the lazy hardware.
That’s all folks. Next week you’ll get an update on the lazy Susan, which will be in it’s final phases, and what I have planned next.


