
Sanding Molding and Trim Profiles
Have you ever had to sand molding, trim, or even a simple round over profile on a table? Then you know it’s hard to do with power sanders for a consistent surface. Use a random orbit on a round over and you tend to dig in and ruin the profile. But how can you get those burn or router chatter marks out?
One way, the way I used to always do it, was to burn my fingers out by hand sanding the profiles. Hand sanding works, but you lose the sharp, crisp edges as your fingers roll the sand paper over an edge.
My new favorite method is a two part process:
Scrape before sanding.
Hand sand using a sanding block.
Most importantly, do all of your scraping and sanding pre-installation/use. If you are making a picture frame and make the frame with a rough profile you are going to have a terrible time trying to fix it later.
One: Scraping
Scraping is the best way to maintain a profile’s integrity while removing material quickly and consistently. Please note, this only goes for the hard bits you can’t hit with a power sander, such as those curves or inset flat areas.
You’ll run in to three types of profiles on any trim, so you’ll need three types of scrapers.
Convex curves such as a round over
Concave curves such as a nose or dish bit
Flat surfaces

This brick molding has a combination of all three surfaces
Curves, Convex and Concave
Router Bit
If you cut your own trim or molding, you are in luck. You have a scraper which perfectly matches your profile. Your router bit.
Simply hold your router bit against your work piece and drag it along the surface, I find pulling it toward me the easiest to control. Drag it along and watch any burn marks disappear. This won’t leave a perfect surface, but it will remove material much faster than sanding. Once your profile looks consistent with no burn marks, stop and move to sanding.
Scraper
If you don’t have the router bit which was used to make the curve, concave or convex, you can use a scraper. They make them for this exact purpose with different profiles. I bought a combo pack at Woodcraft and they have gotten me through most of what I need.

From left to right; cambered, round end, and gooseneck. The gooseneck is by far the most versatile for scraping a variety of curves.
DIY Scraper

Less ideal, still workable. You can “make” a scraper. For concave curves, use a washer. Typically, washers have rounded edges on one face and a sharp edge on the other. Use the sharp edge as a bur and scrape away. I have a set of varying sized washers and can typically find one to match, if I need it.
The outside, convex curves are harder to DIY as a piece of metal with the matching curve is not usually just lying around like washers are. Luckily, outside curves are easier to sand. You can skip scraping on these and still achieve good results with just sanding, as long as you are careful.
Flat Surfaces
For the flat surfaces, there are three options, use a shoulder plane, card scraper, or a chisel.
Shoulder Plane
If you followed my advice and are scraping pre-install, then a shoulder plane is the best option. A shoulder plane has a blade which is all the way at the edge of it’s body. It takes a very fine cut at a perfect 90 degree angle. Plus it’s small, so detailed work is where it shines.

Card Scraper
I suggest a card rather than a cabinet scraper here. The difference is size, but the tools function the same. I find a card scraper easier to manipulate and use with one hand, which is a must for this operation. The scraper will function the same way as the shoulder plane. It has four 90 degree corners, simply put a corner into the corner of your molding and scrape away. Again, pull toward yourself for best results. In this case, don’t worry about bending the scraper as you would on a surface, just pull it nice and consistently to get rid of any high spots.

Same form, different size.
Chisel

Using a chisel as a scraper can be tricky as the handle makes the chisel top heavy. Try stabilizing your hand with your pinky for more control.
This is my least favorite option, but you may only have a chisel, in which case it’ll work. You can use it just like a card scraper. Hold the chisel straight up and down with the pointy bit resting on your molding, put it into the corner, just like the scraper, and pull it toward you keeping it in this orientation. Essentially, you are turning your chisel into a scraper. It works just fine, but given the chisel’s length, it is harder to pull it consistently and if you put too much downward pressure it will dig in to the surface, so be careful.
Any flat surface higher than the rest of the surfaces is eligible for a power sanding, no need to scrape here. Just go light so you don’t burn down too far, but that’s the way to go for speed.
Two: Sanding
Now that you’ve scraped all of your curves and flat bits it’s time to sand. Lucky you, you can start with a higher grit than usual since you took the time to scrape. I go for 150.
Remember, this is all hand sanding, so go with the grain. If you do, you’ll likely be able to sand with just the 150. And make sure to sand every visible surface with 150 for consistency of finish. If you miss a spot, it’ll stick out, even if it’s nice and smooth post-scrape.
Sanding Curves
Curves again, require curved sanding blocks. You can buy contoured blocks, but I prefer making my own.
Inside Curves (Concave)

Inside curves are the easiest. These are concave curves requiring a rounded sanding block. Luckily, lots of stuff is round. Beer cans, coffee mugs, a glue bottle. Any cylinder will work. Find the thing that matches your curve, wrap some sand paper around it and go to town.
But what if your curve is small and none of those containers work? Never fear, go back to the washers. Find a washer that fits your curve, stack up a bunch of them and tape them together, like a coin roll. Heck, use a coin roll if that is the right size. Wrap it in sand paper and you are good to go.
But what if your curve is even tighter than the smallest available coin or washer? Use a dowel, those are also cylinders. Just make sure it’s long enough to get a good grip on it.
Outside Curves (Convex)
Just like with scraping, sanding outside curves are a little harder. Easier to do by hand, which is still an option. If you want a sanding block, see if you have a matching core box/tray/nose router bit to create the corresponding inside curve. Route a wood block and use that. Pro tip, write on the block what the radius is so you know for future use.
If that isn’t an option, never fear, get some pvc. PVC cuts easily and has inside and outside curves. You can find it in just about any size you need. Just cut a cross in it with a hack saw, then hack off those pieces to get perfect, quarter round sanding blocks. Plus you now have a concave sanding block too, just flip it over.
Flat Surfaces
If your flat surface is the highest point of the molding, use a power sander.
If it’s recessed, use a block of wood. I opt for a wooden block here rather than a softer, rubber sanding block because the wood block will maintain the sharp inside corner. A rubber sanding block can be harder to keep the rubber edge in tight without it bending over the edge and messing up your profile.
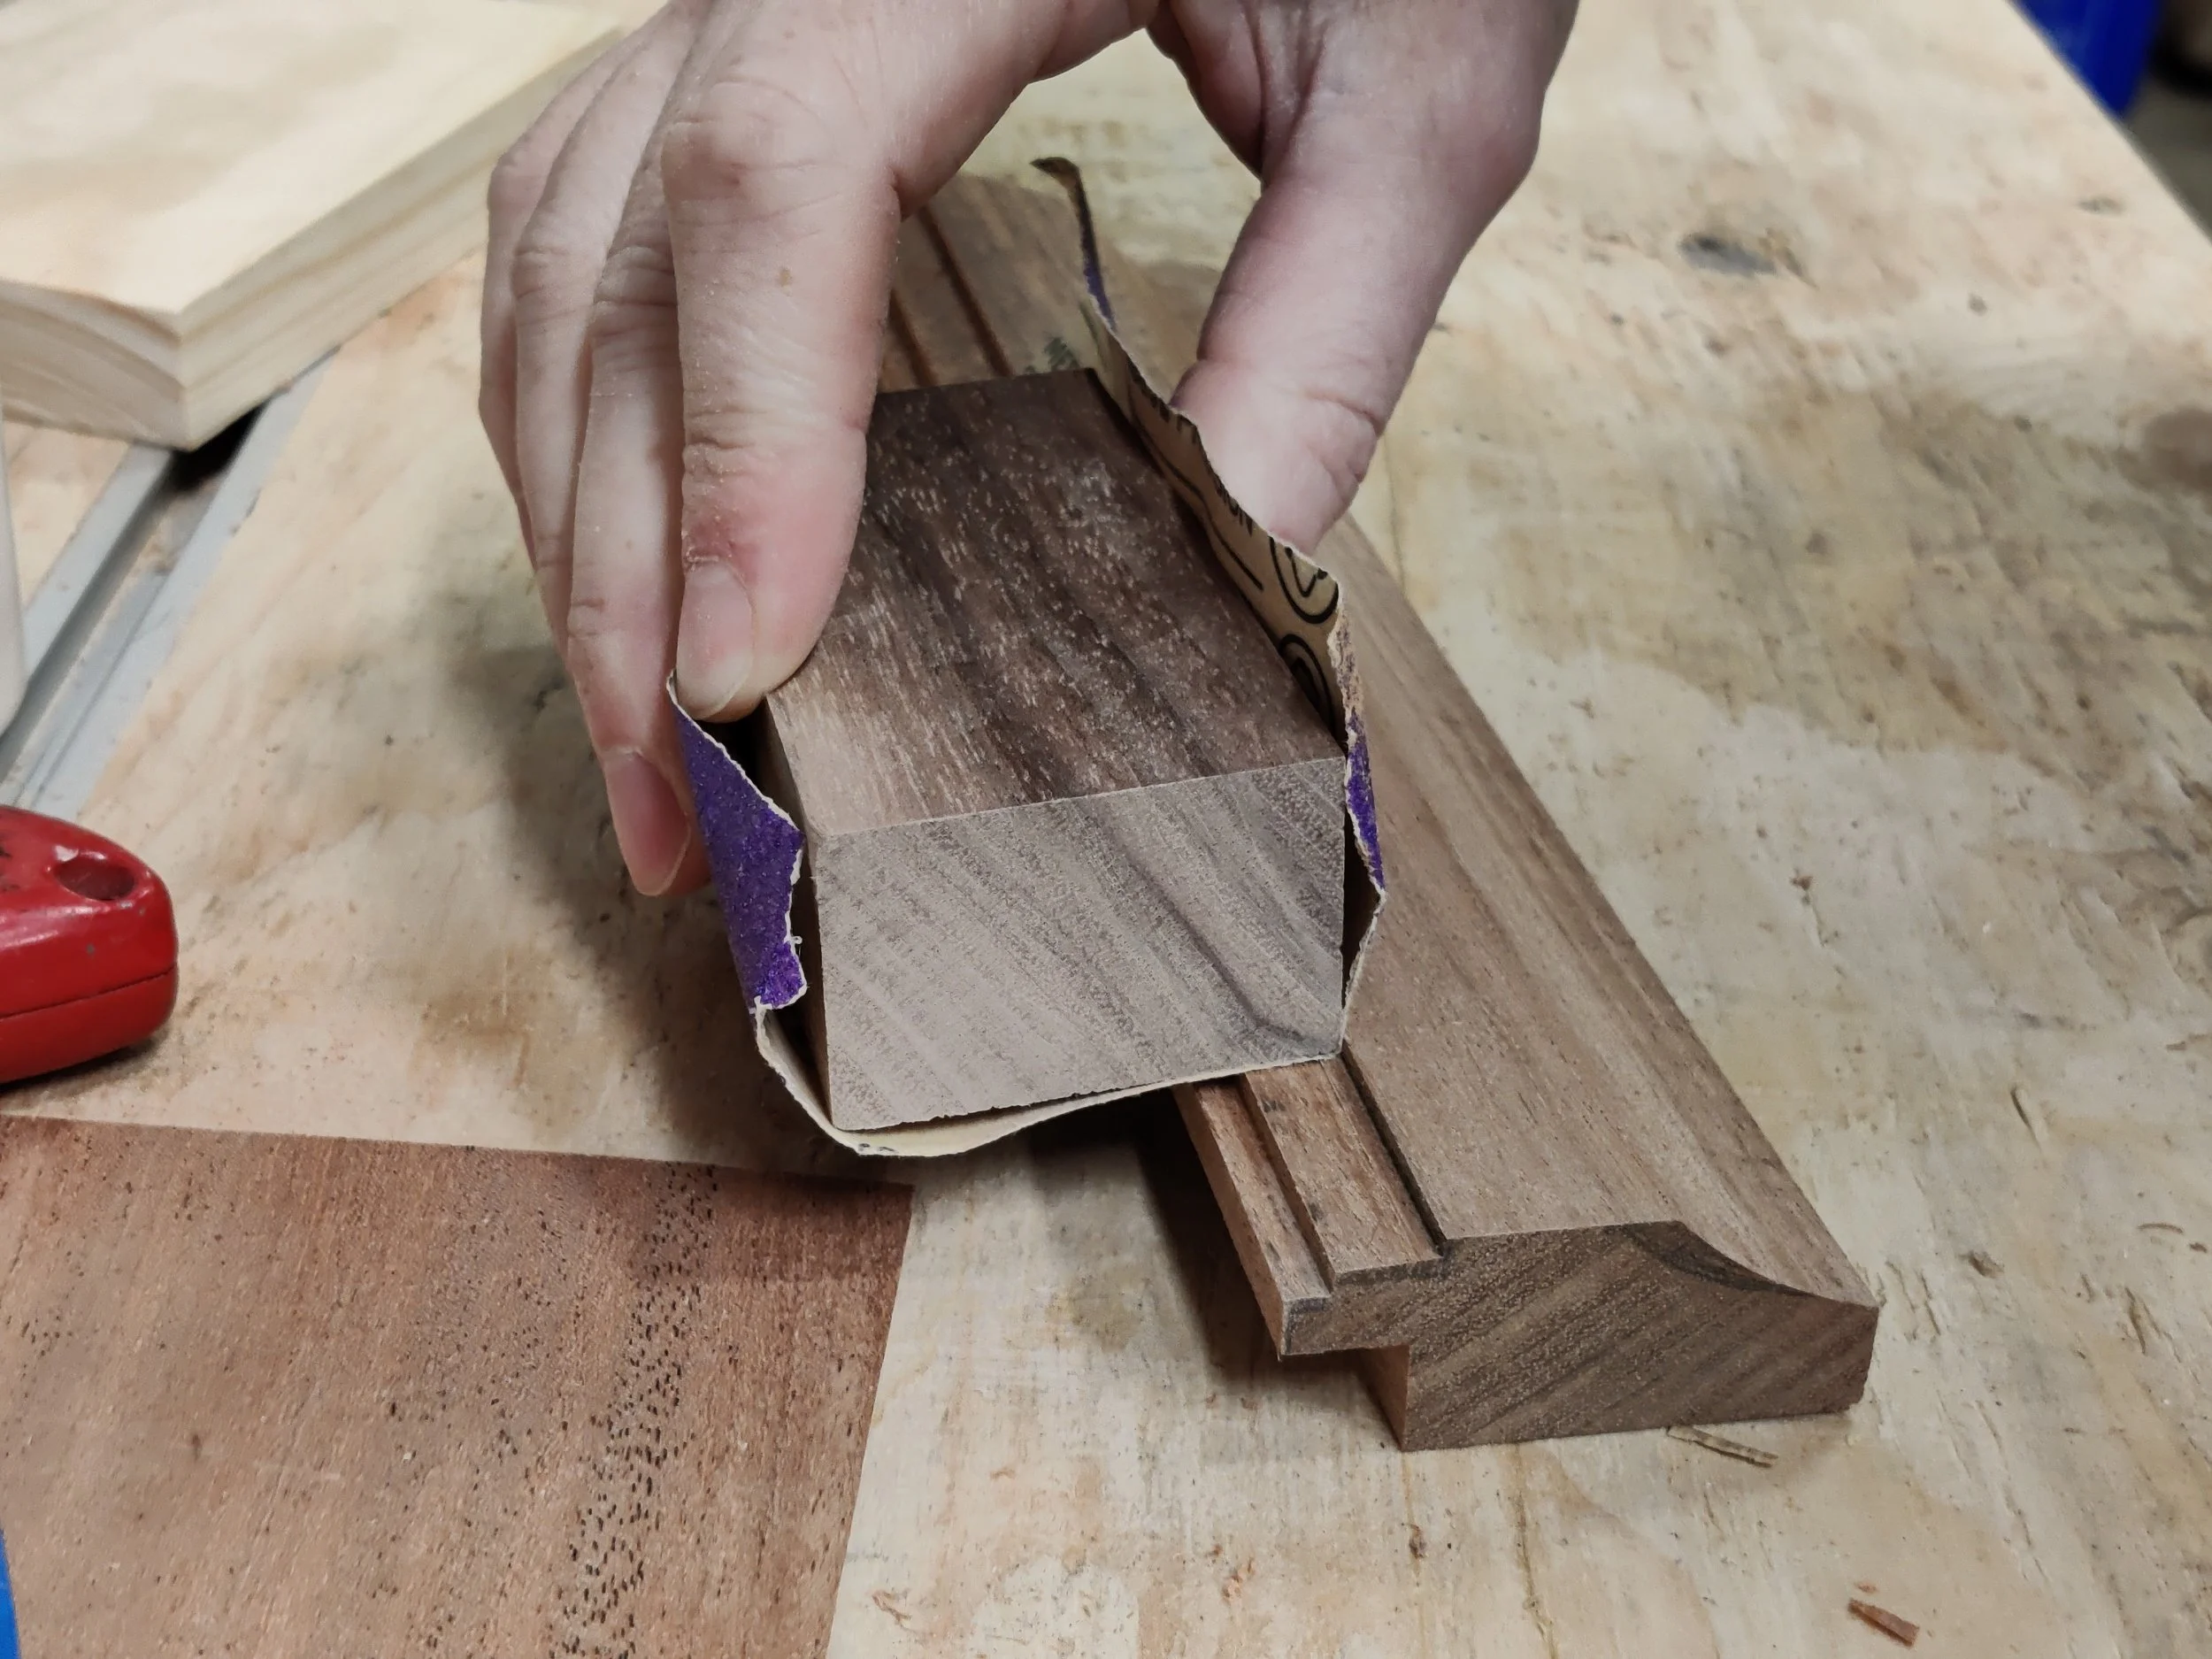
With square, sharp corners, a block of is the preferred tool for this type of sanding. Plus, you can make them any size you want. Bigger isn’t always better when it comes to delicate sanding like this.
Easy peasy, lemon squeezy. You are done. A little handy work and you’ll keep your profiles looking crispy. Leave me a comment with your curve and molding profile sanding tips.