
Why are my Boards Leaking Sap and How to Fix it
Sap is the blood of a tree. It is made up of primarily water and sugar. When a tree is cut down and turned into lumber much of the excess moisture is dried out of a board, but some species have trapped sap that remains in the wood even after drying.
Softwoods, such as fir and pine, are notoriously sappy.
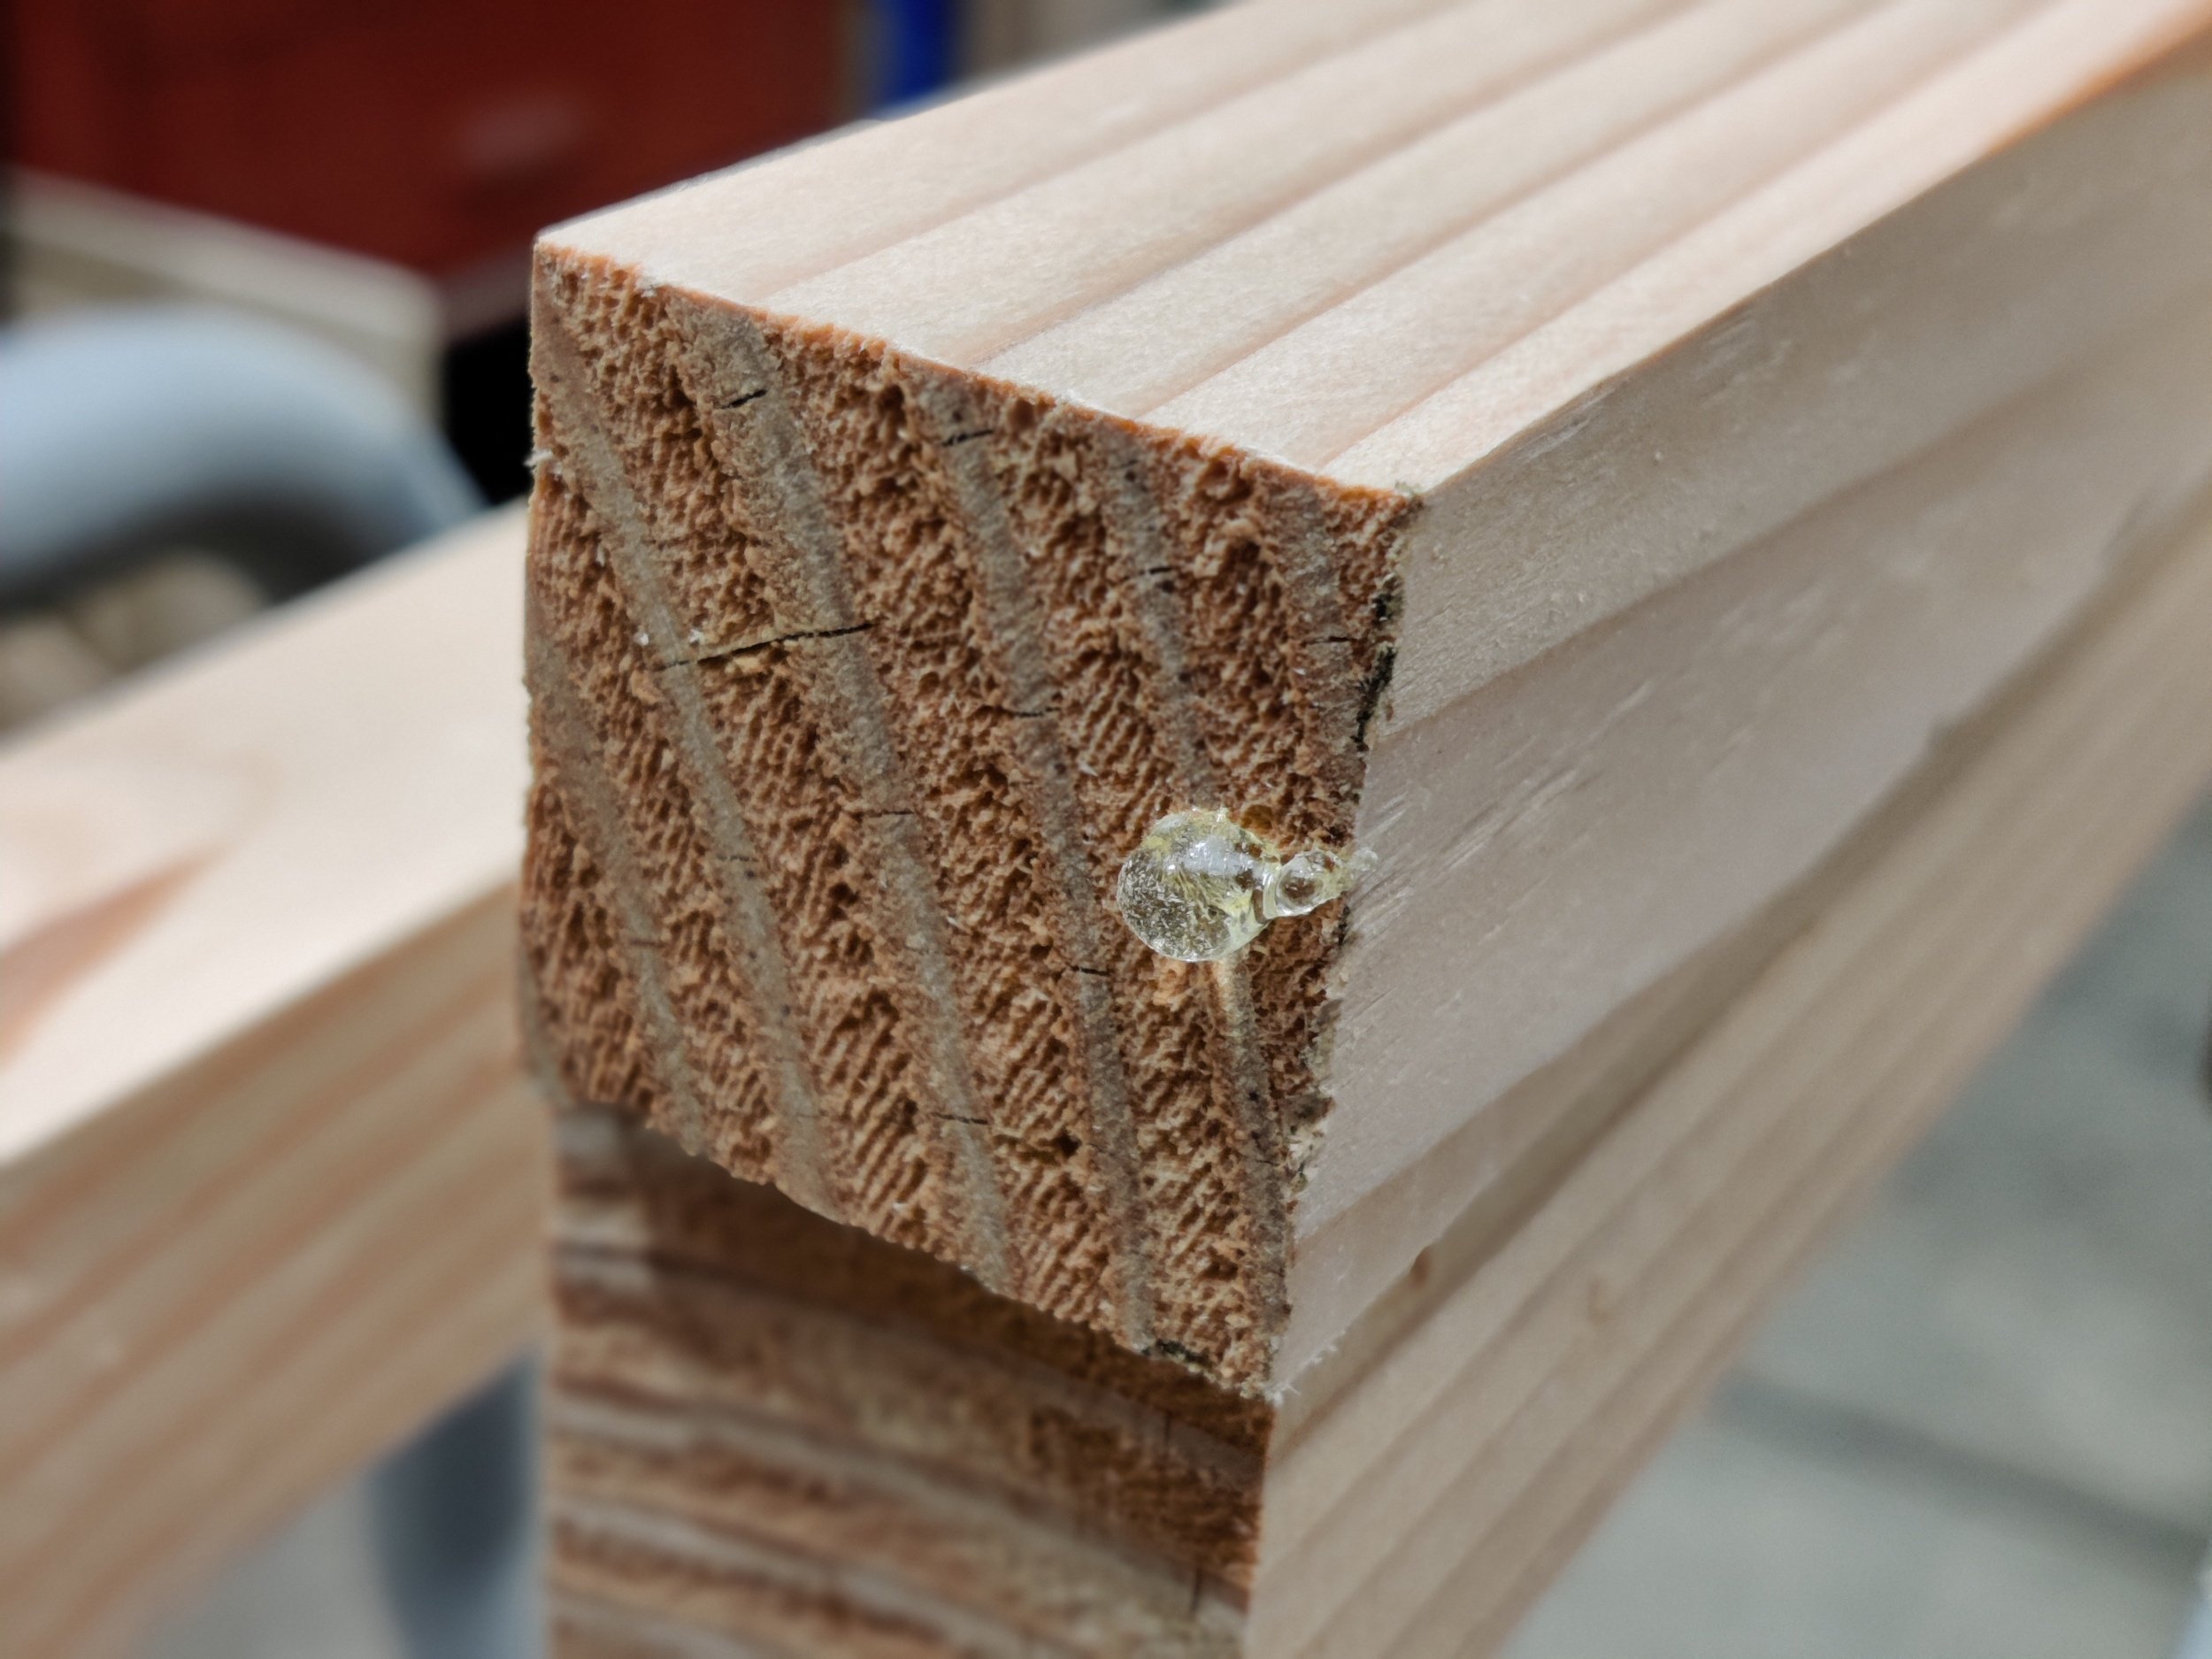
The problem comes when you have a board you want to use, especially for a furniture project, and the board or project is leaking sap, making a sticky mess everywhere. The problem arises as the wood warms up. The trapped sap will become runny and drip out of the wood. In the winter when your shop is cold you may not have noticed the sap until you bring the piece inside resulting in a sticky mess. Now for the big question, how do you fix it?
Apply heat.
The problem with your board is it did not receive proper kiln temperatures when it was dried, or air dried or not dried at all. Once the wood is heated up to 160 - 170 degrees Fahrenheit the sugars in the sap will crystalize, freezing them in place in the wood so they no longer leak out. Luckily, you can do this at home without a kiln. All you need is a few simple tools.
Paper Towels
Alcohol
These links are affiliate and earn me a small commission. It’s not much, but something to help support my website.
Step 1: Scrape
The first step is to scrape away the excess sap with a putty knife. Once done, especially on a finished project, give the surface a quick wipe down with a little alcohol. Alcohol will dissolve the sap.
Step 2: Heat
Next, use the heat gun to apply heat to the affected areas, making sure to keep that heat gun moving. If you concentrate in one spot for too long you will burn the wood. As you heat up the sap you’ll notice it will start to run. That’s okay, let it go. Eventually it will slow and harden. This usually only takes a minute or so.
Step 3: Clean up
Now that you have your sap crystalized and the board has cooled down give it a quick feel. Is the area still sticky? Then repeat the steps again. If not, give it a wipe with alcohol to remove any excess from the surface.
Use shellac to seal the wood before applying any stain or topcoat. Shellac will help prevent the sap from coming through again or interfering with your finish.
Here is a quick video guide of this process.
Wood Buying Tips
To avoid this problem in the future, make sure to look for kiln dried wood and avoid any home center wood that’s really heavy. A heavy board is a wet board. Lucky for you there’s a whole slew of wet wood sitting right next to you so you can compare what that feels like compared to the so-called dried boards.
Go pick up a pressure treated board the same dimensions of the board you want, 2x4 or otherwise. The pressure treating process injects moisture into the wood and it is sold wet, making it very heavy. Now go pick up a whitewood board you want. If it’s significantly lighter, I’m talking about half the weight, then you have a nicely dried board. If it has the letters KD on it that’s also a good sign it is kiln dried. But if the board is heavy, even if it says KD, avoid it. That board isn’t ready for your use and should be left for framing.
Once you bring the boards home, leave them in your shop for a couple of weeks. I know it’s hard to plan ahead, hard to store this stuff, hard to hold back from digging into your project, but trust me. Wait. After a couple of weeks if your boards look the same as when you bought them, then you are good to go. If they are starting to leak sap you have a problem.
Luckily you have a great option at this point, and that’s not to break out the heat gun and follow my instructions, it’s to take it right back to the store and find better wood for your project, avoiding this headache up front.