
Wilshire Coffee Table Retrospective

With the Wilshire Coffee Table complete it’s time for a retrospective on this build, and what a build it was.
This has to be one of my favorite pieces I’ve made. It had some technical aspects, but mostly it was the design that did it. I just had to get out of the way and let the wood come together so it could shine.
Before I jump in to what went well and what I’d change I have to thank my clients, Ericka and Tom. They contacted me 2023 with a request for a coffee table and I was rather busy at the time, but set a rough expectation that I’d have their table done in March, and 2 months later it was finally done. I’m thankful for their patience and understanding and hope this table was worth the wait.
What went well
The first thing that stands out to me on this project is the design. Now my original drawing wasn’t quite what happened in reality. I drew a slightly more angular and sharp piece, but when translated to wood and adjusting the proportions to the material I had, the base bulked up slightly. Add in the edge profiles which weren’t present in the drawing and suddenly the base went from rough sketch to refined piece.
Secondly, I’m really happy with how the edge profiles look. They give the top and legs a little character and add to the modernism of the piece. I almost went with a round over and I’m glad I didn’t as I think that would have softened the corners too much and taken away from the design.
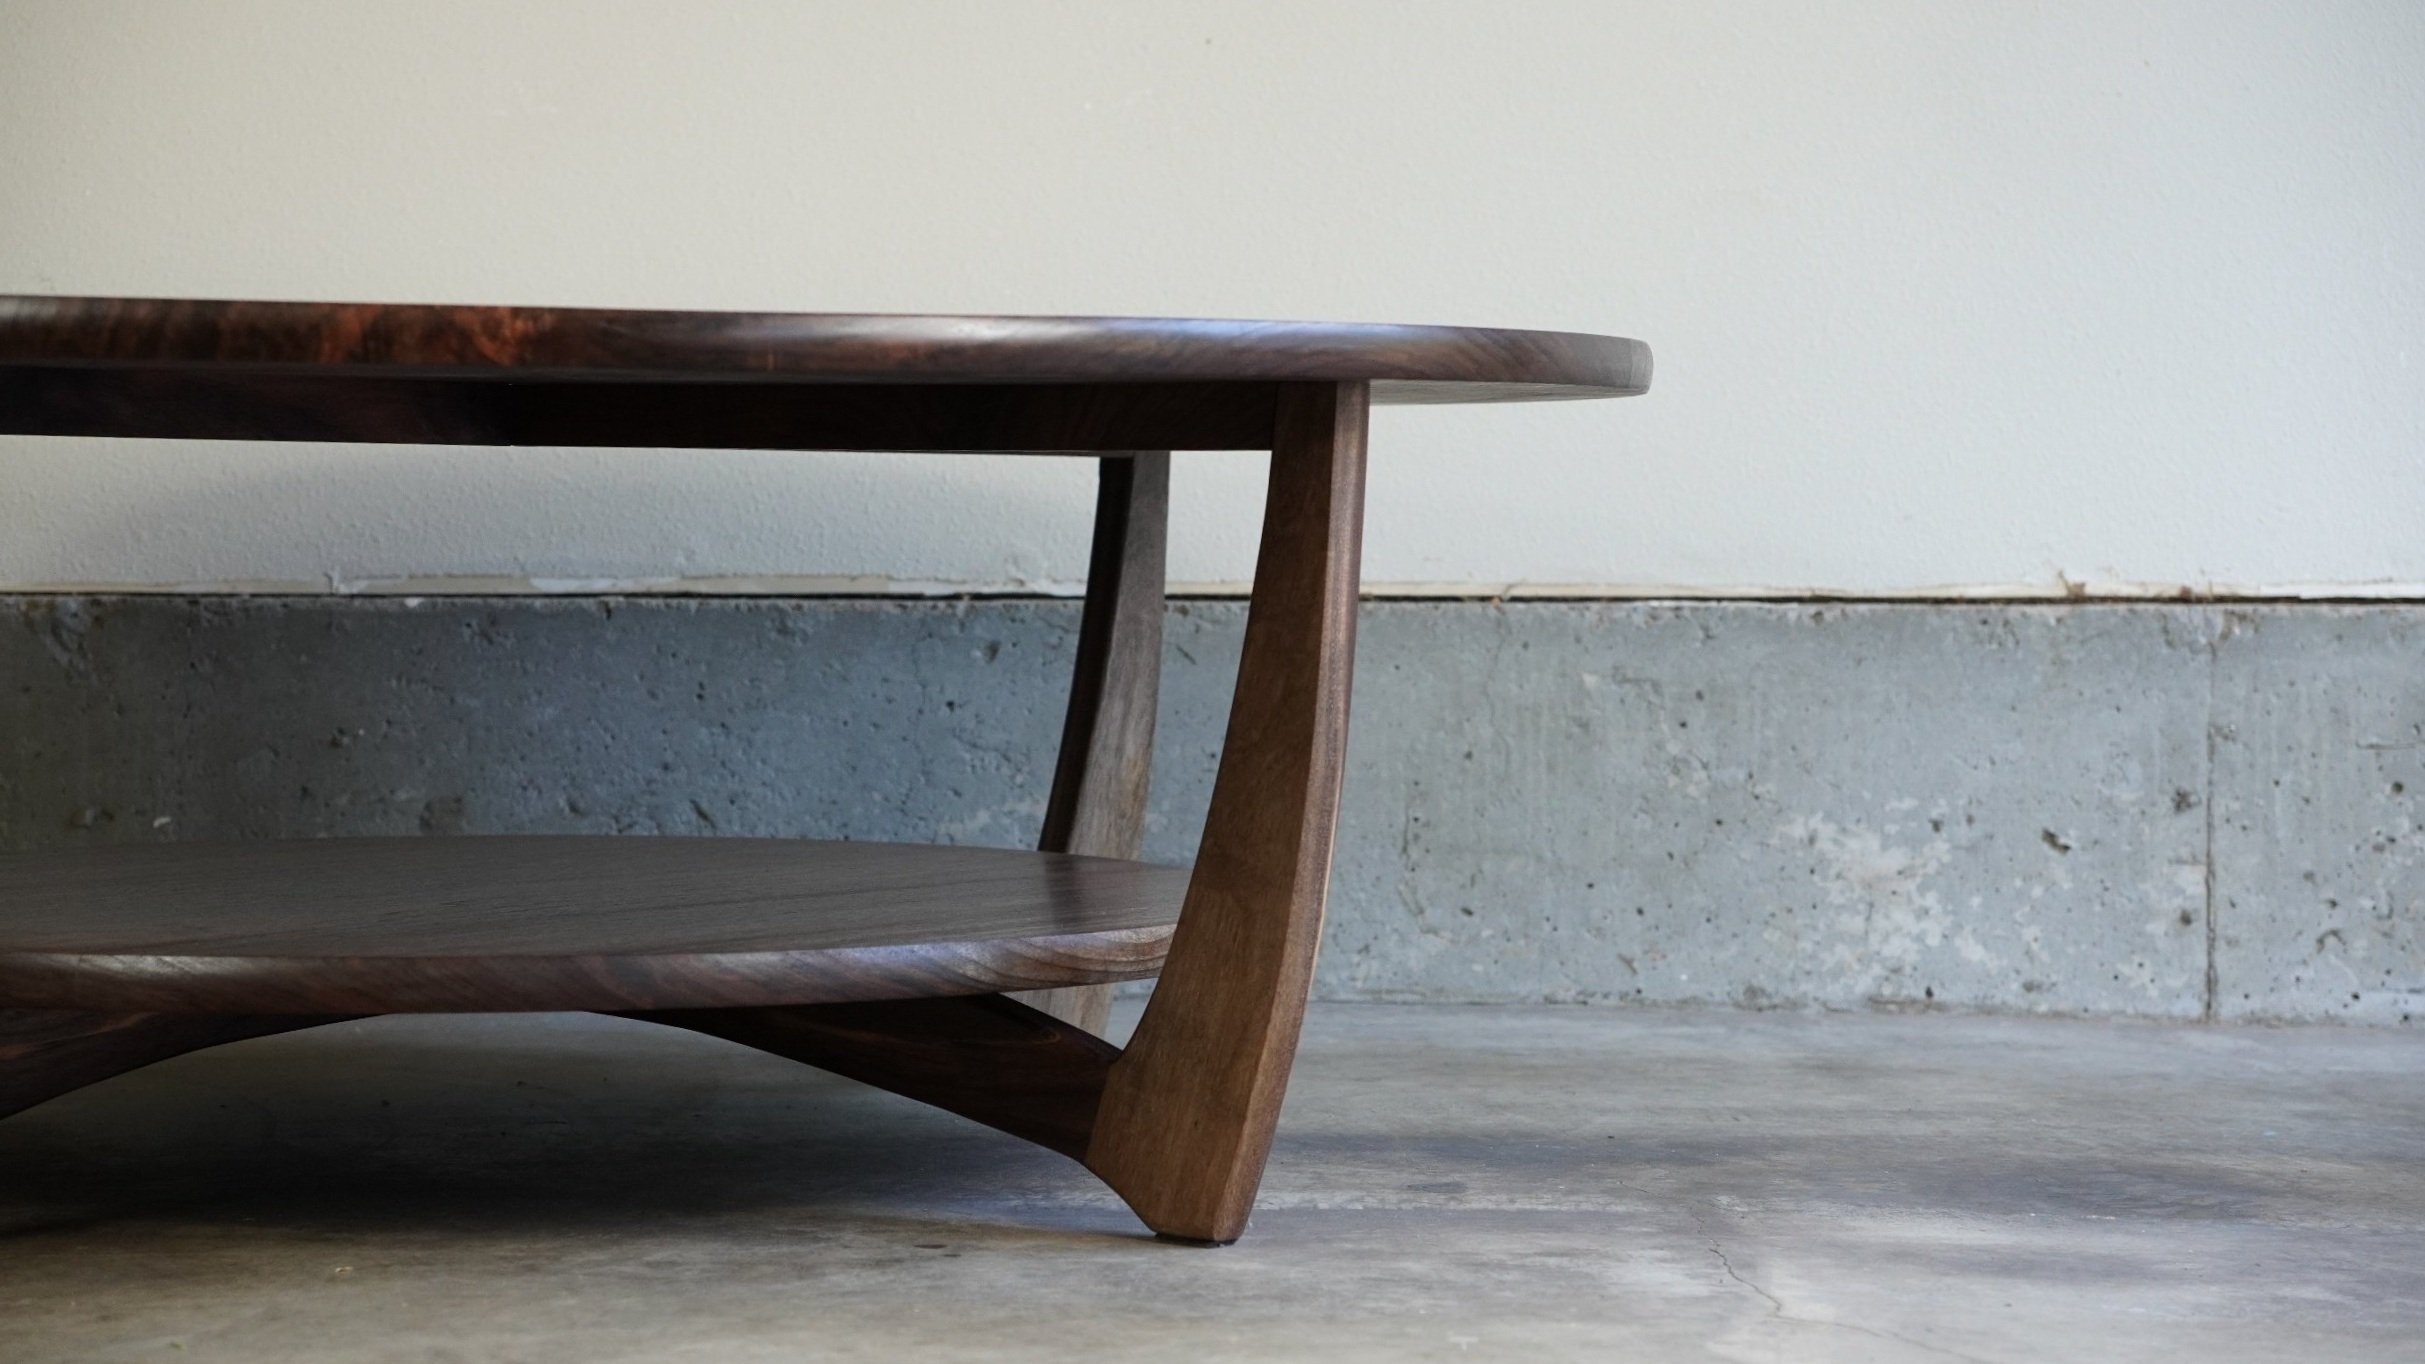
Lastly, the top turned out beautifully. That’s a little bit attributed to me, more so to the finish, and mostly the wood. The me part was simply the arrangement of the boards for the best look. The finish, Natura Onecoat, added a nice pop and sheen to the wood which really brought out the figure of this walnut. And most of all this wood. These boards were amazing in their rough state and it was a privilege to see them go from rough to finished to really see how amazing that grain and figure is. So hats off to Milwaukie Hardwoods for always having an incredible supply.

What could have been done better
One miss I had was on the bottom stretcher. I made it exactly to size without leaving extra room for the tenon on the end which meant I had to use dowels to join the legs to the stretcher. On the next version I’ll remake the lower stretcher template and leave room for the tenon for a mortise and tenon joint.
Functionally this change won’t matter, but a mortise and tenon would give me the freedom to add a drawbore pin to the joint which would act as my clamp as these shapes were difficult to clamp together for the glue up.
Oh, and for those unfamiliar with what I’m talking about, a drawbore is a hole in the leg at the mortise with a slightly offset hole in the tenon which, when a peg is inserted, will pull the joint together and hold it tight.
Final thoughts
I’ll cap this one off with the video. I tried my typical style, sharing a little about myself as well as the build, but focused a bit more on the process and shared some tips and techniques along the way. I’d love to hear what you think of this project and the video!